A diabetic foot needs special care, even when there's no pain. In fact, one of the biggest risks of diabetes is that the foot can stop “warning” you as clearly: a rub, sustained pressure or a small blister can go unnoticed and turn into a bigger problem if they're not caught in time.
That's why talking about diabetic foot and footwear isn't just about comfort. It's about prevention, space, daily checks and choosing shoes that reduce unnecessary pressure points.
The key isn't always to wear an orthopaedic shoe from day one, but to understand what your foot needs, which signs to check for and what kind of footwear can help you walk more safely.
Why footwear changes everything for the diabetic foot
For someone with diabetes, footwear plays a much bigger role than it seems. A narrow, stiff shoe or one with internal seams can put repeated pressure on one specific area of the foot. Someone with normal sensation usually notices that discomfort quickly. With a diabetic foot, not always.
1. Neuropathy: the foot stops warning you
Diabetic neuropathy can reduce sensation in the foot. That means a stone inside the shoe, a seam that rubs or a toe box that's too narrow may not hurt at first.
The problem is that the skin is still under pressure even if you can't feel it. That's why it's so important to choose comfortable footwear, check the inside of the shoe and look at your foot every day.
2. Circulation problems: wounds take longer to heal
When blood flow is poorer, the skin can become more fragile and healing slower. A small blister or crack can take longer to heal and needs closer watching.
That's why, with a diabetic foot, you shouldn't wait until it “really hurts” to act. Sometimes the pain never comes, but the injury does.
3. Deformities that change how the foot bears weight
Claw toes, bunions, bony prominences, Charcot foot or high-pressure areas can change the way the foot sits inside the shoe.
In these cases, the shoe has to adapt to the foot, not the other way round. If the shoe forces the toes together, squeezes the instep or leaves a mark on the heel, it could be creating a risk point.
What happens in a diabetic foot and why it doesn't warn you
Diabetic foot doesn't appear overnight. It's usually the result of several factors combined: loss of sensation, skin changes, changes in gait and, in some cases, circulation problems.
1. Loss of protective sensation
Protective sensation is what lets you notice that something is pinching, burning, pricking or rubbing. When it's reduced, the foot is left more exposed.
That's why someone with neuropathy shouldn't walk barefoot outside very controlled environments, or wear a brand-new shoe for many hours without checking afterwards how the foot has reacted.
2. Drier, more vulnerable skin
Diabetes can lead to dryness, cracks and changes in the skin. Dry skin cracks more easily, especially on the heels or in areas of friction.
Daily moisturising, avoiding cream between the toes if it leaves moisture behind, can help keep the skin in better condition.
3. Pressure areas that can turn into ulcers
A red patch, a new callus or a mark that stays after taking the shoe off are signs worth watching. They're not just cosmetic details: they can mean the shoe is pressing too hard.
If that pressure continues day after day, it can lead to an injury.
Features that really do protect in footwear for diabetic feet
Not every comfortable shoe is right for someone with diabetes. Footwear should offer space, stability and protection, without causing rubbing inside.
1. Wide, deep toe box
The toe box should let the toes lie flat, without overlapping or being squashed. It's not enough for the shoe to be long: it also needs enough width and depth.
This is especially important if there are bunions, claw toes, sensitive nails or pressure areas on the forefoot.
2. Breathable materials with no internal seams
The inside of the shoe should be as smooth as possible. Raised seams, ridges or hard pieces can cause rubbing even if the shoe looks comfortable from the outside.
Breathable materials help control moisture and reduce that clammy, softened-skin feeling, especially if the shoes are worn for many hours a day.
3. Adjustable fastening
Laces, Velcro or adjustable systems let you adapt the shoe to the real volume of your foot. This matters a lot because the foot can swell over the course of the day.
A shoe with no fastening can feel comfortable, but if the foot slides around inside, it can hit the toe box or cause friction on the heel and toes.
4. Closed, stable heel
With a diabetic foot, the heel should be held firmly, but without excessive pressure. A closed heel stops the foot from moving around inside the shoe and improves stability when walking.
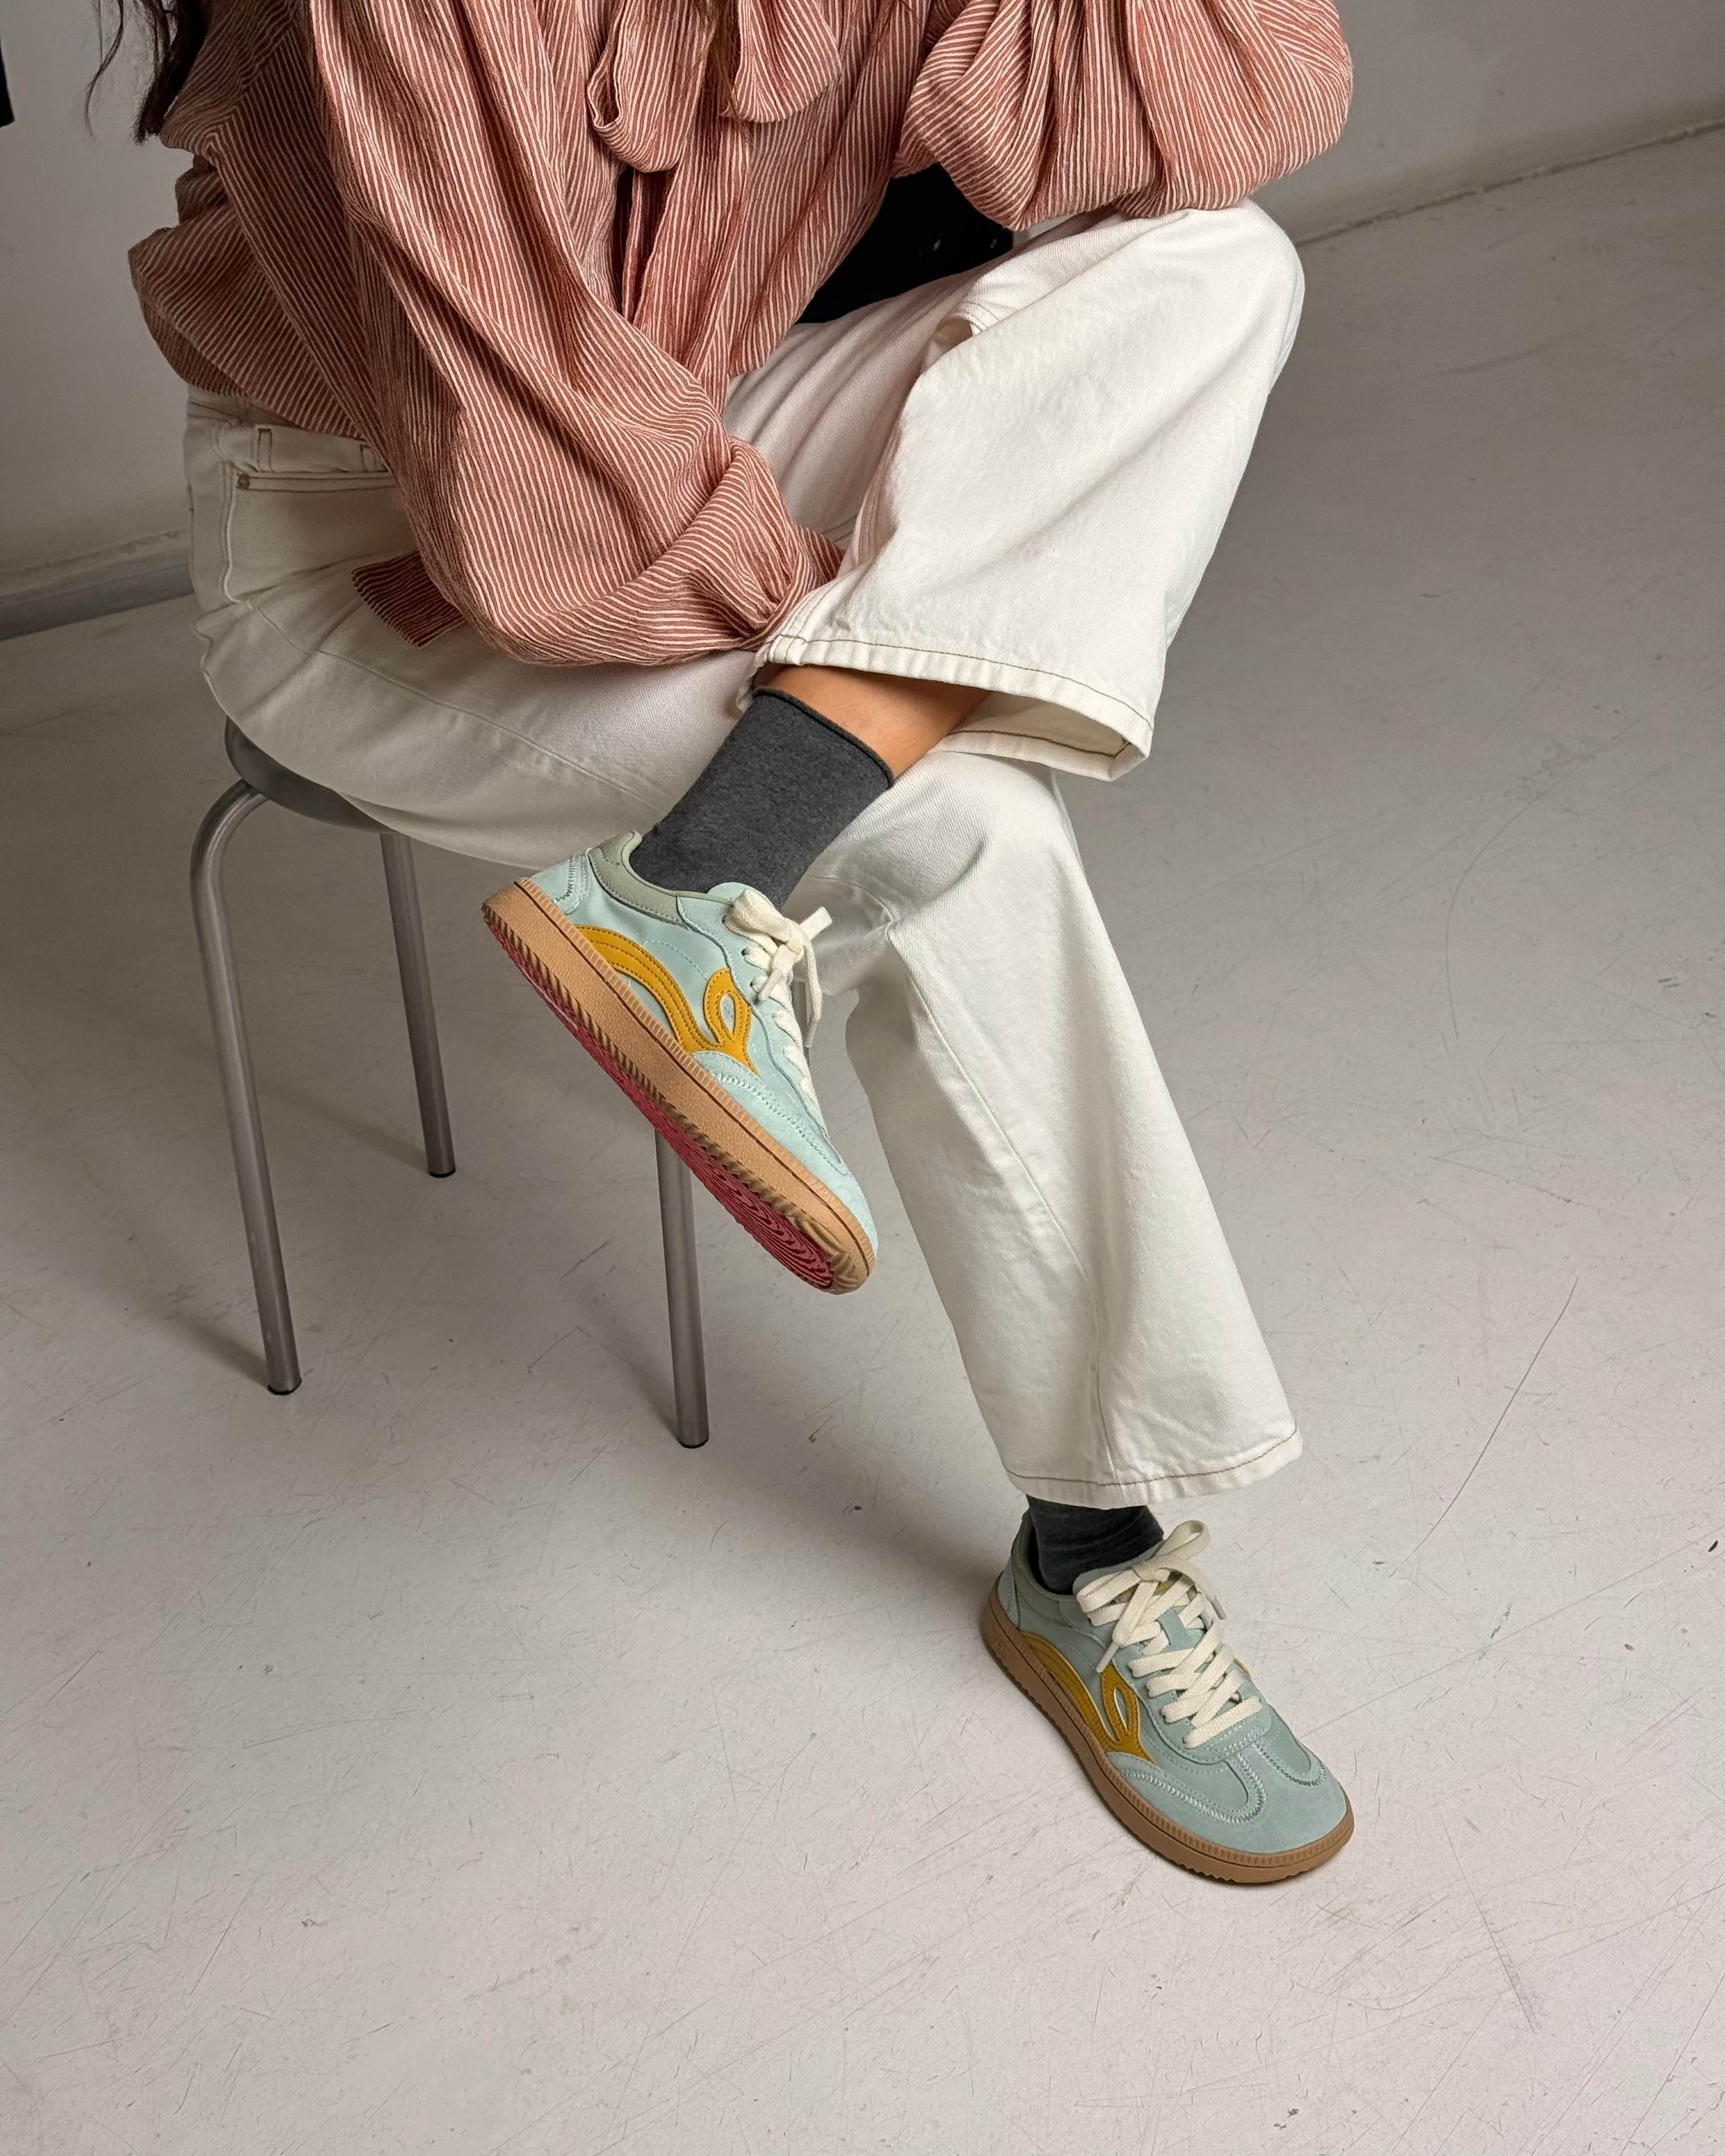
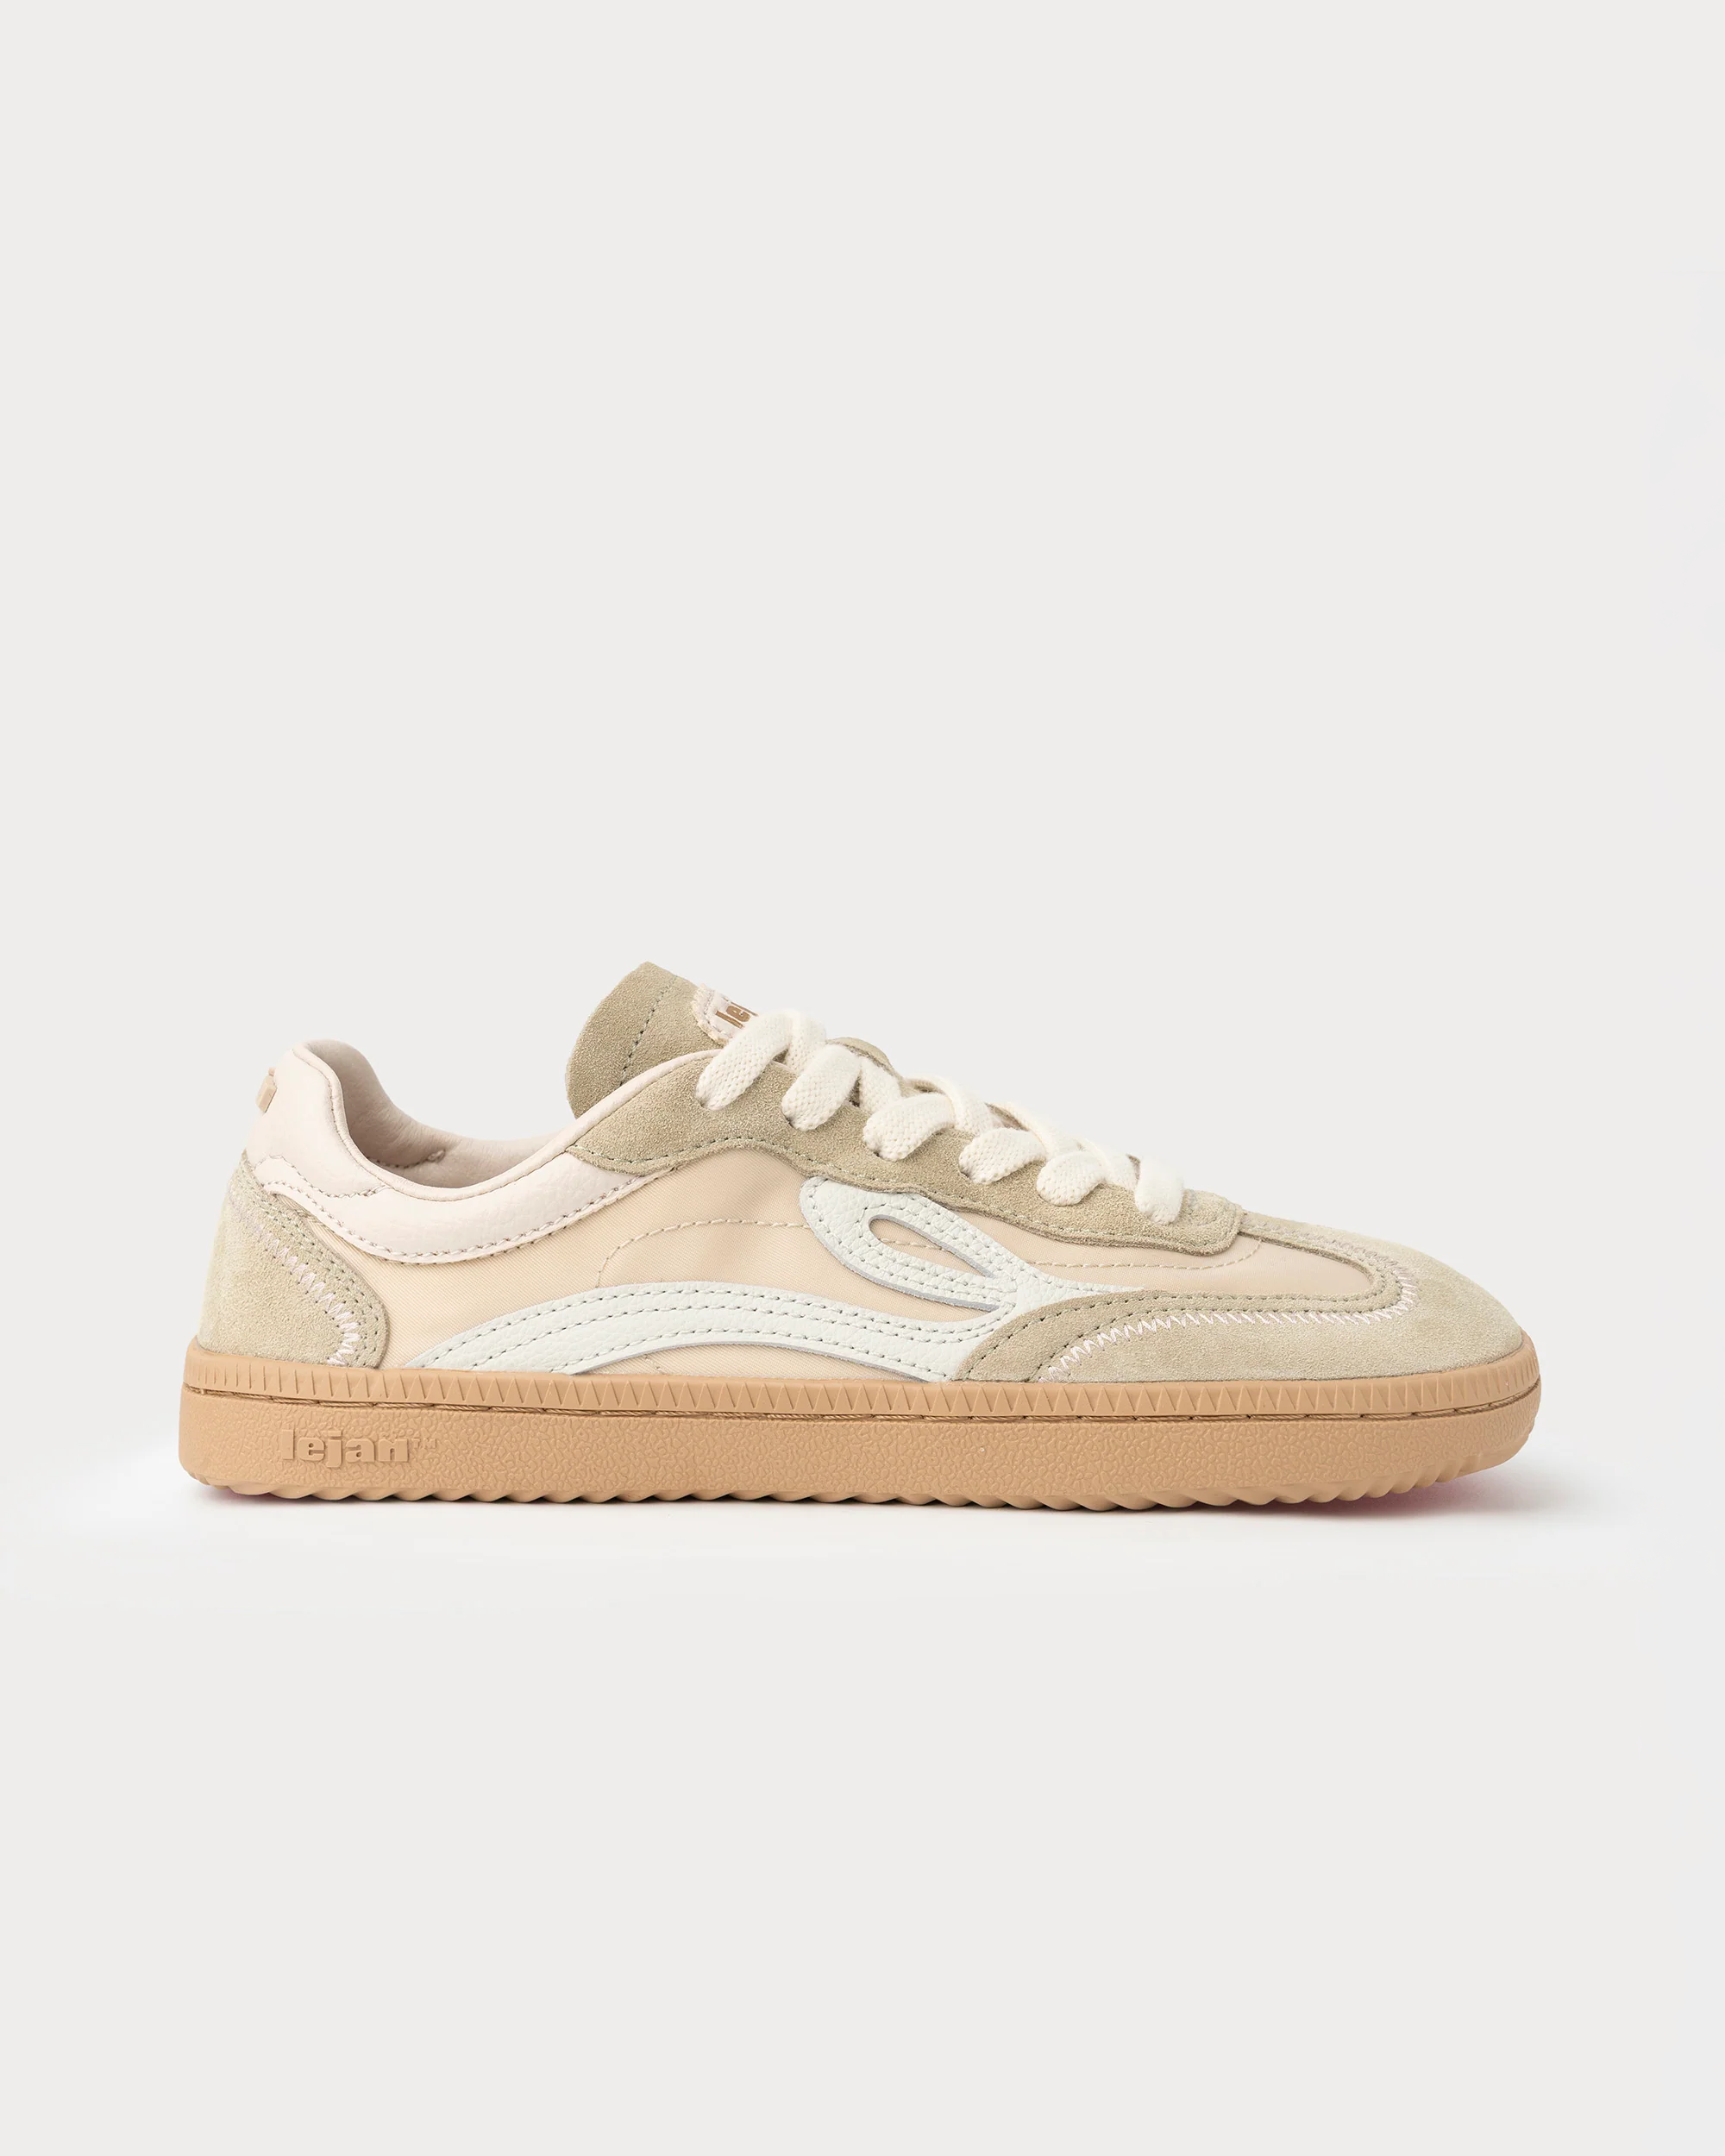
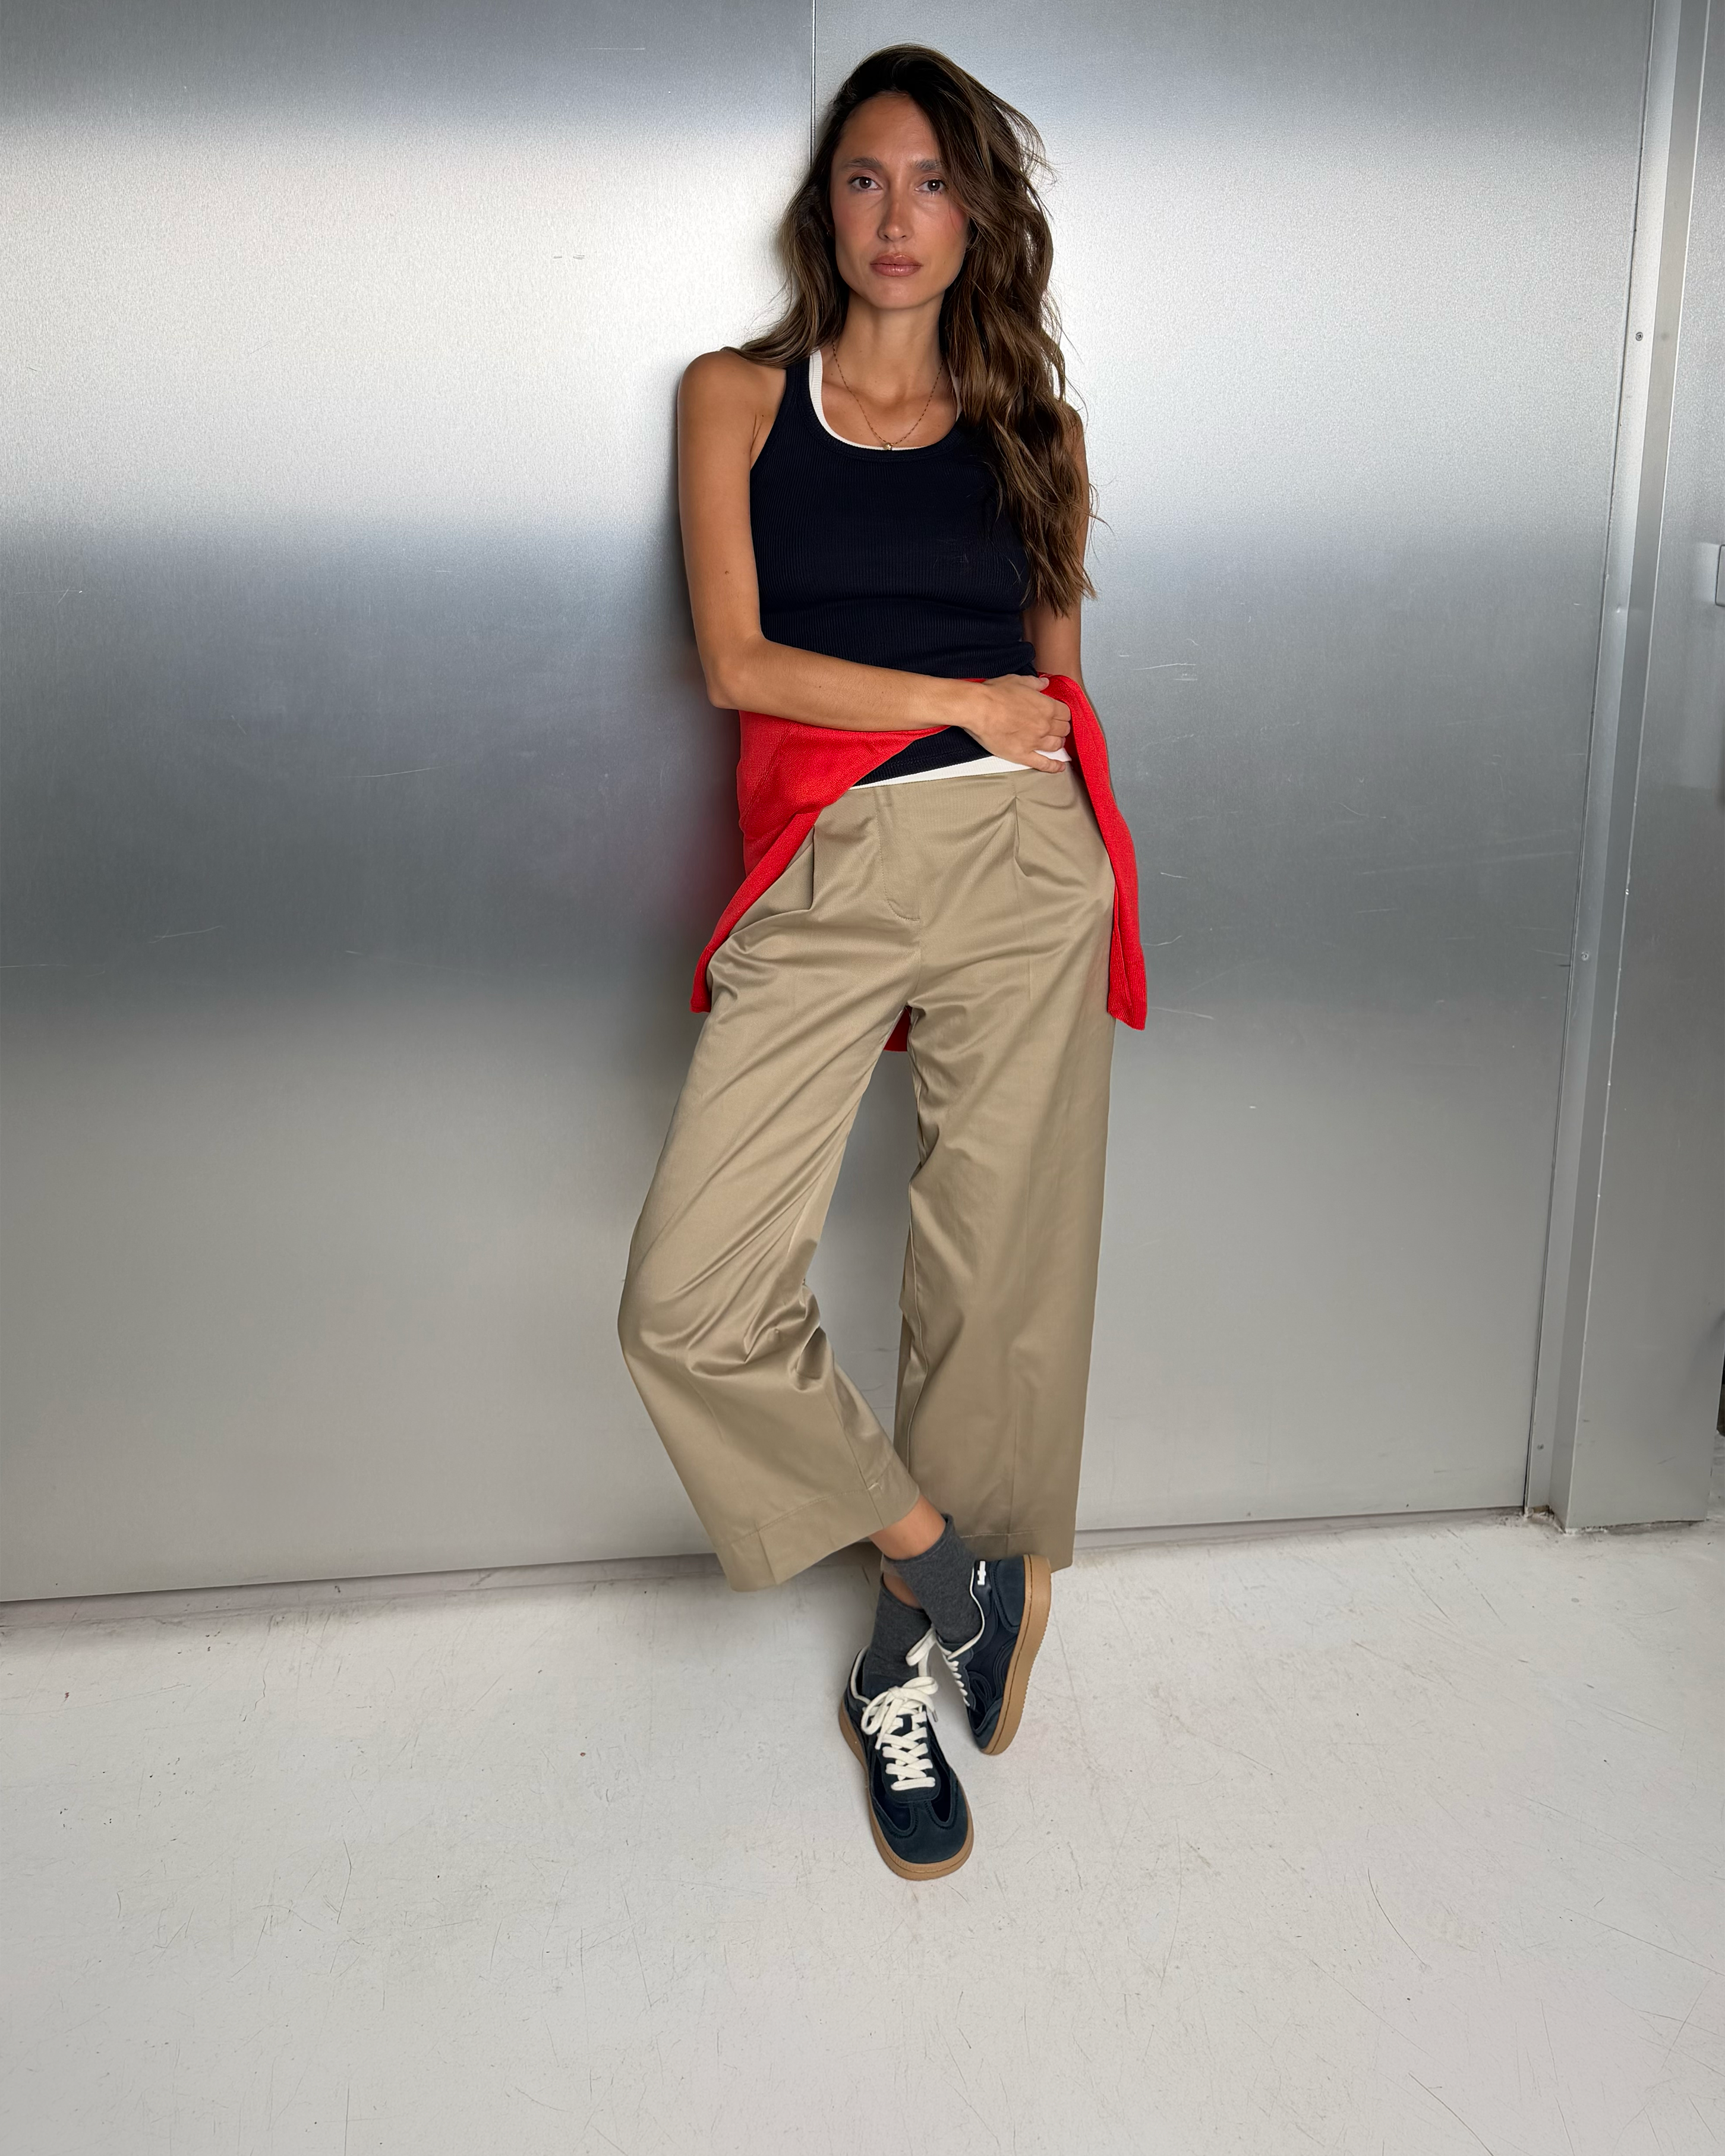
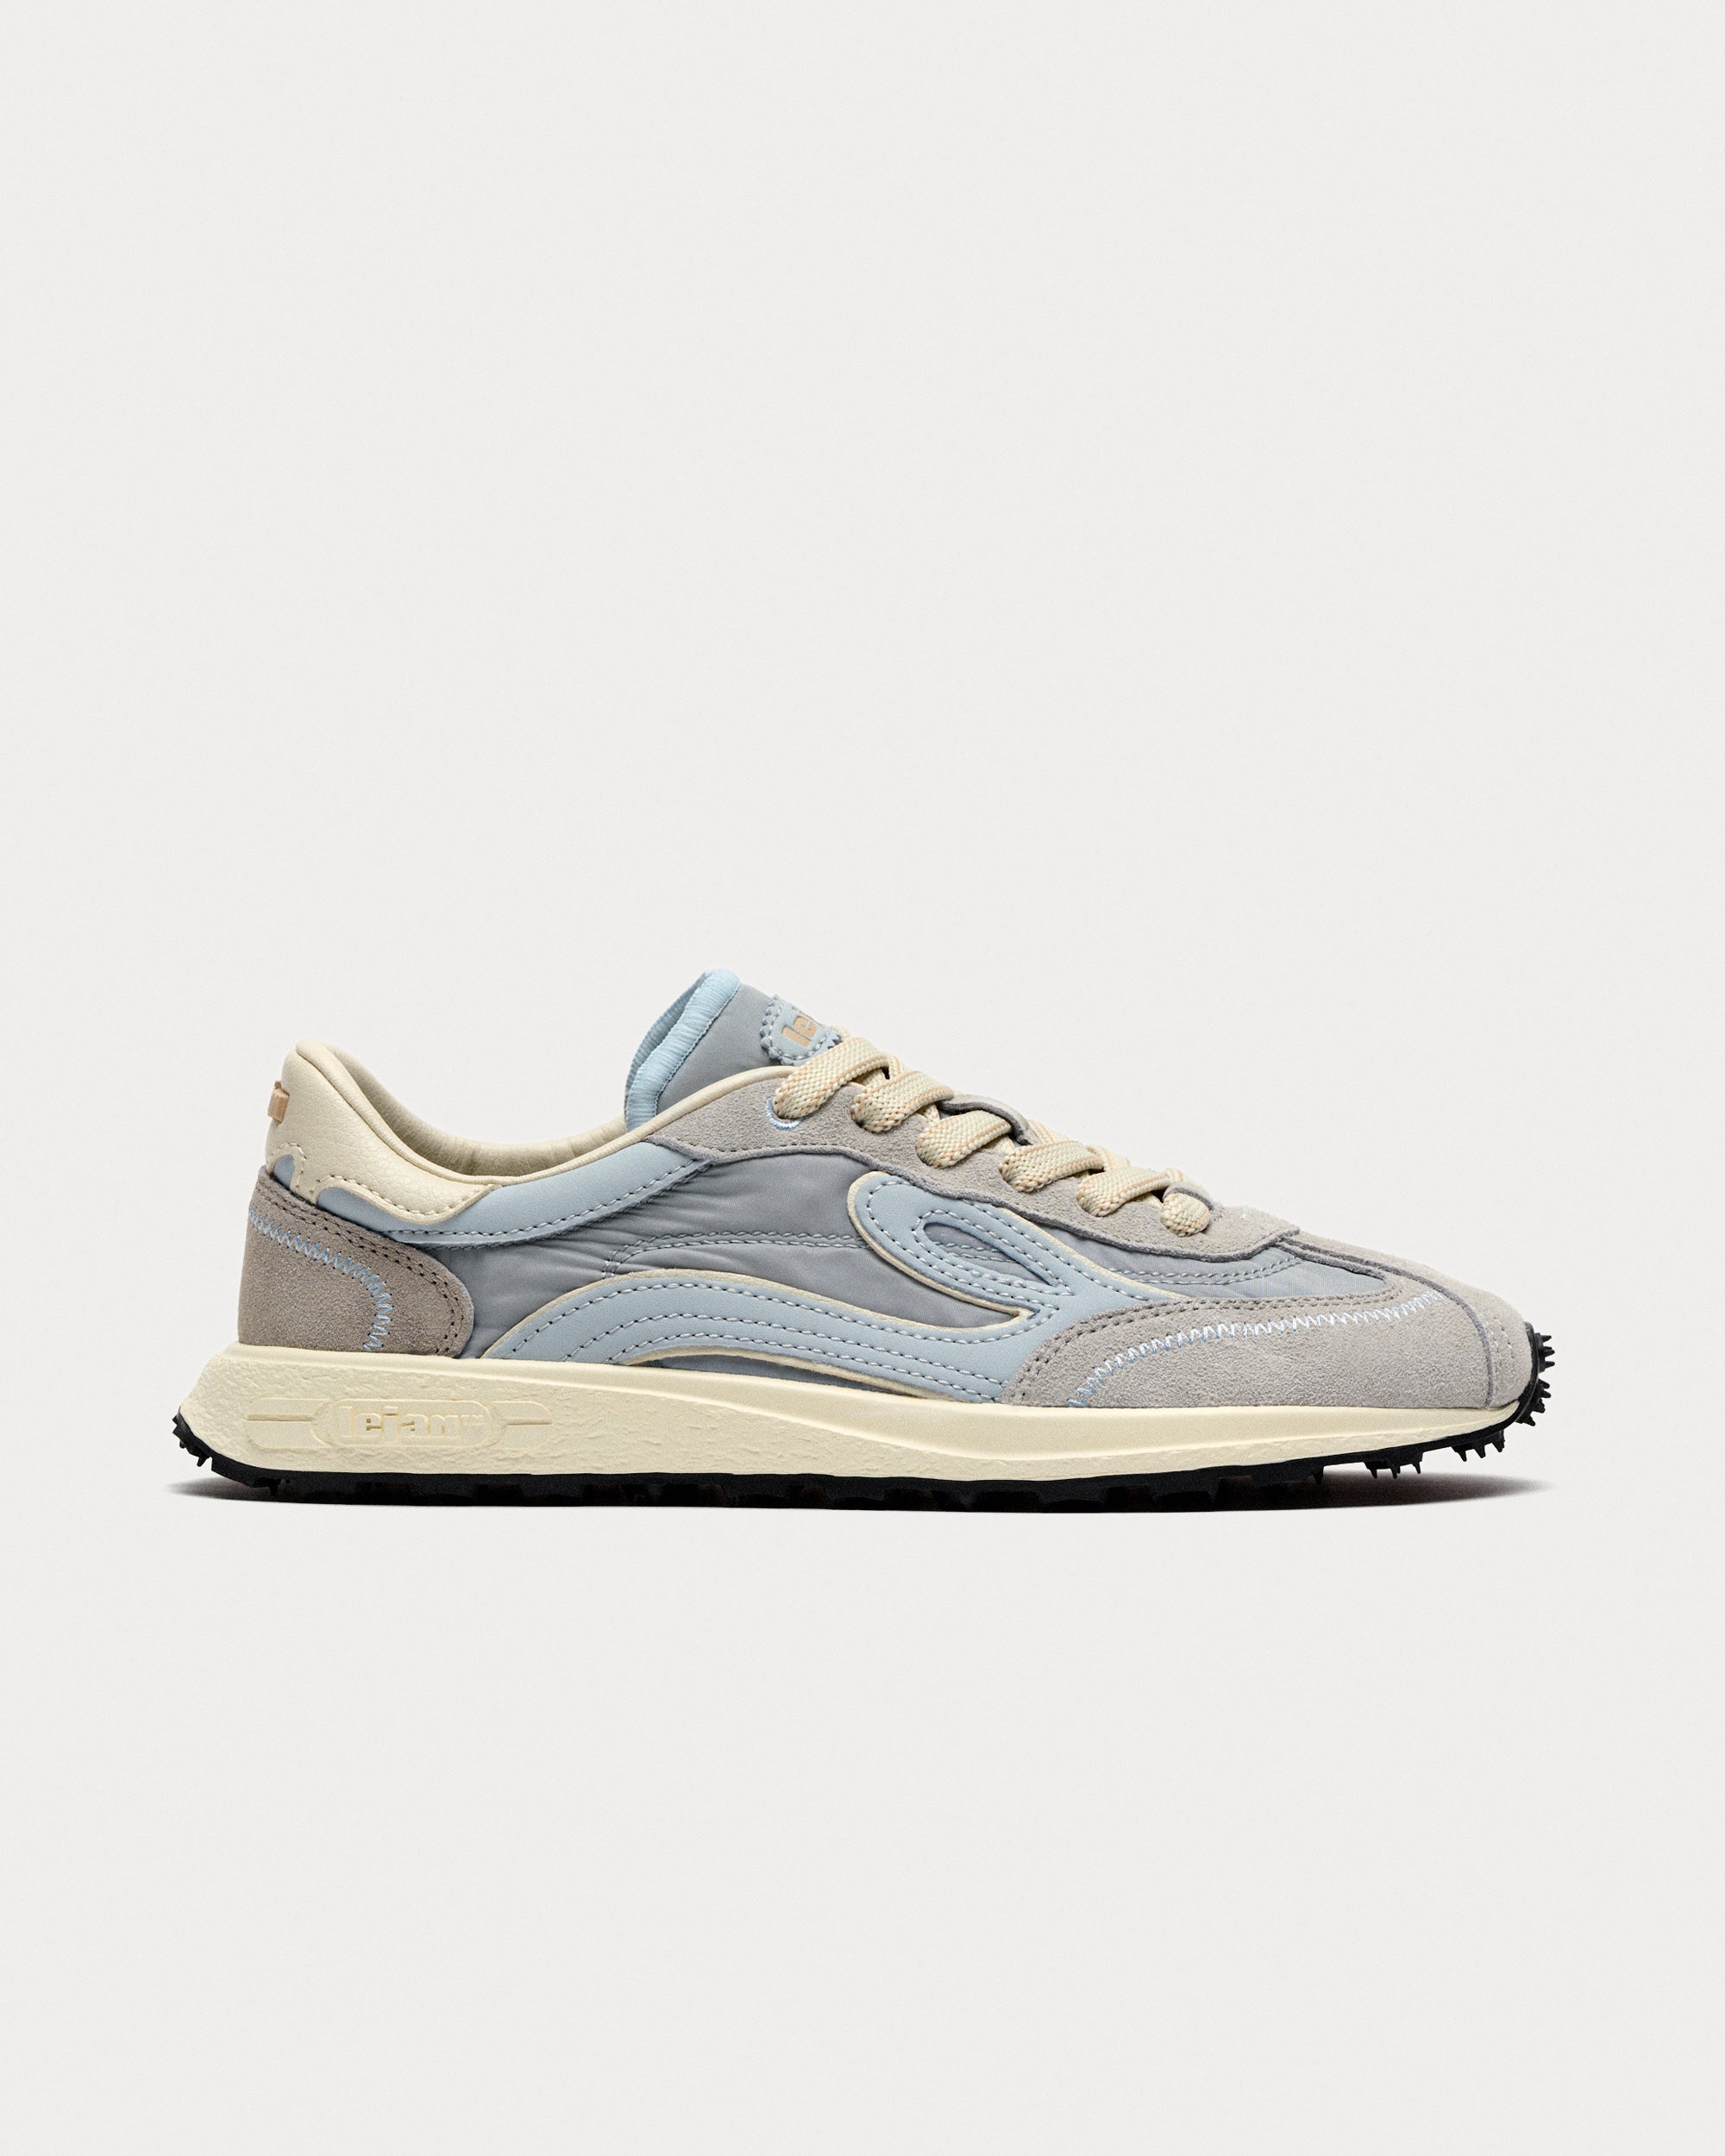
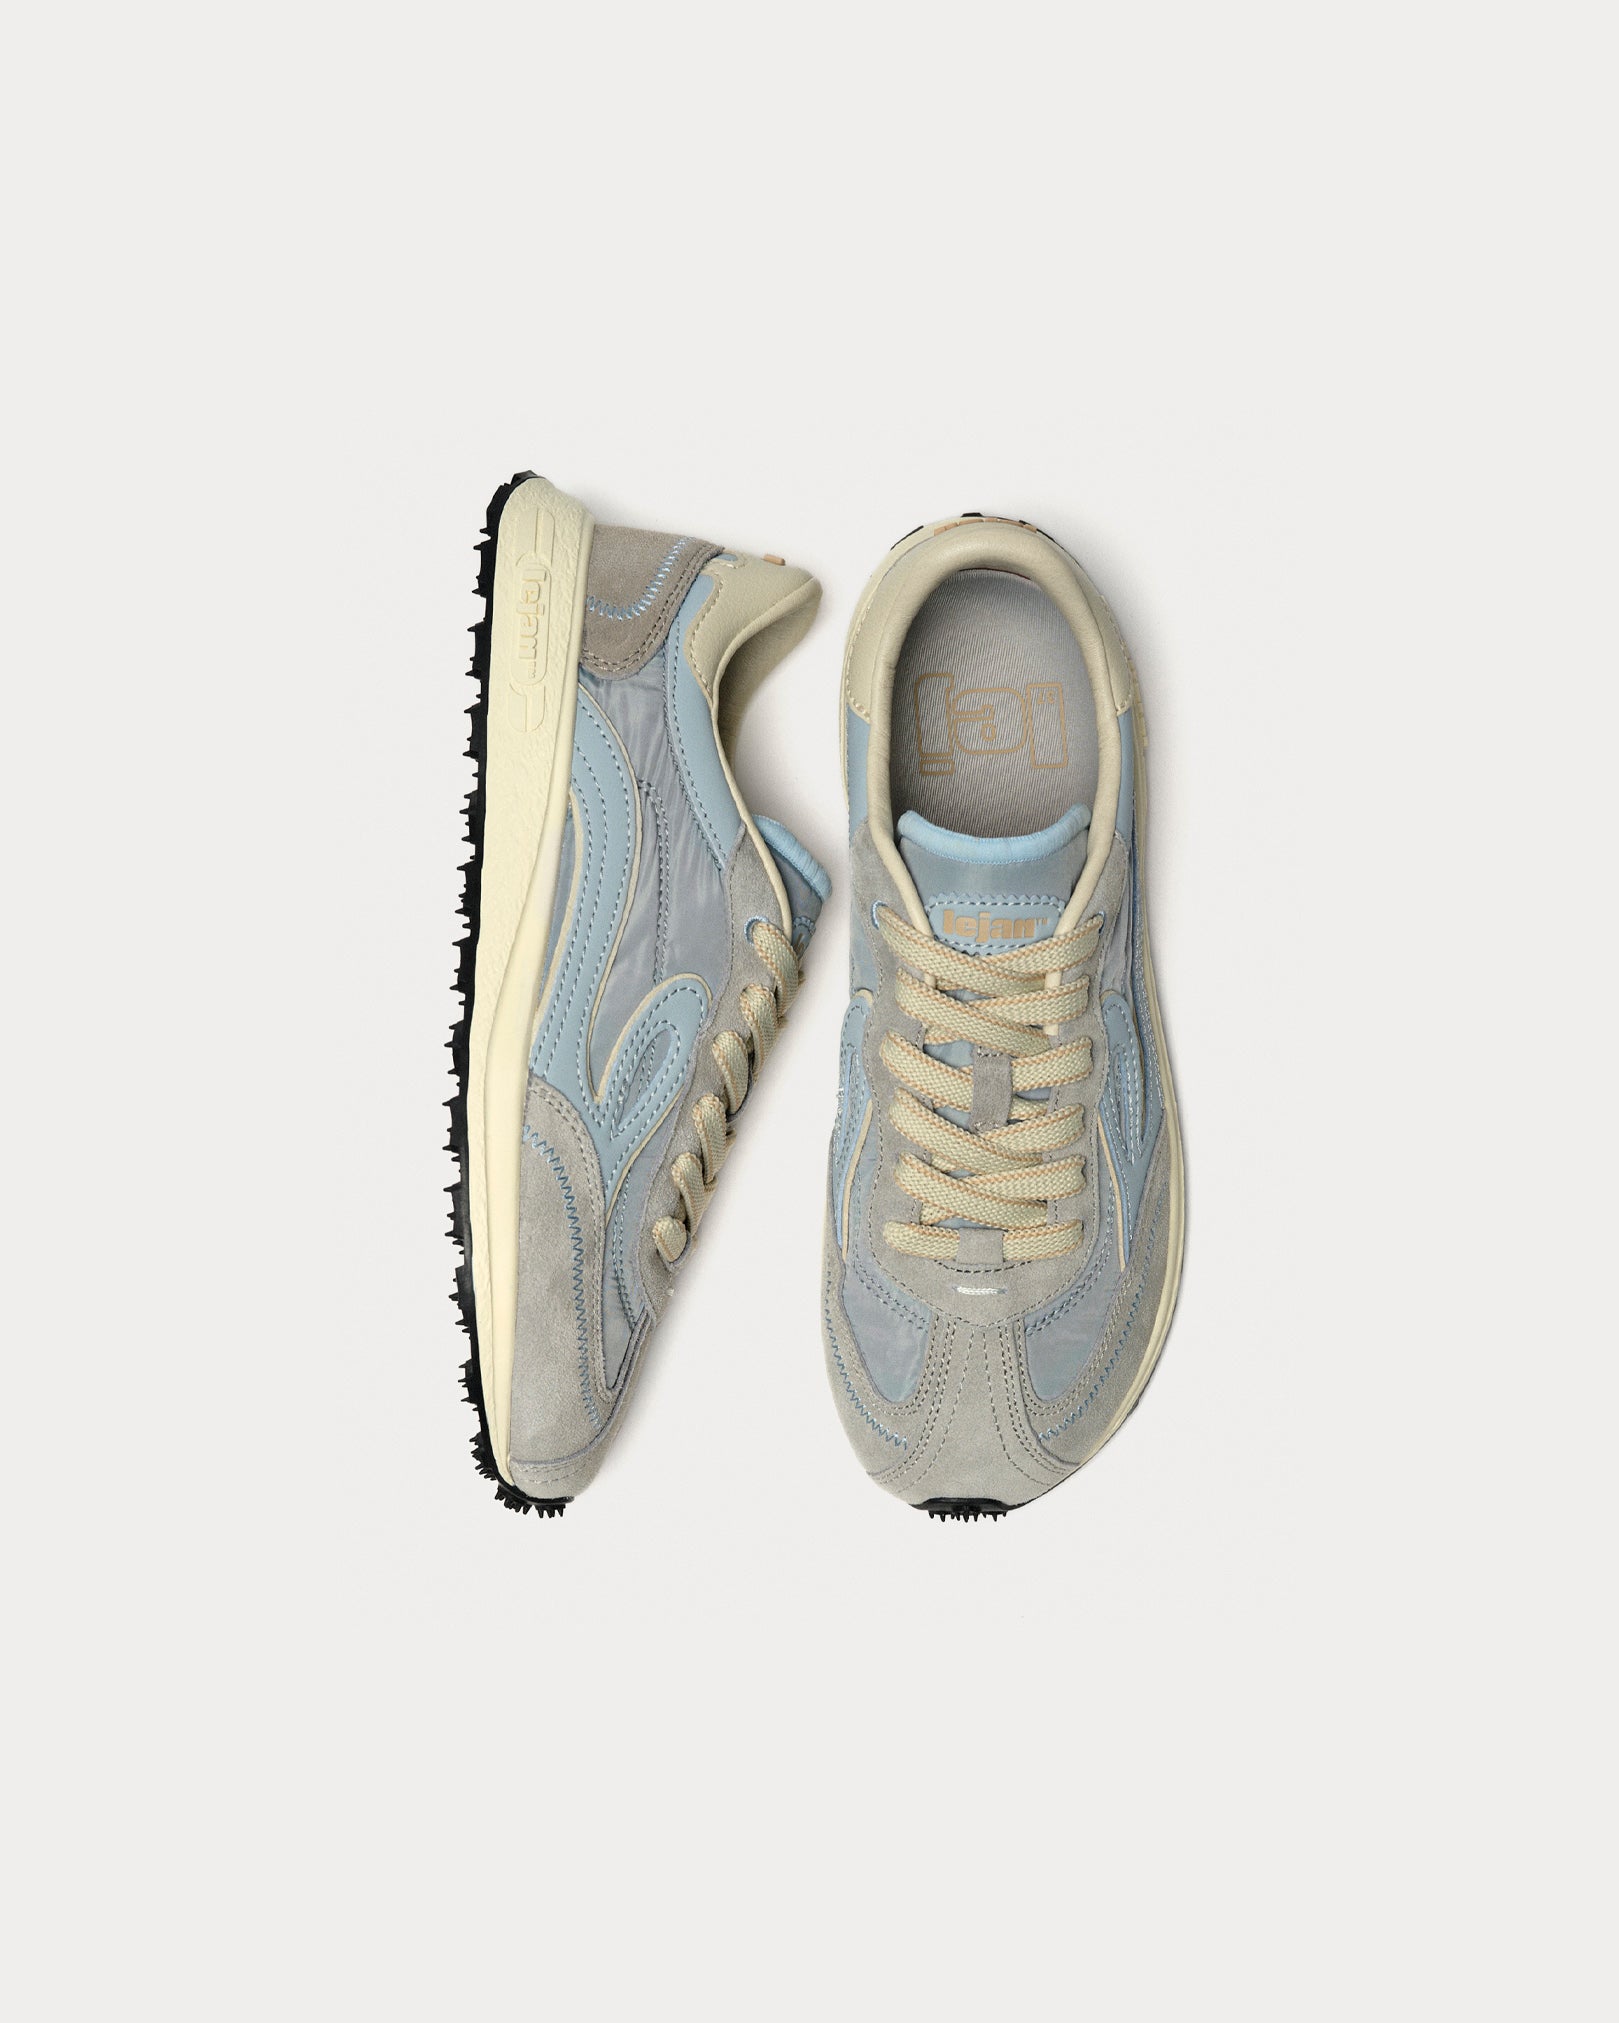
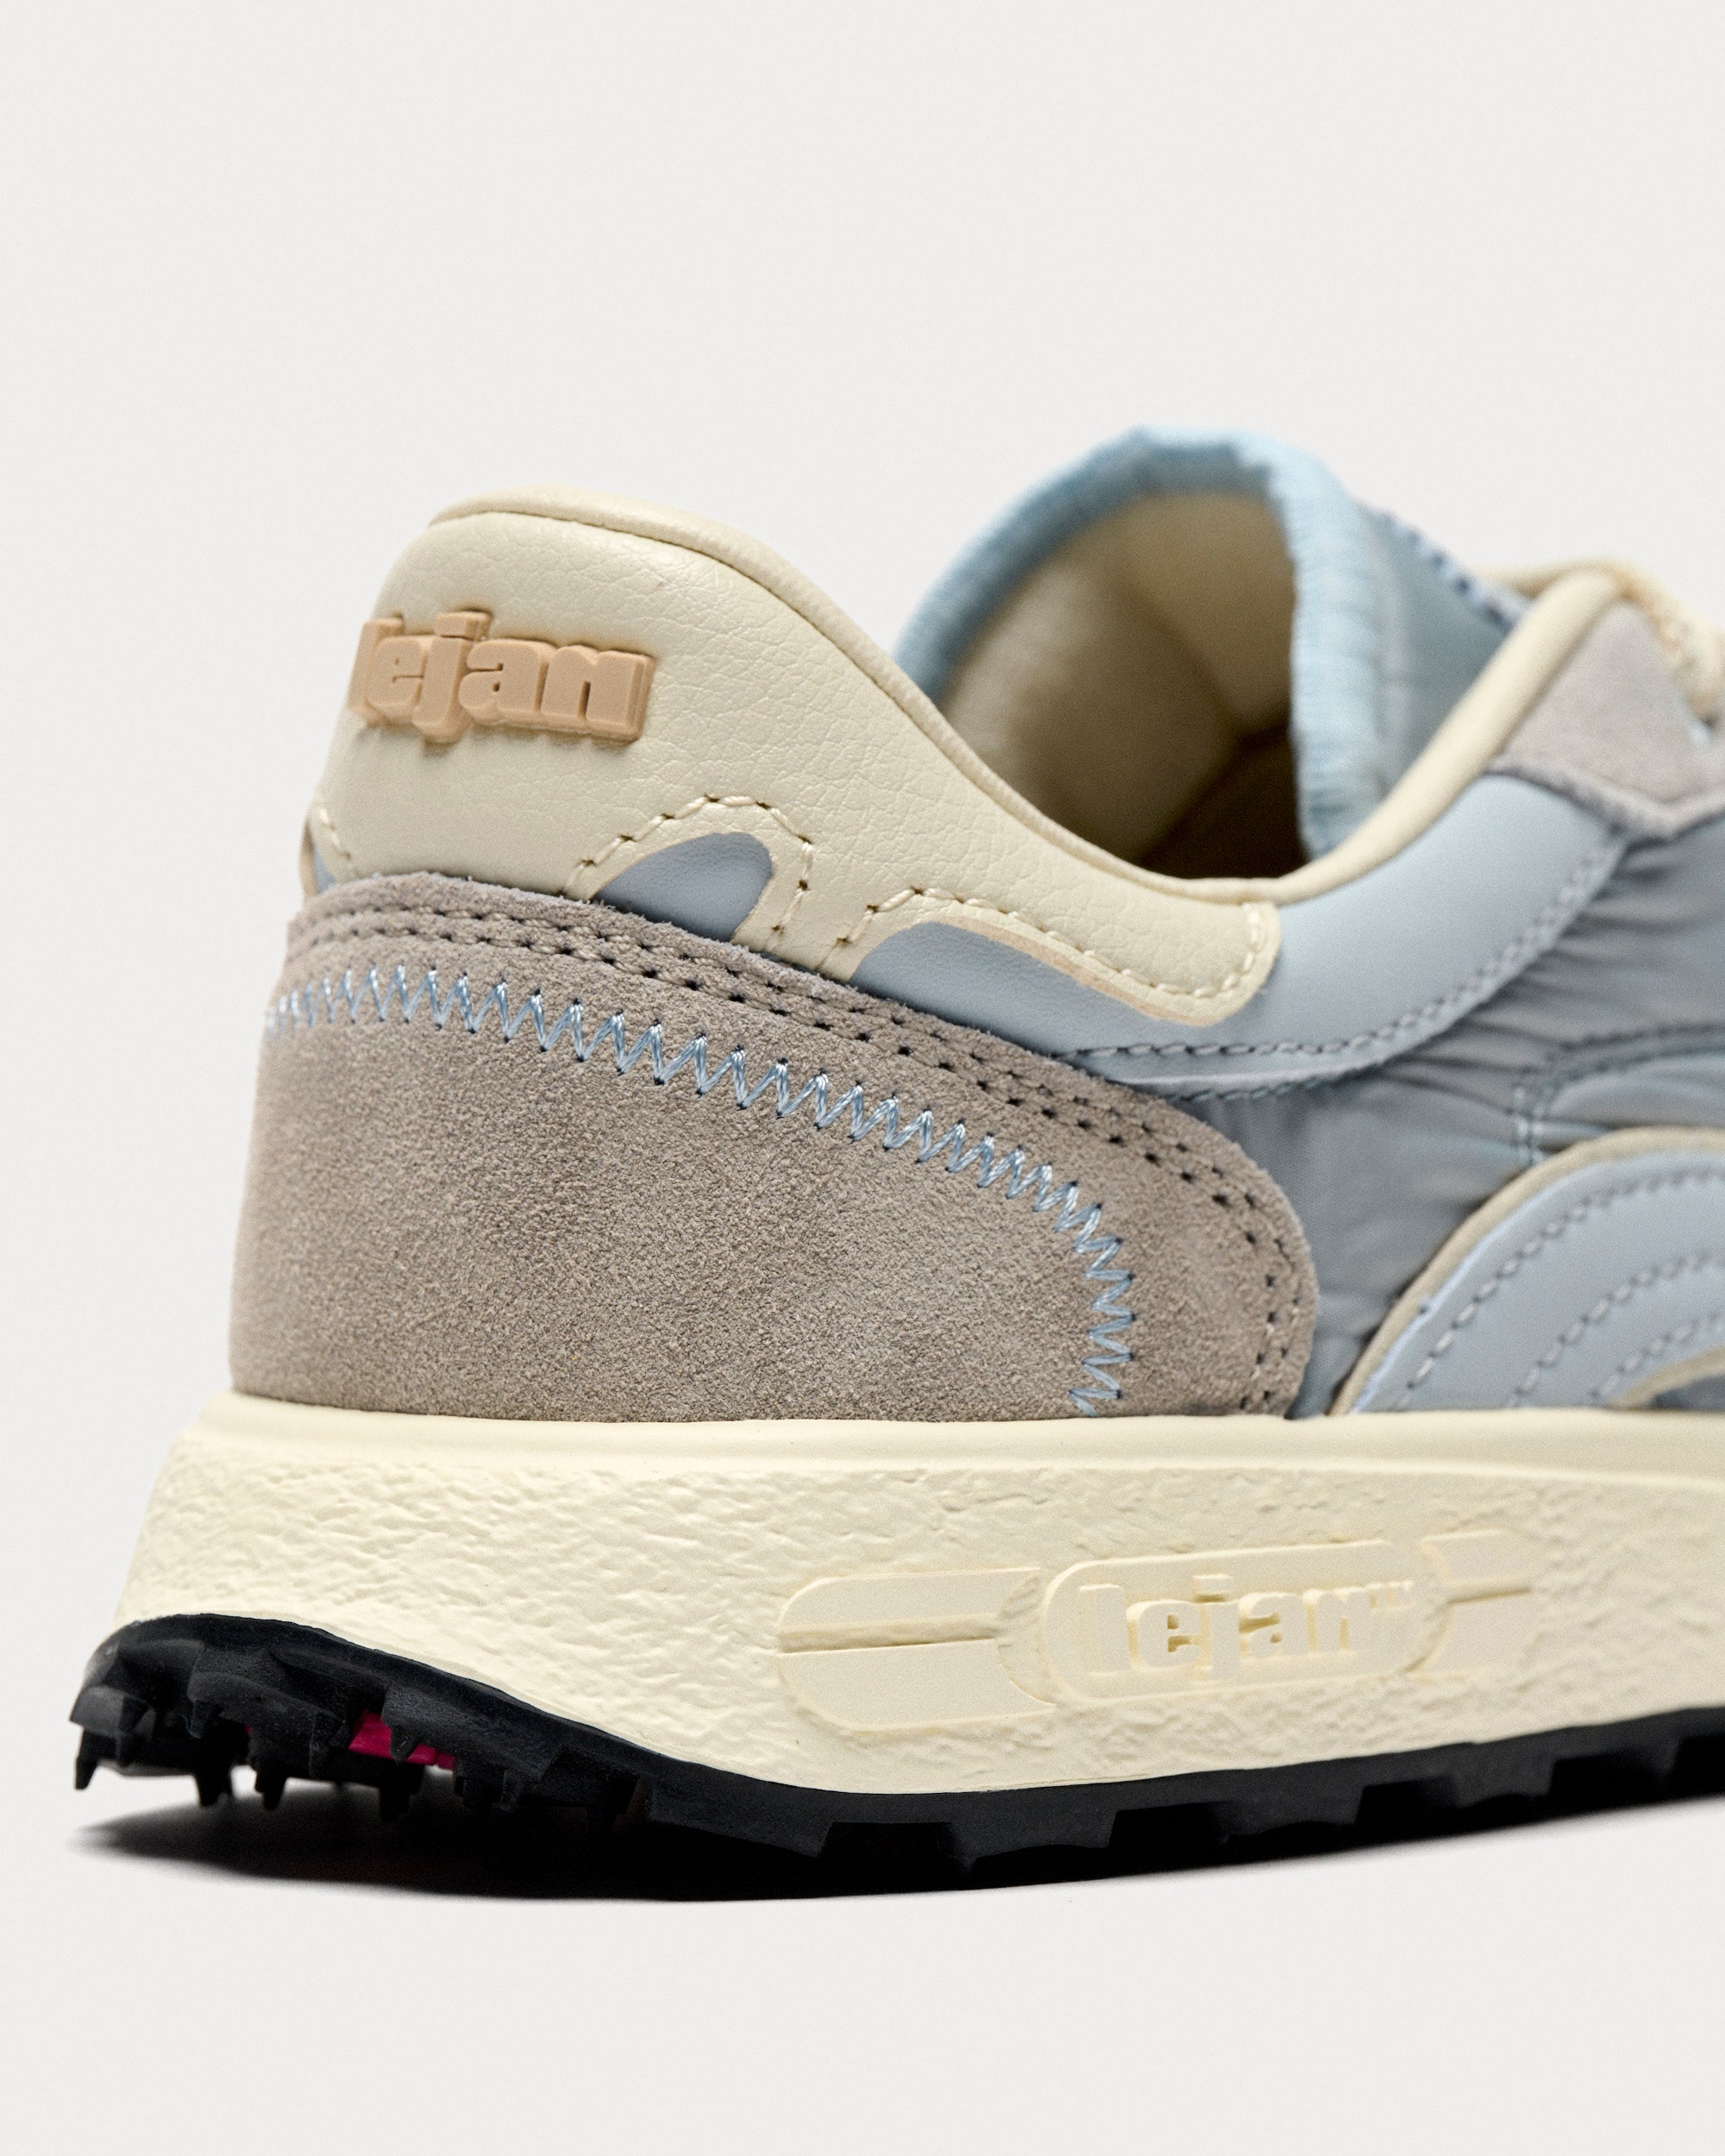
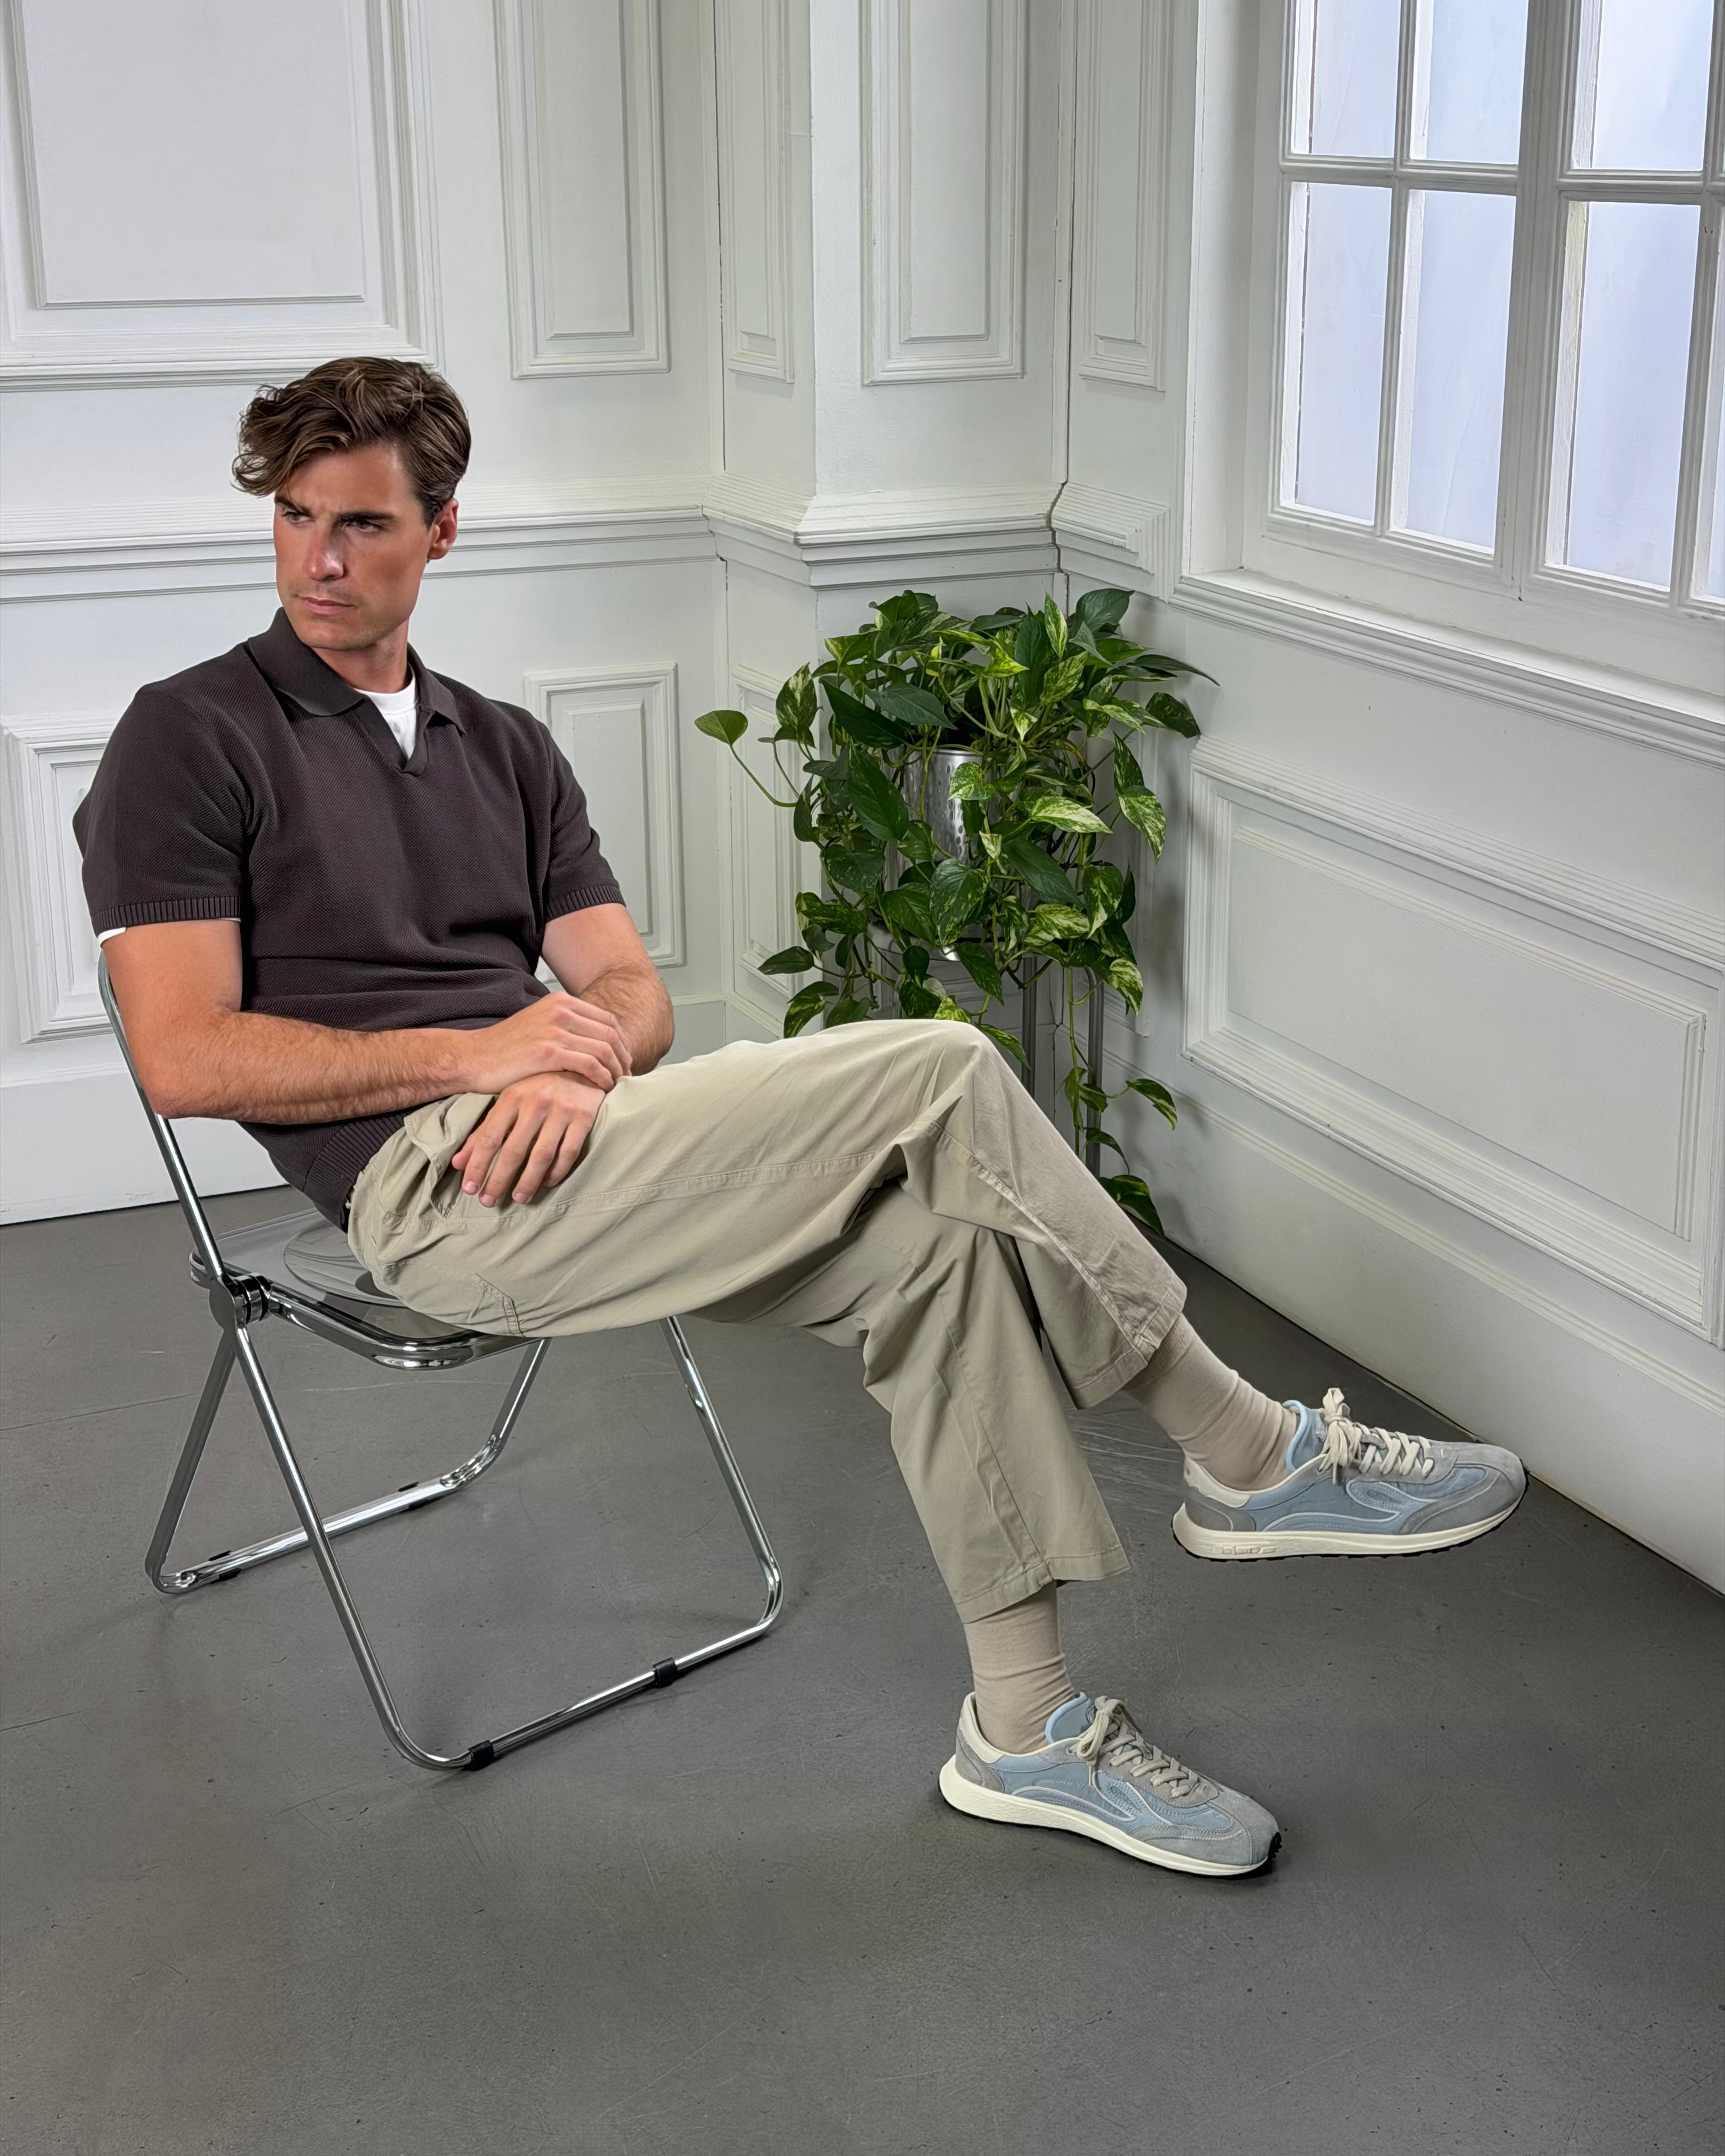
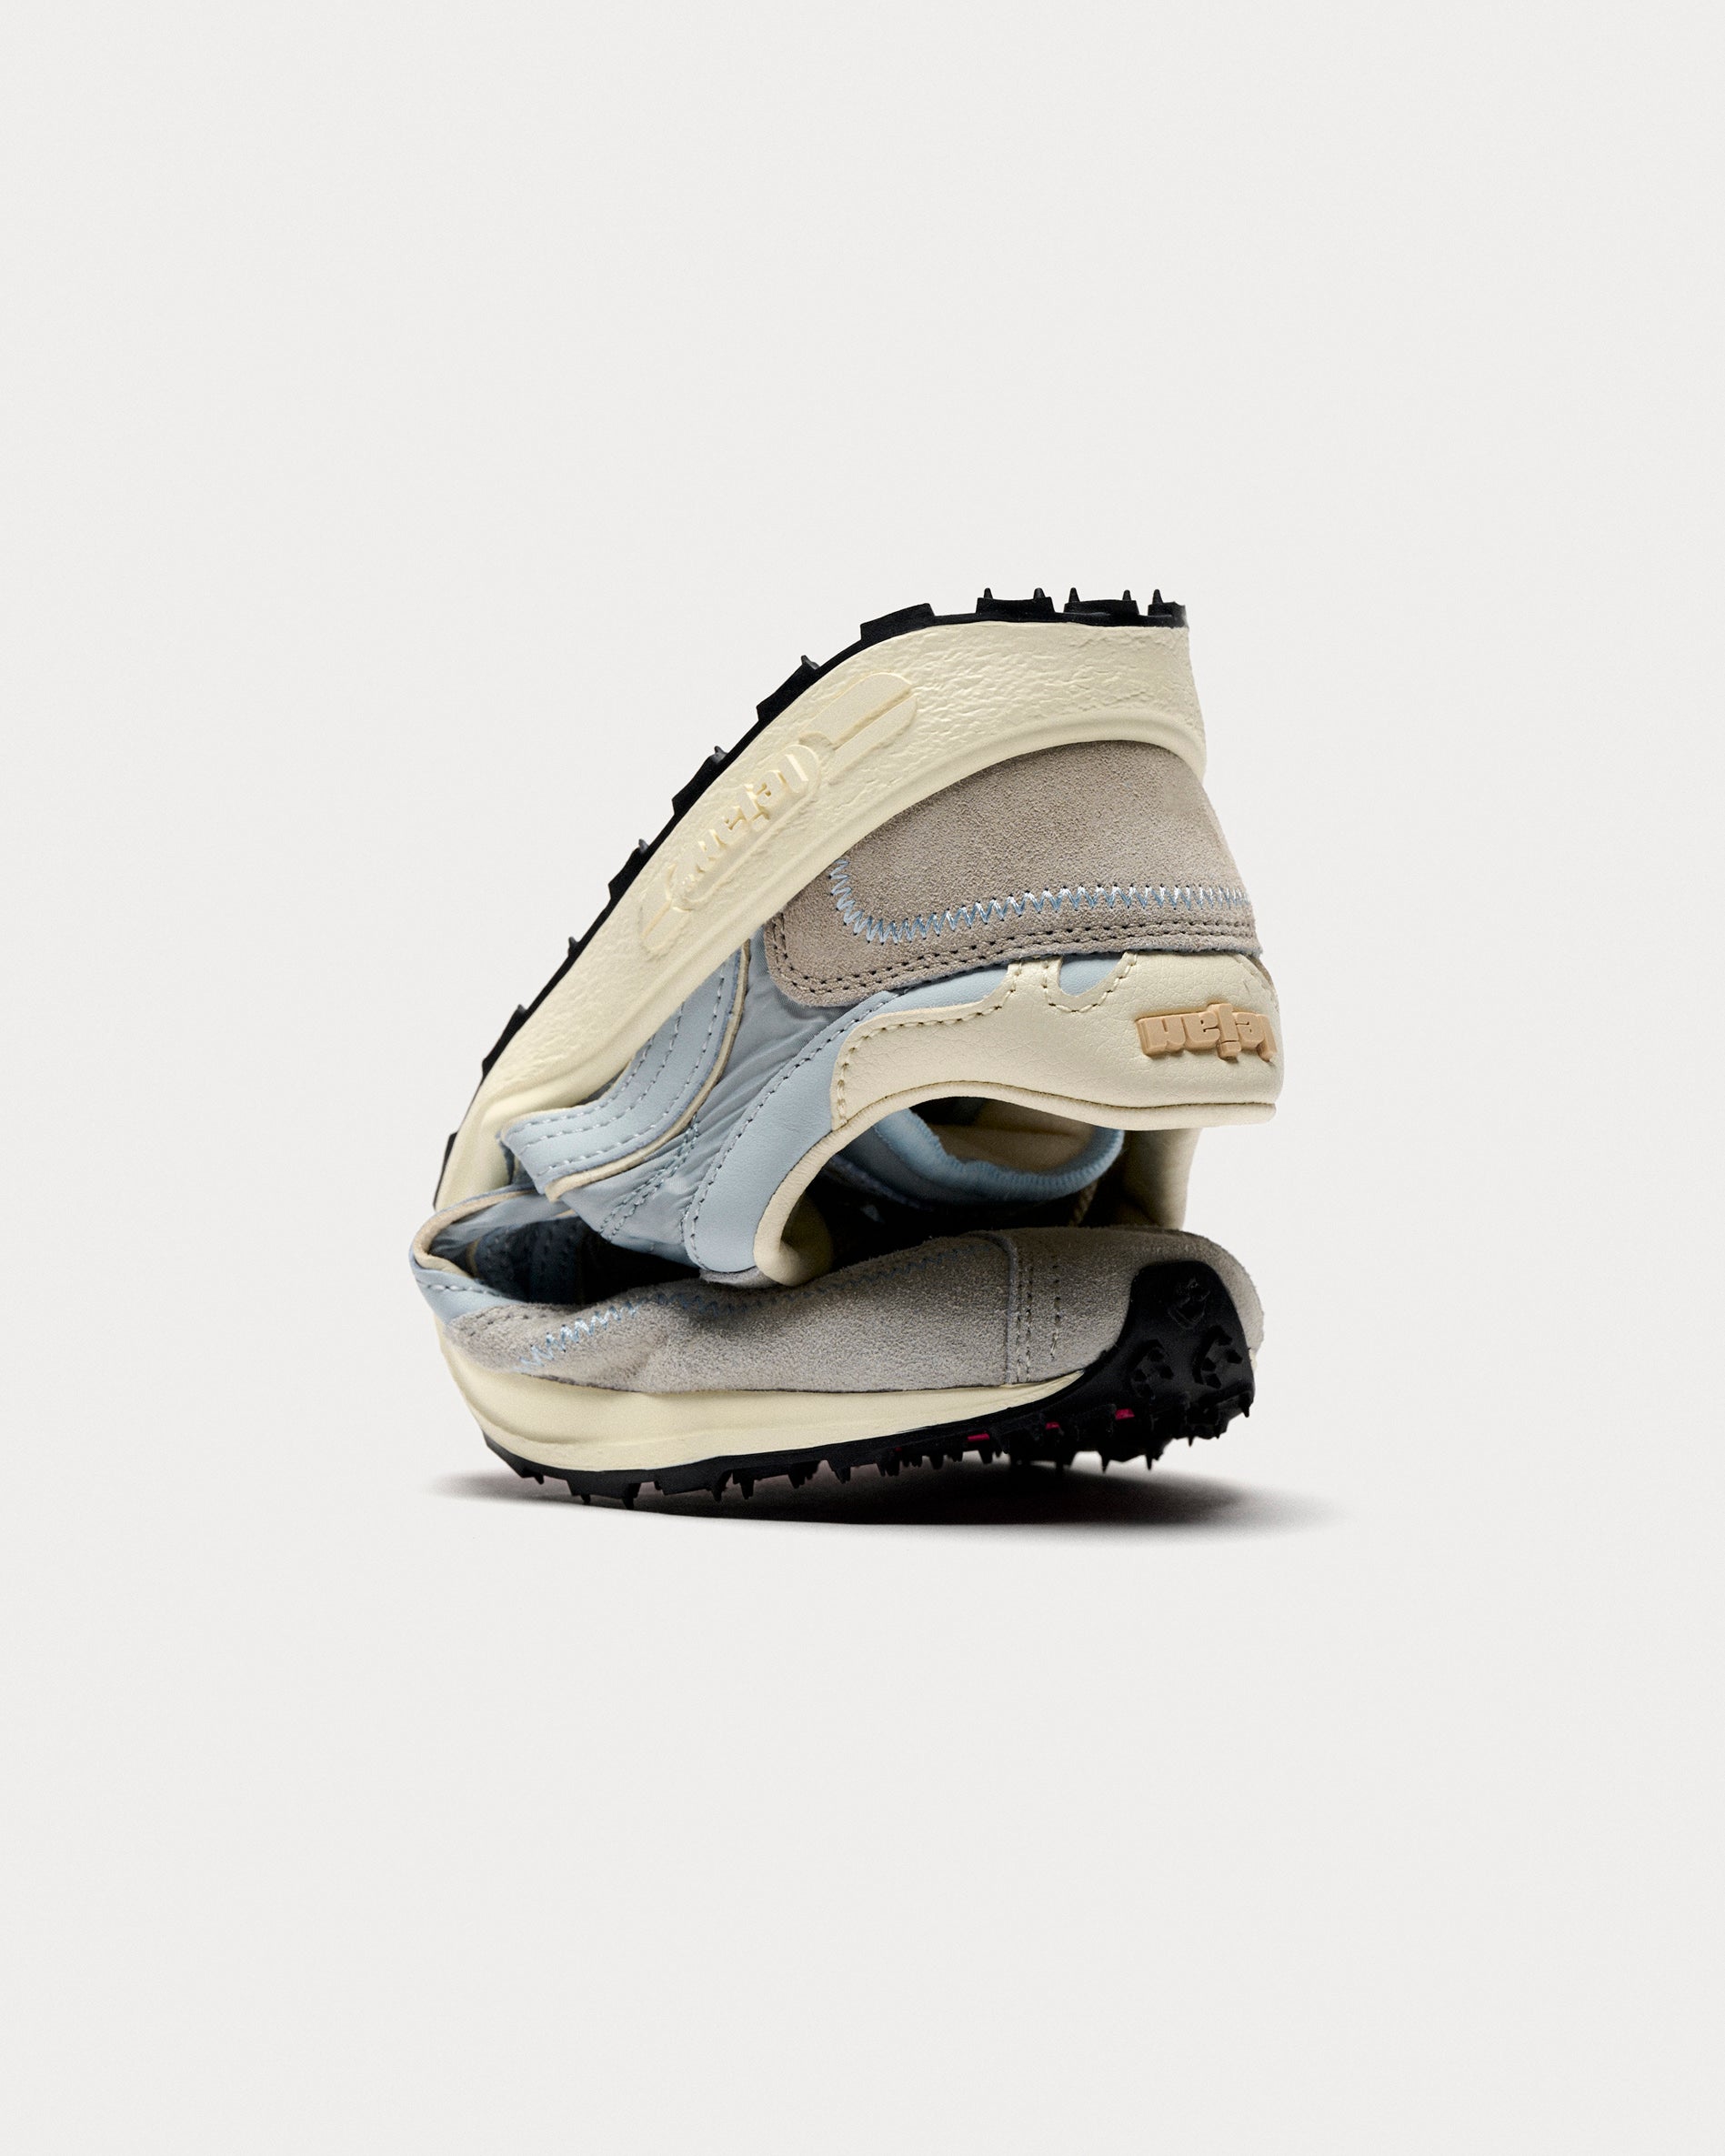
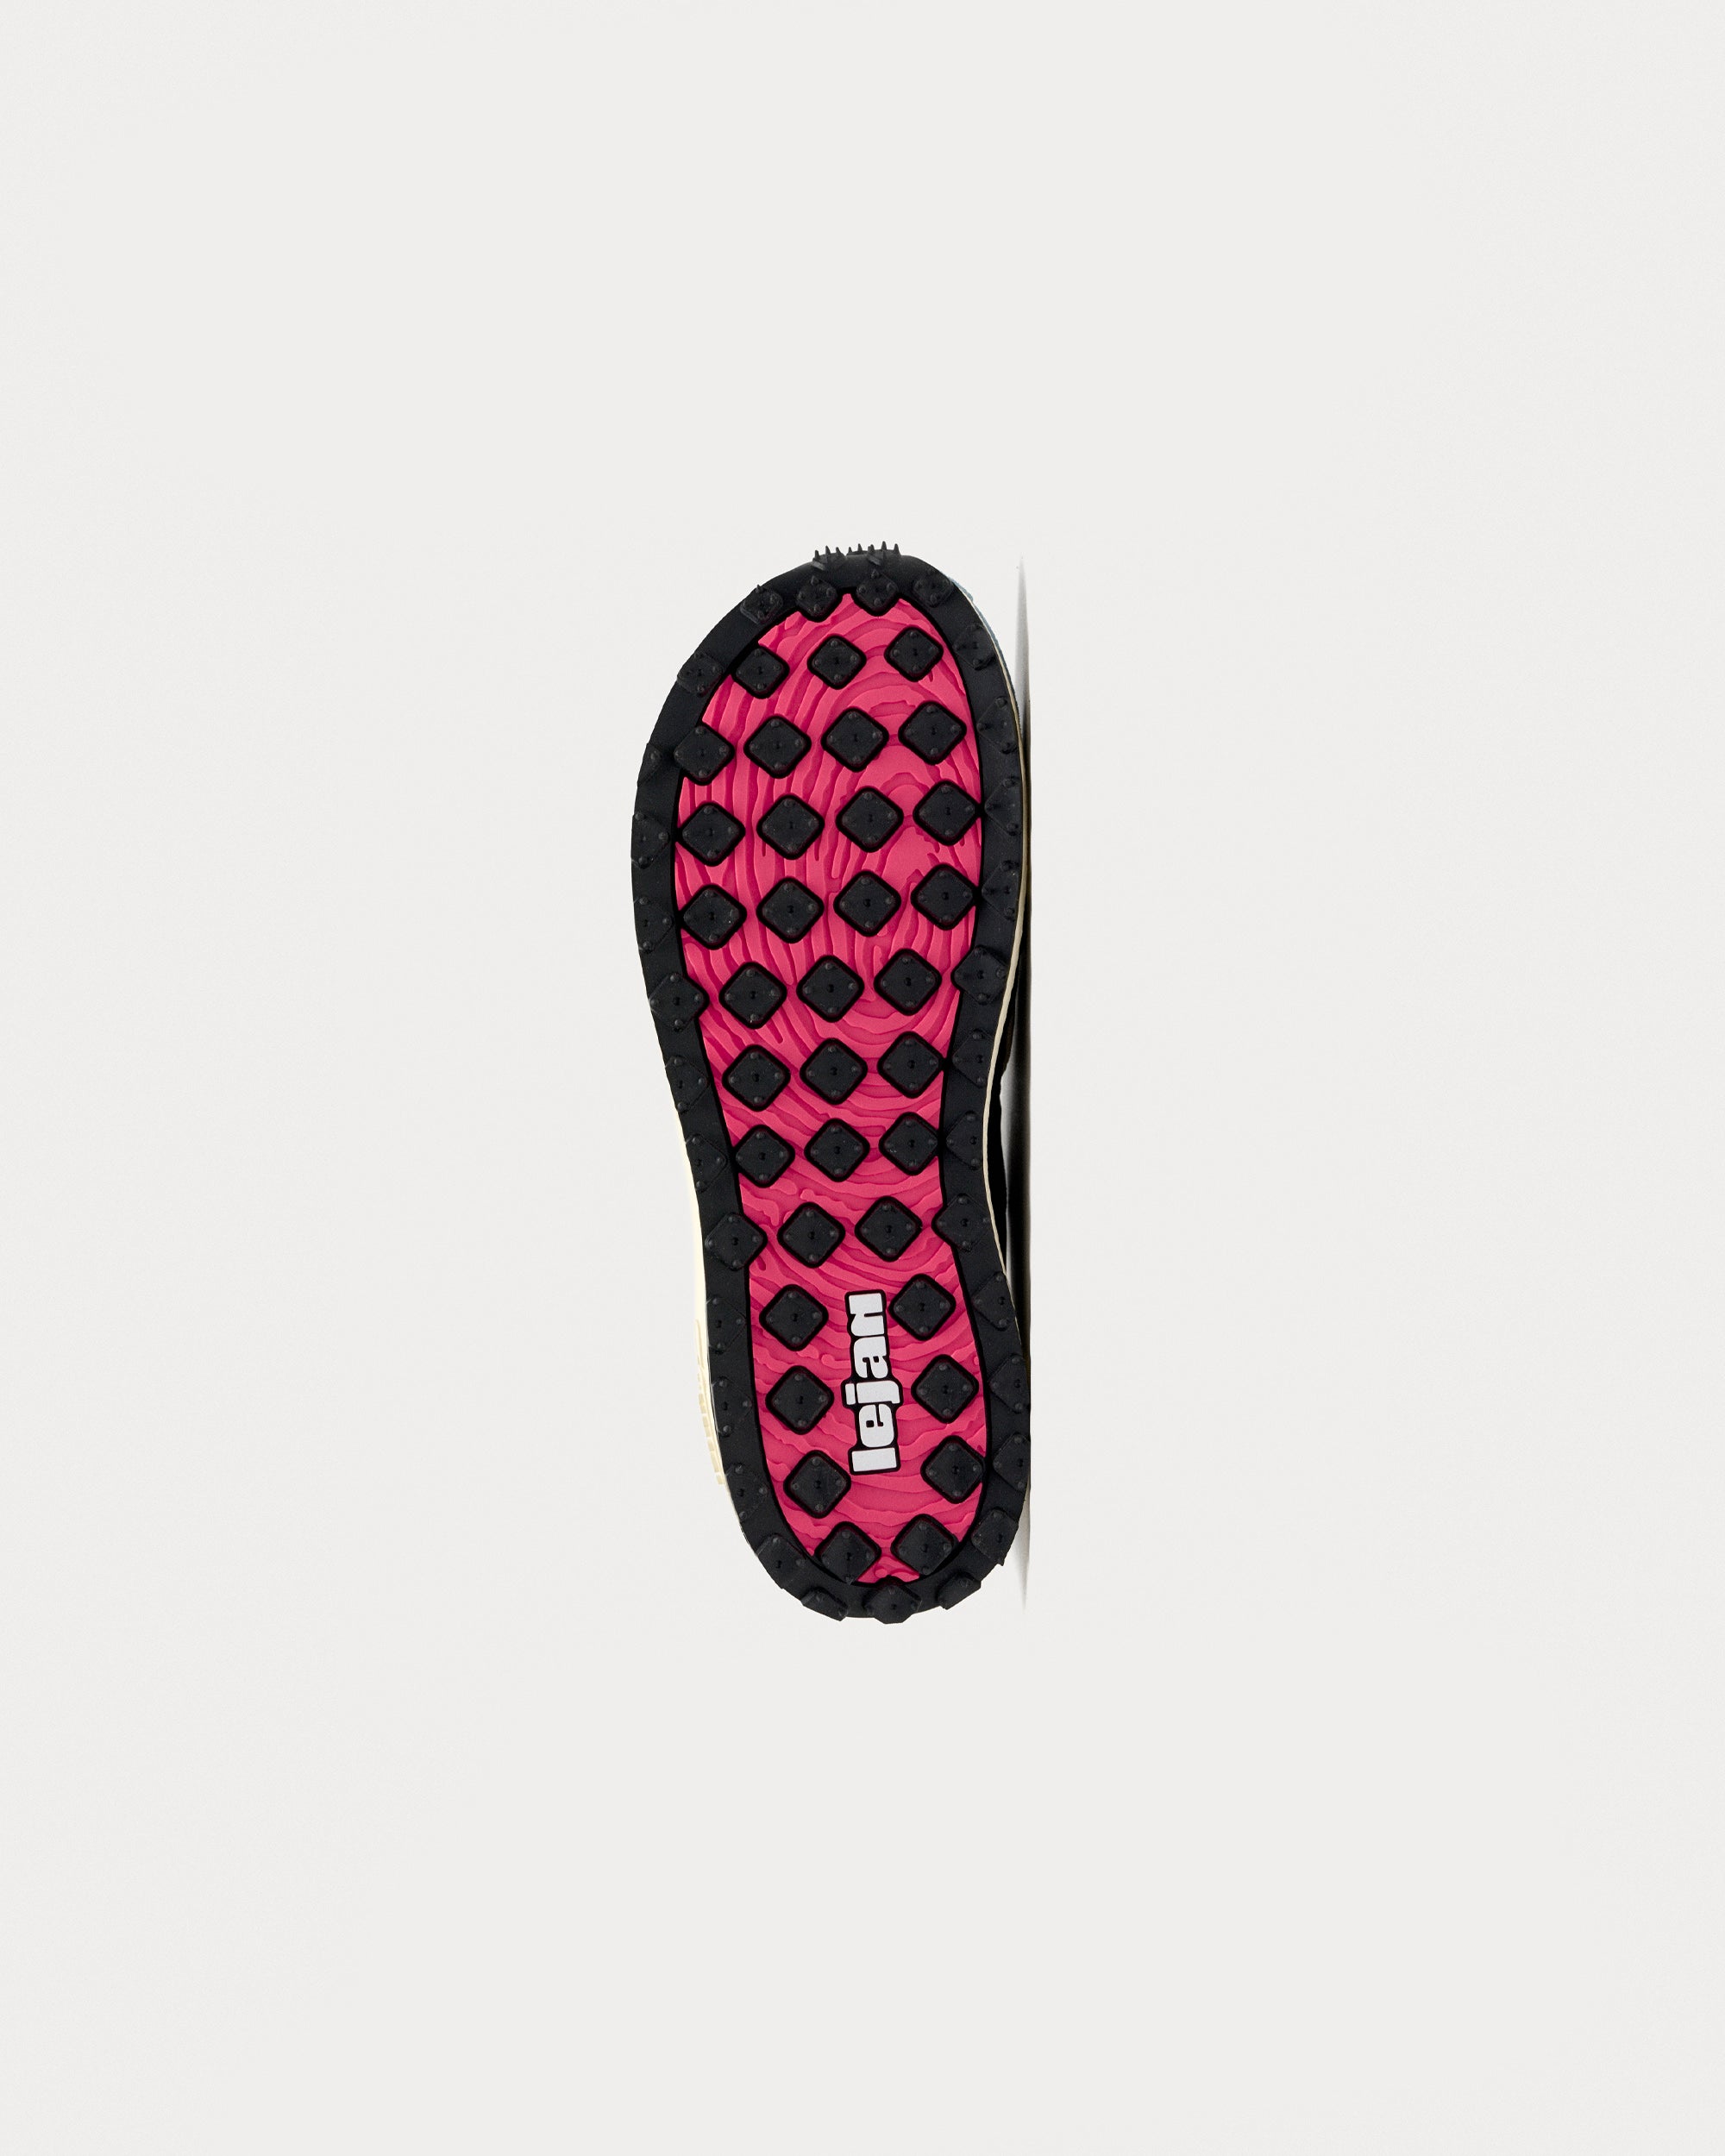
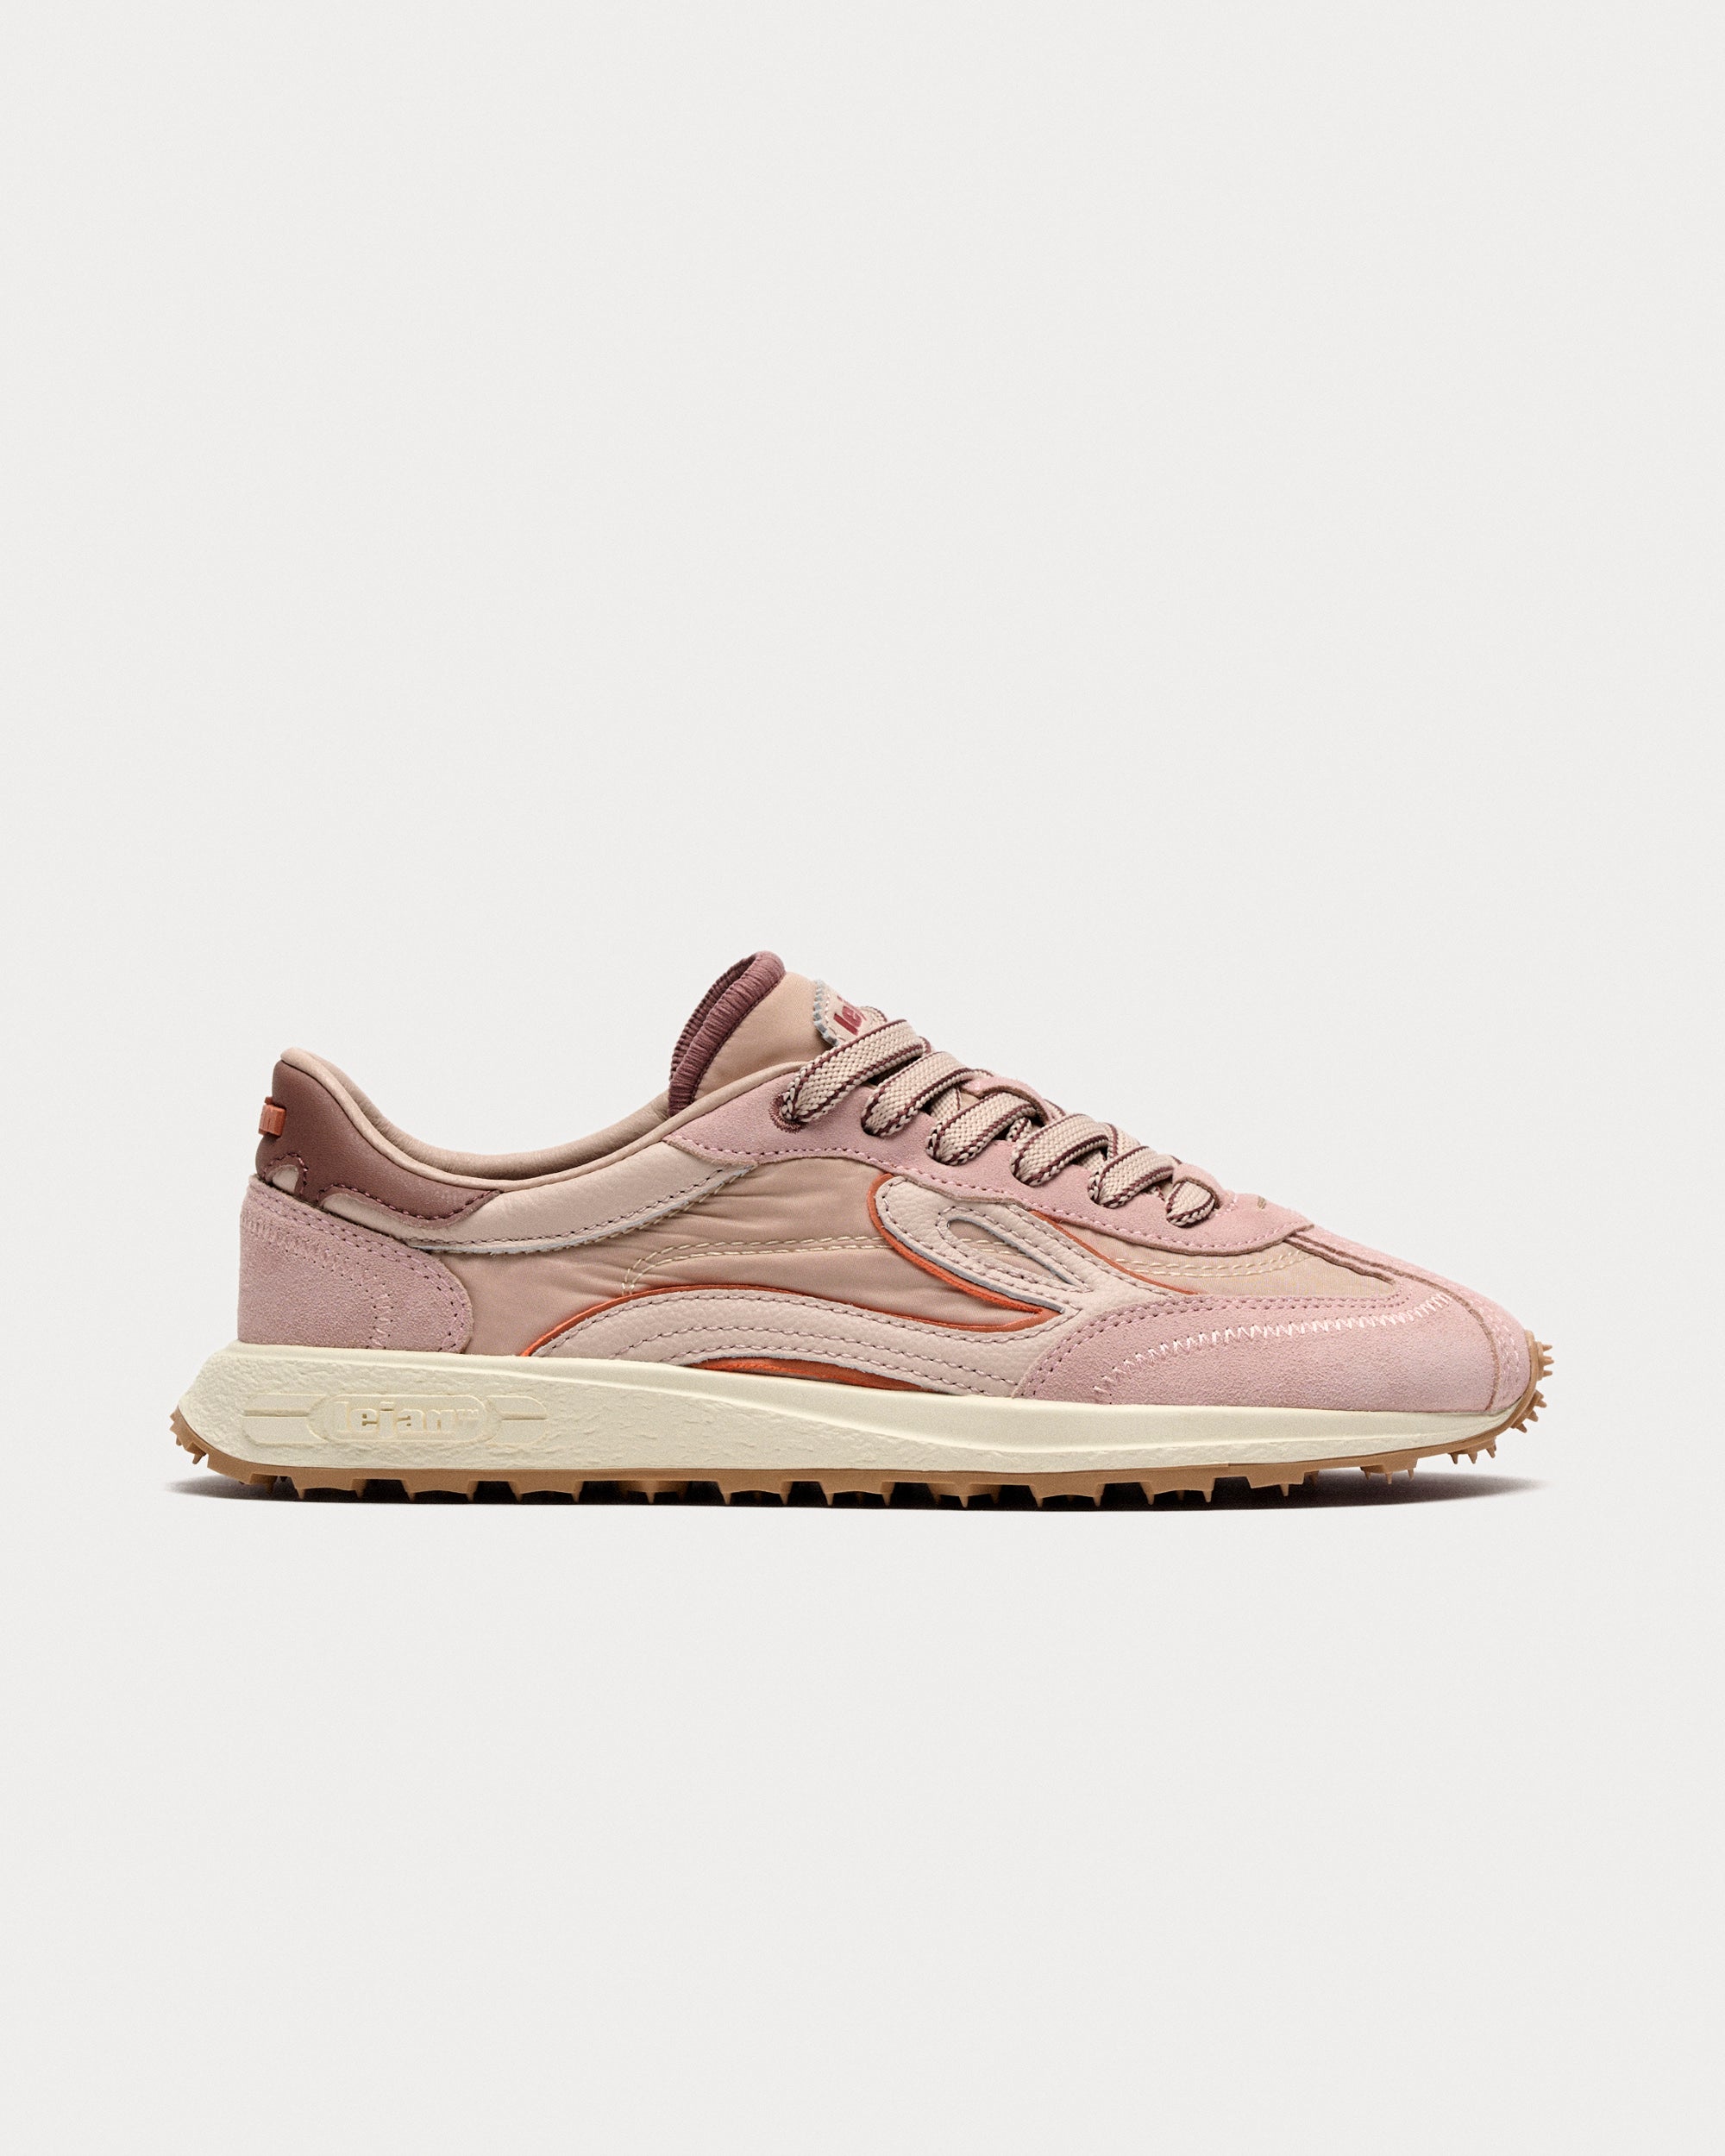
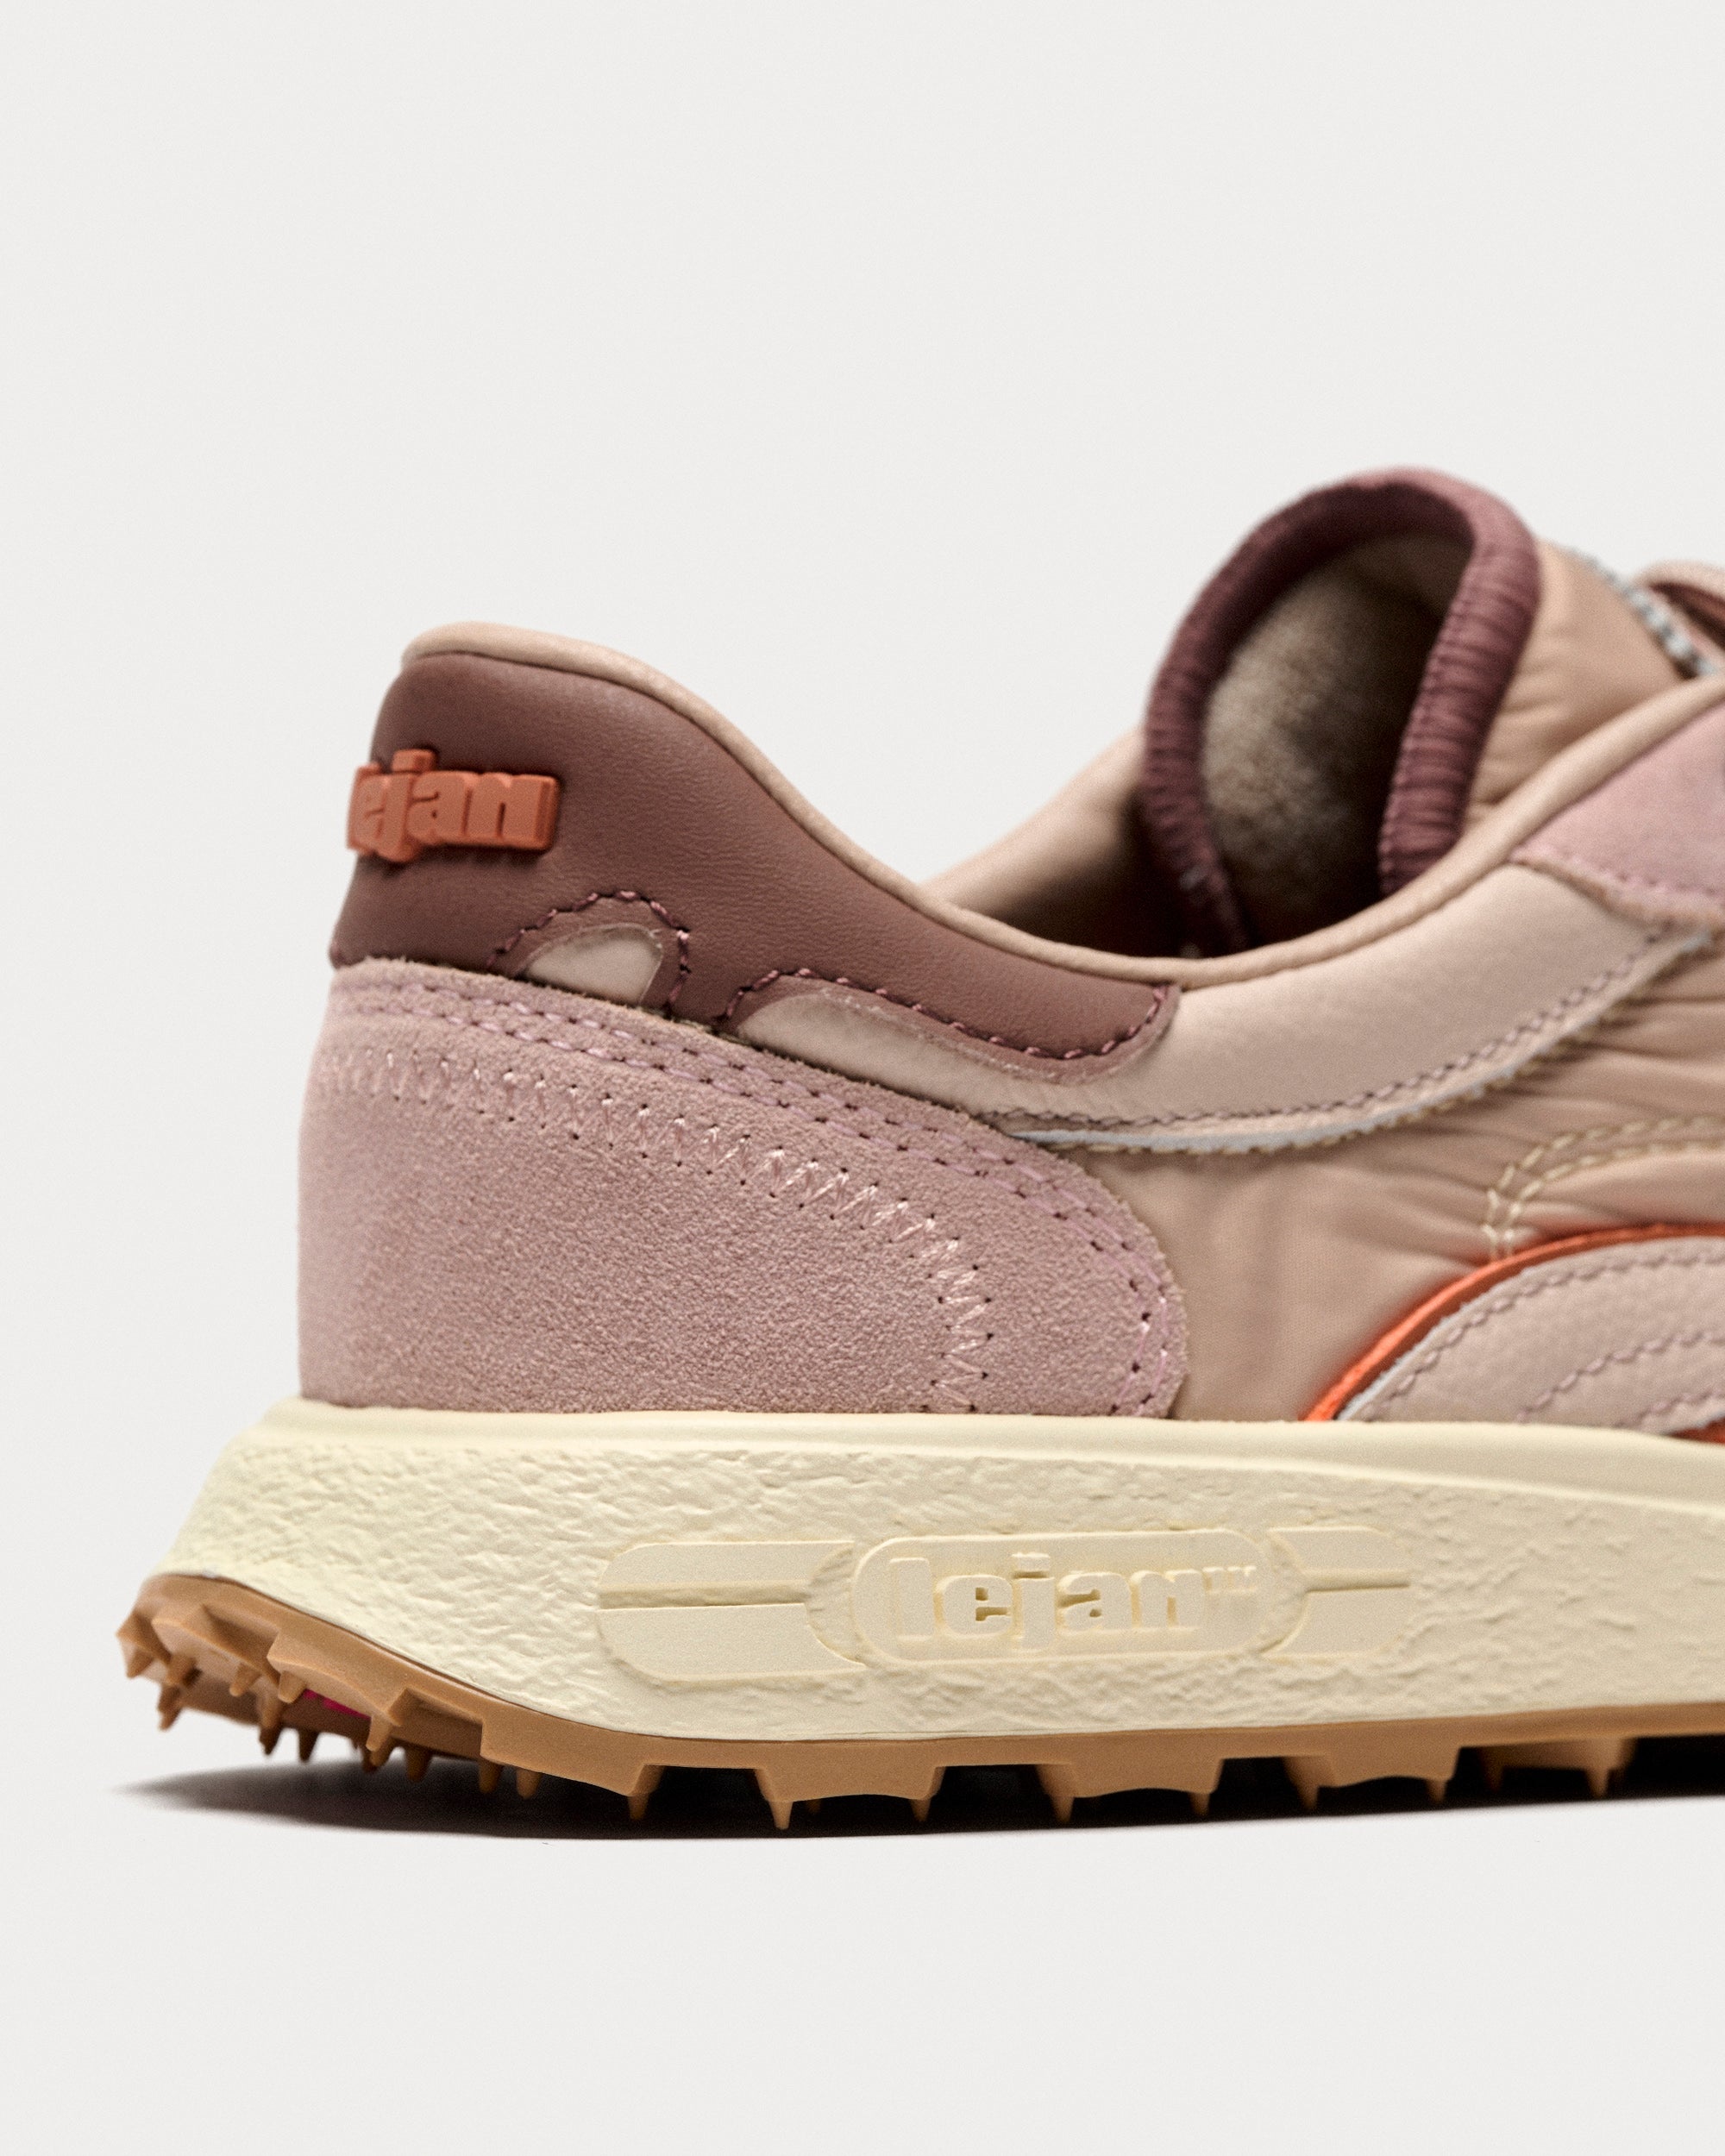
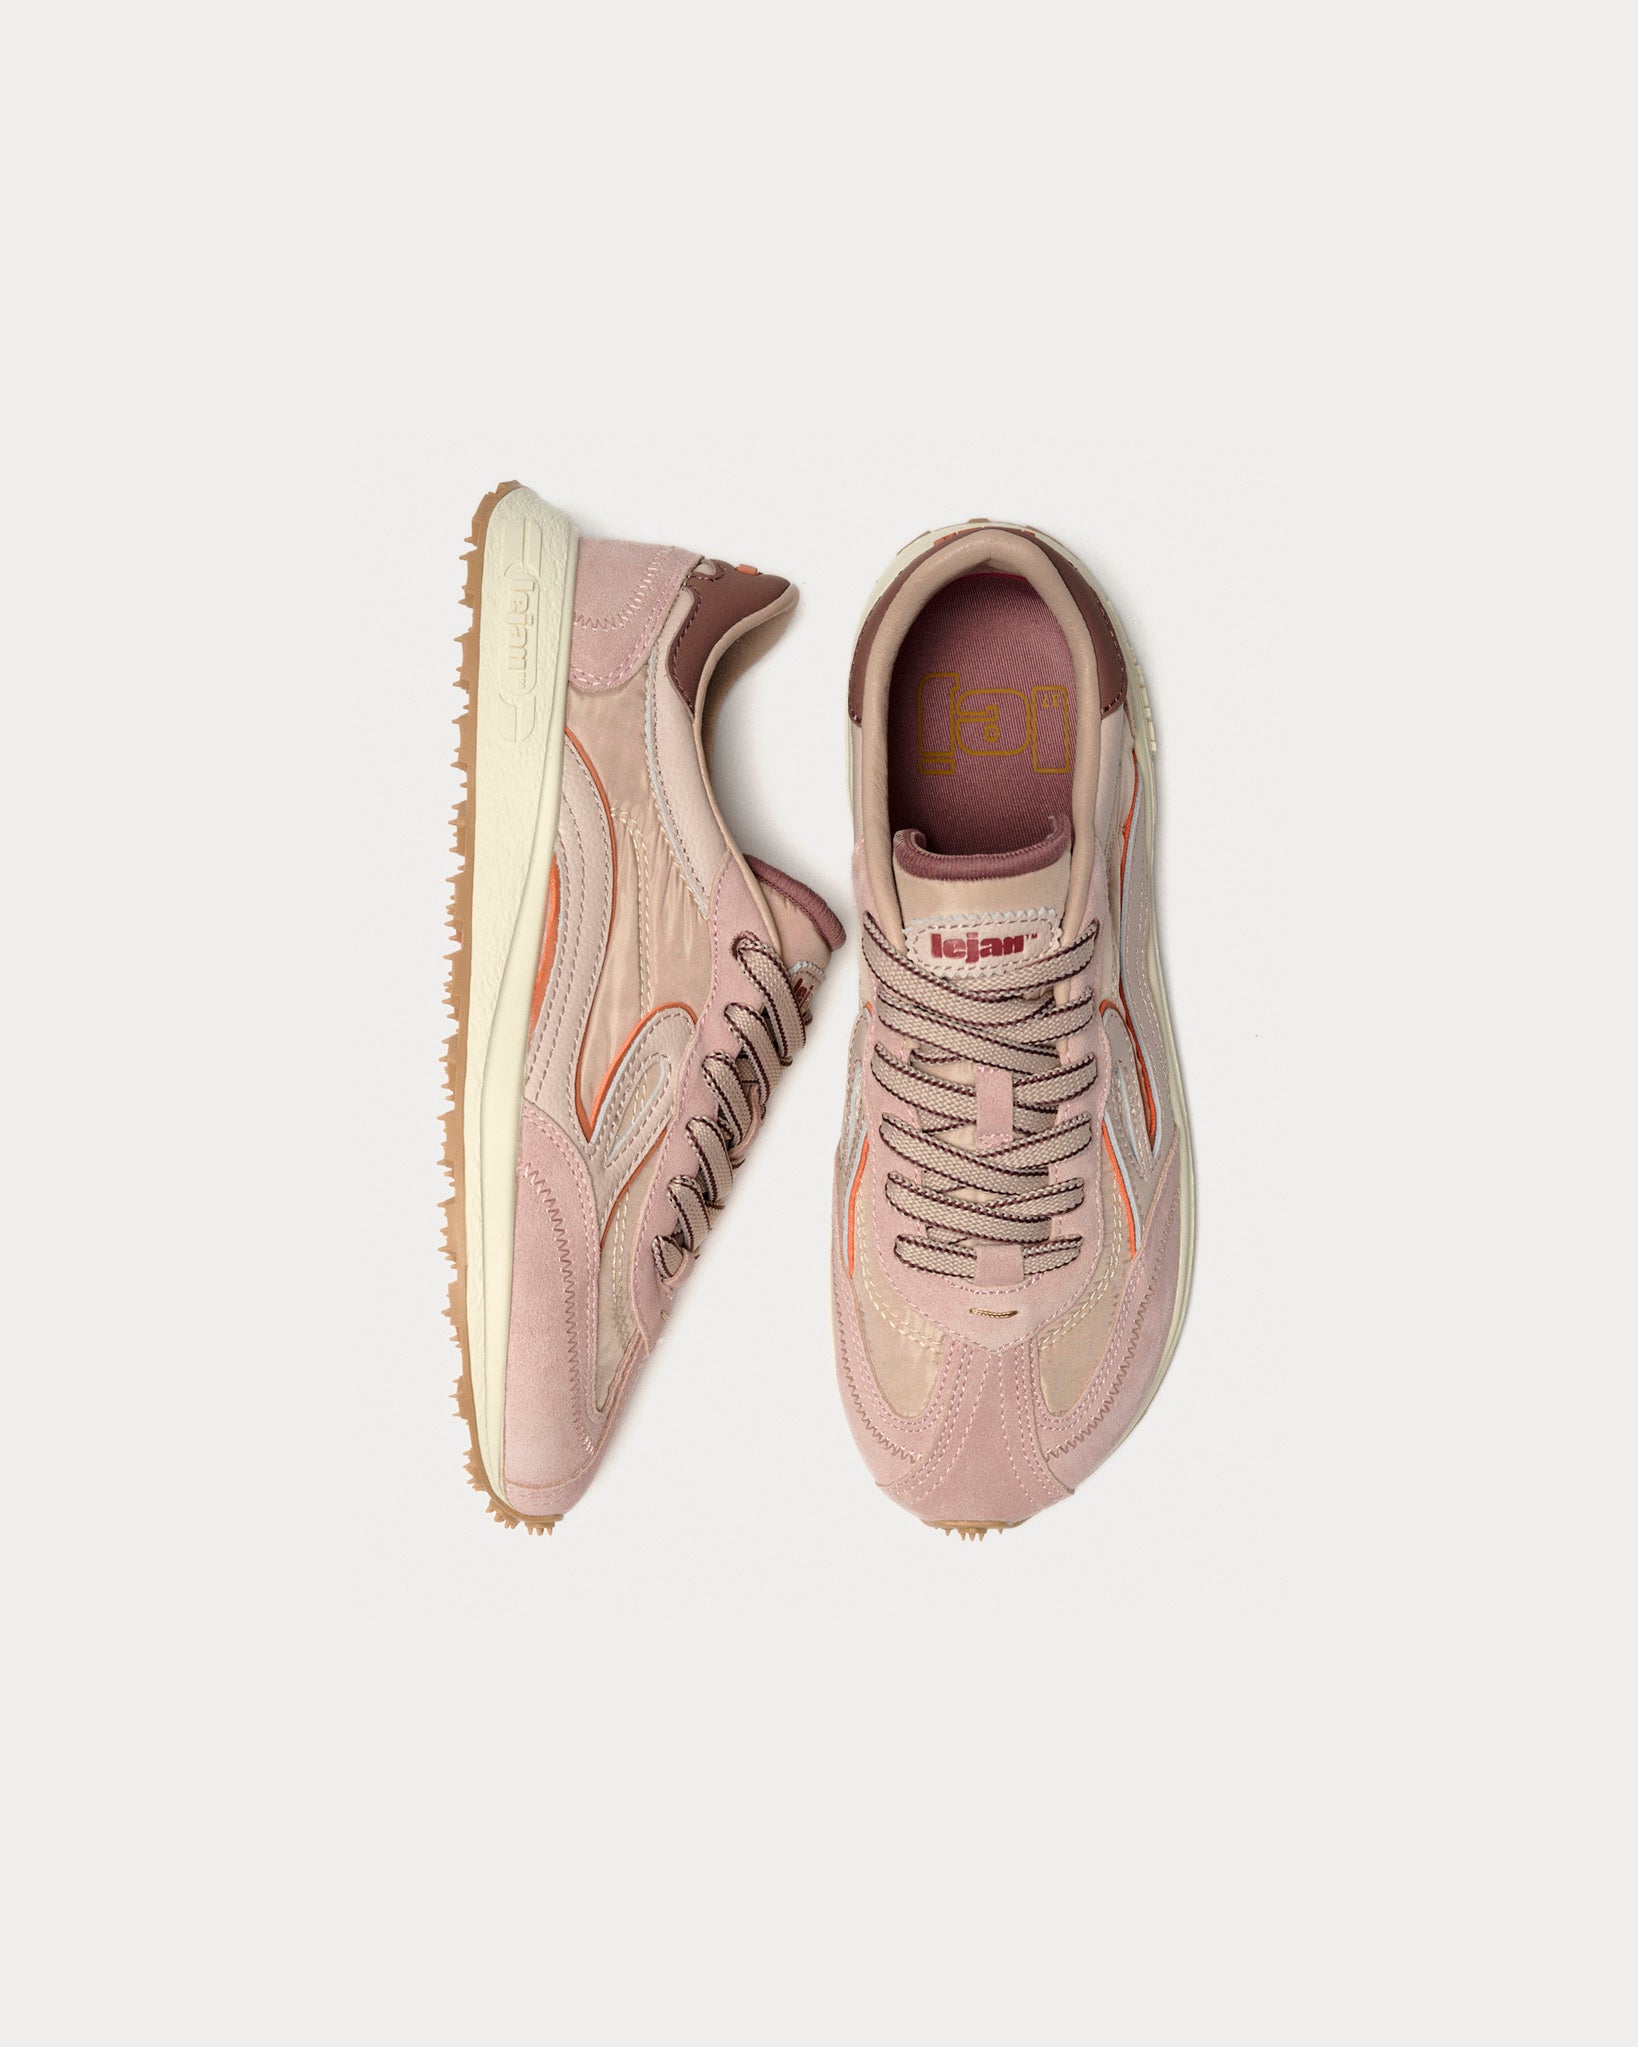
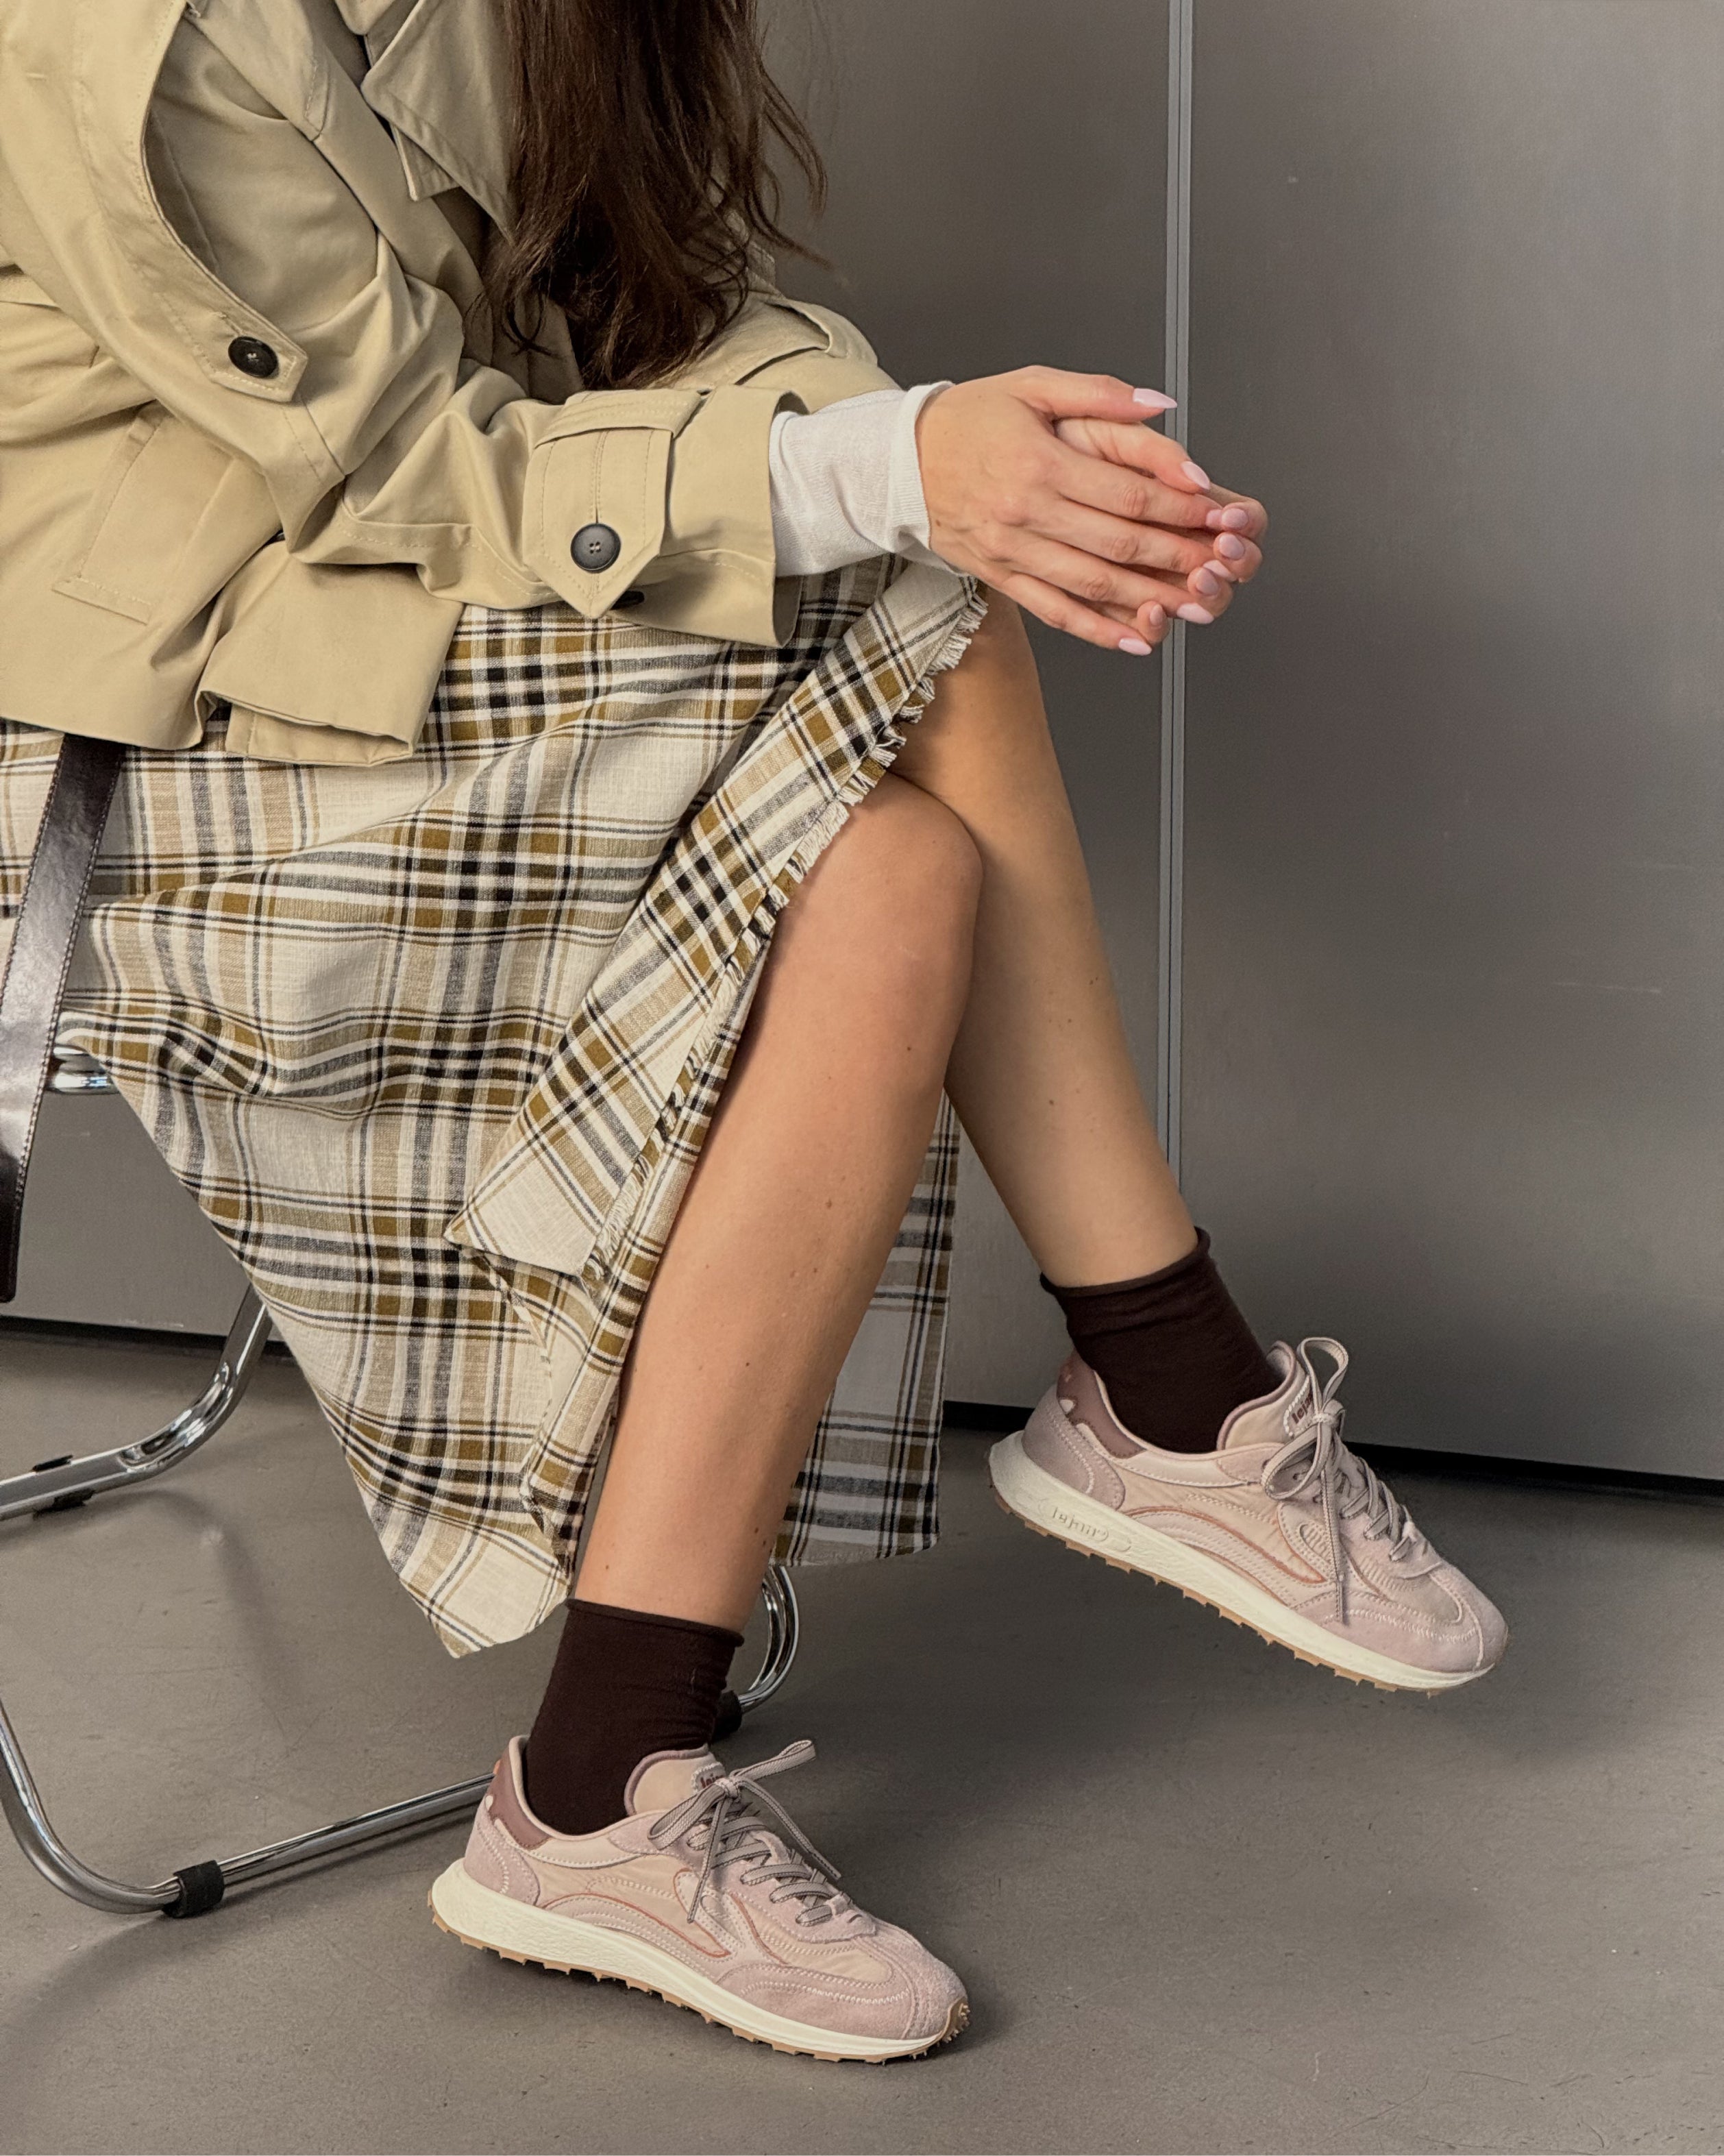
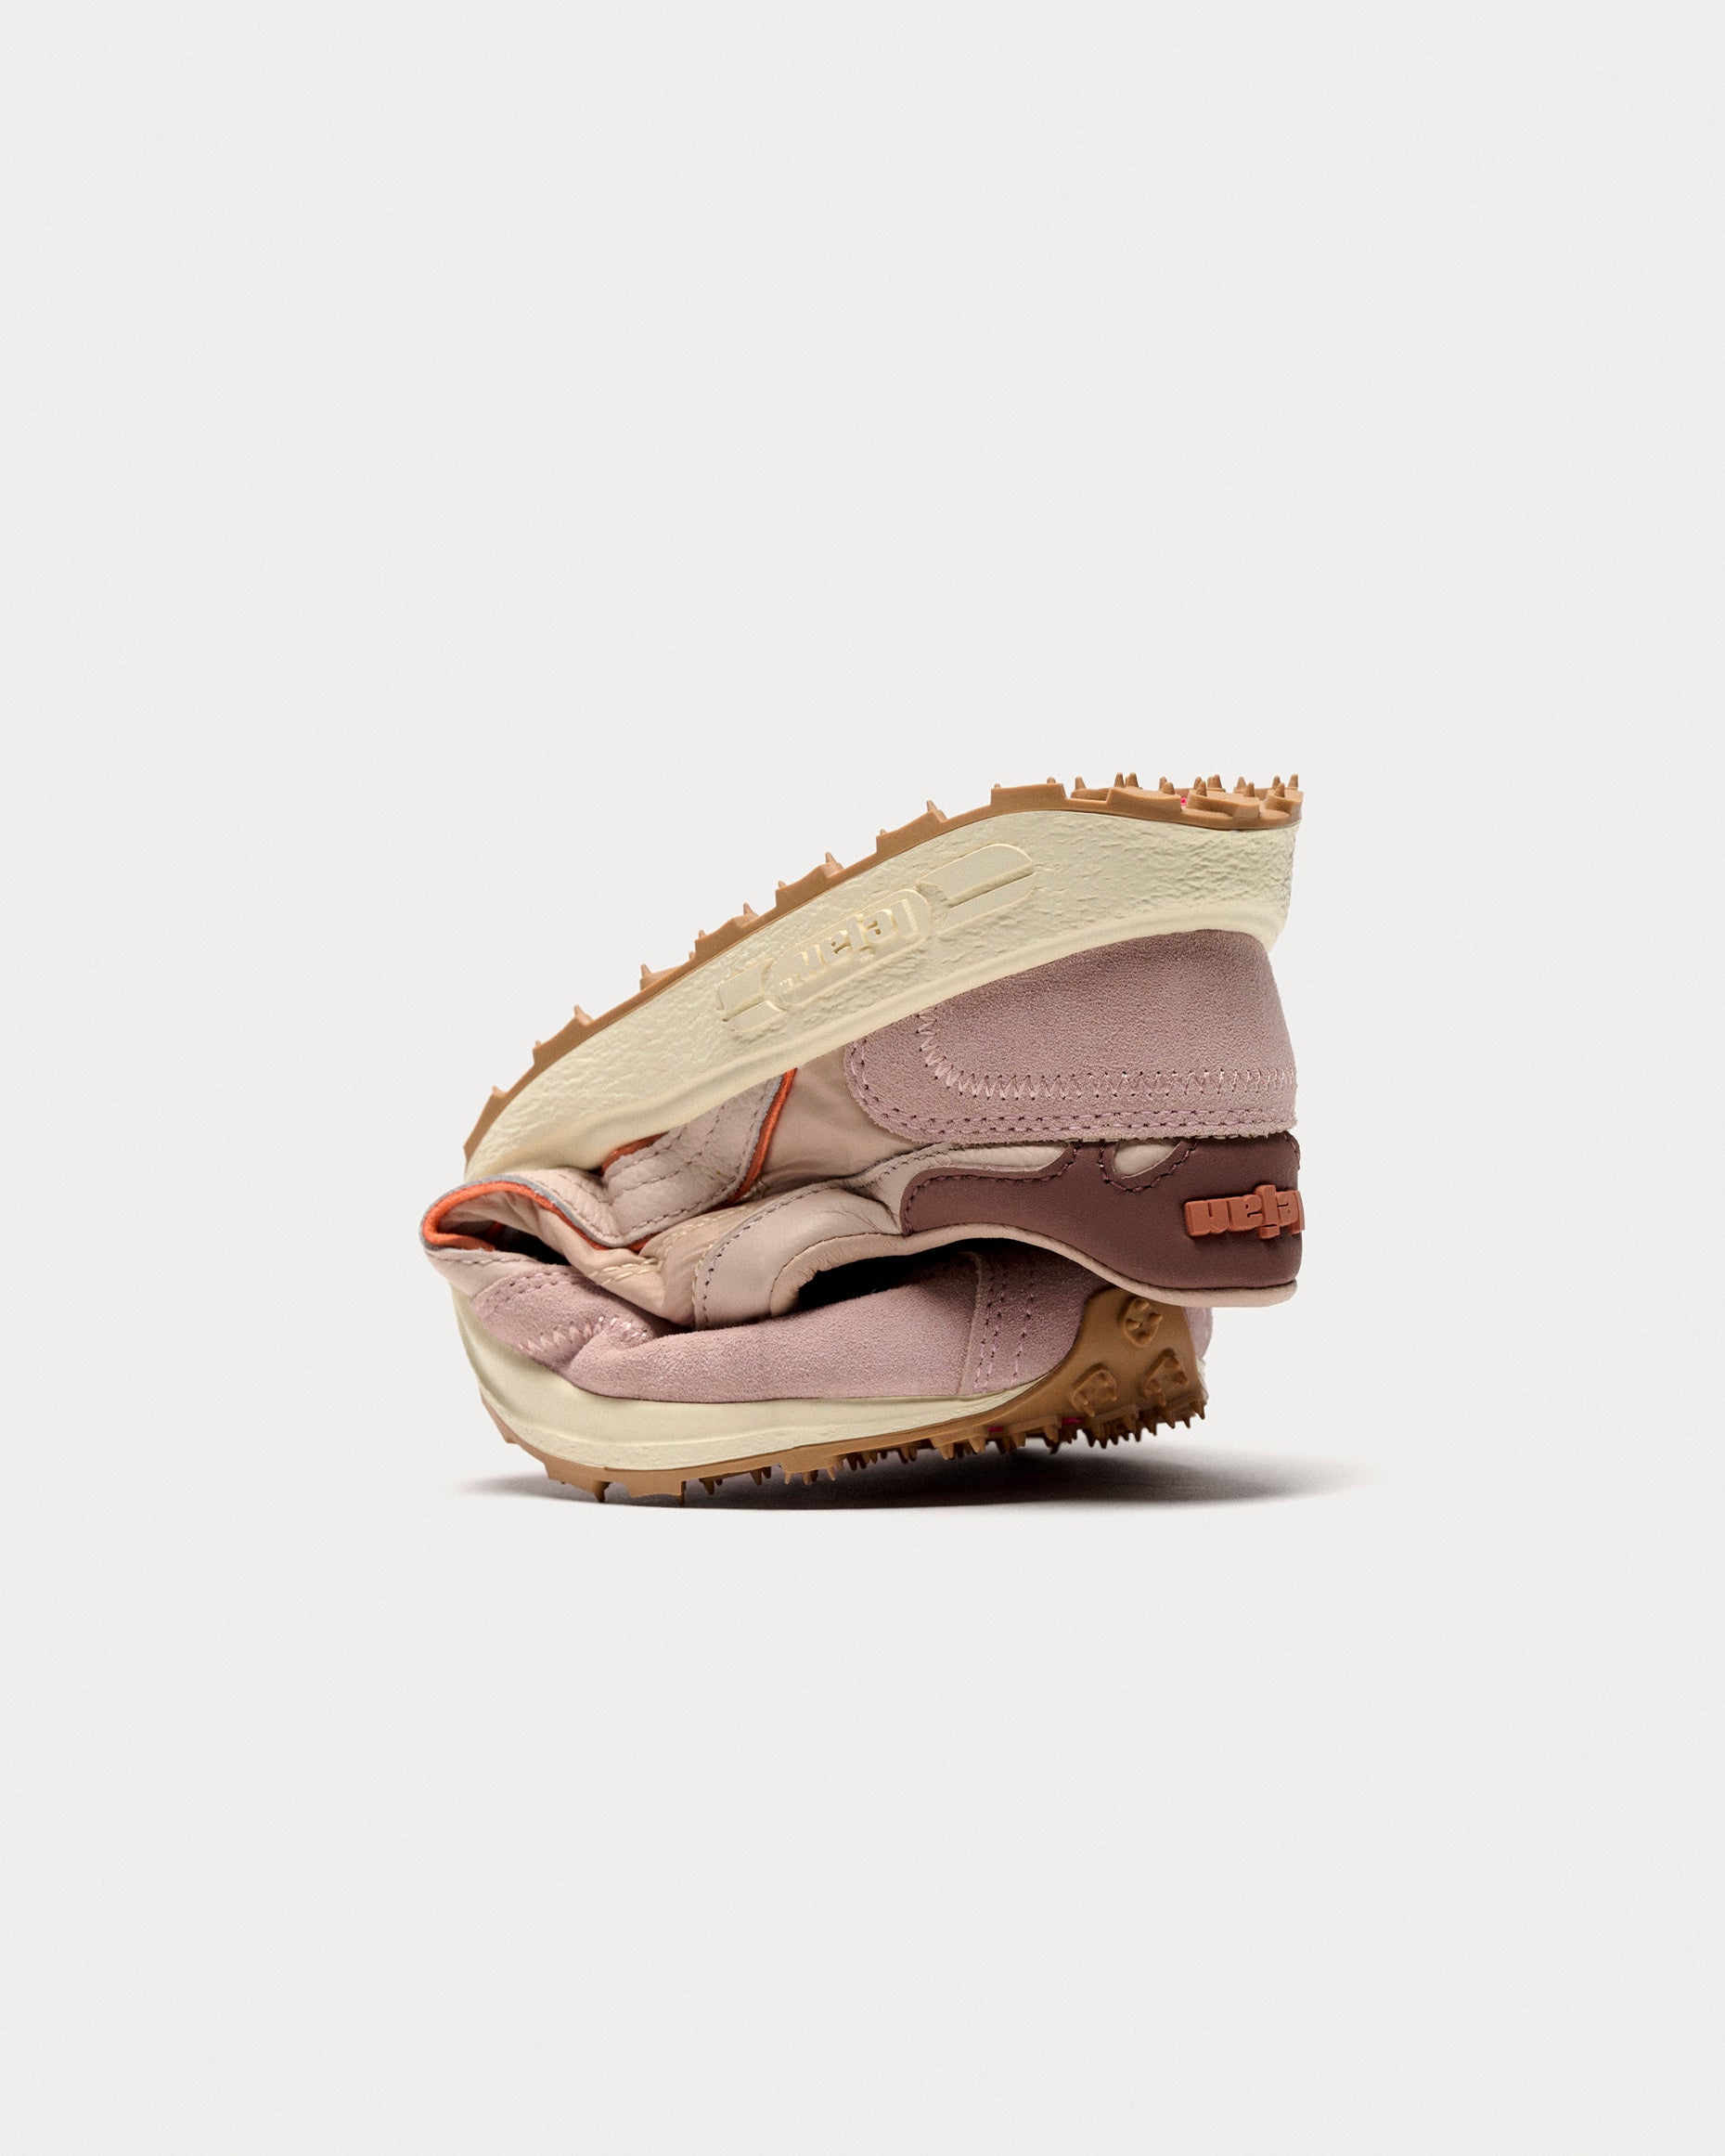
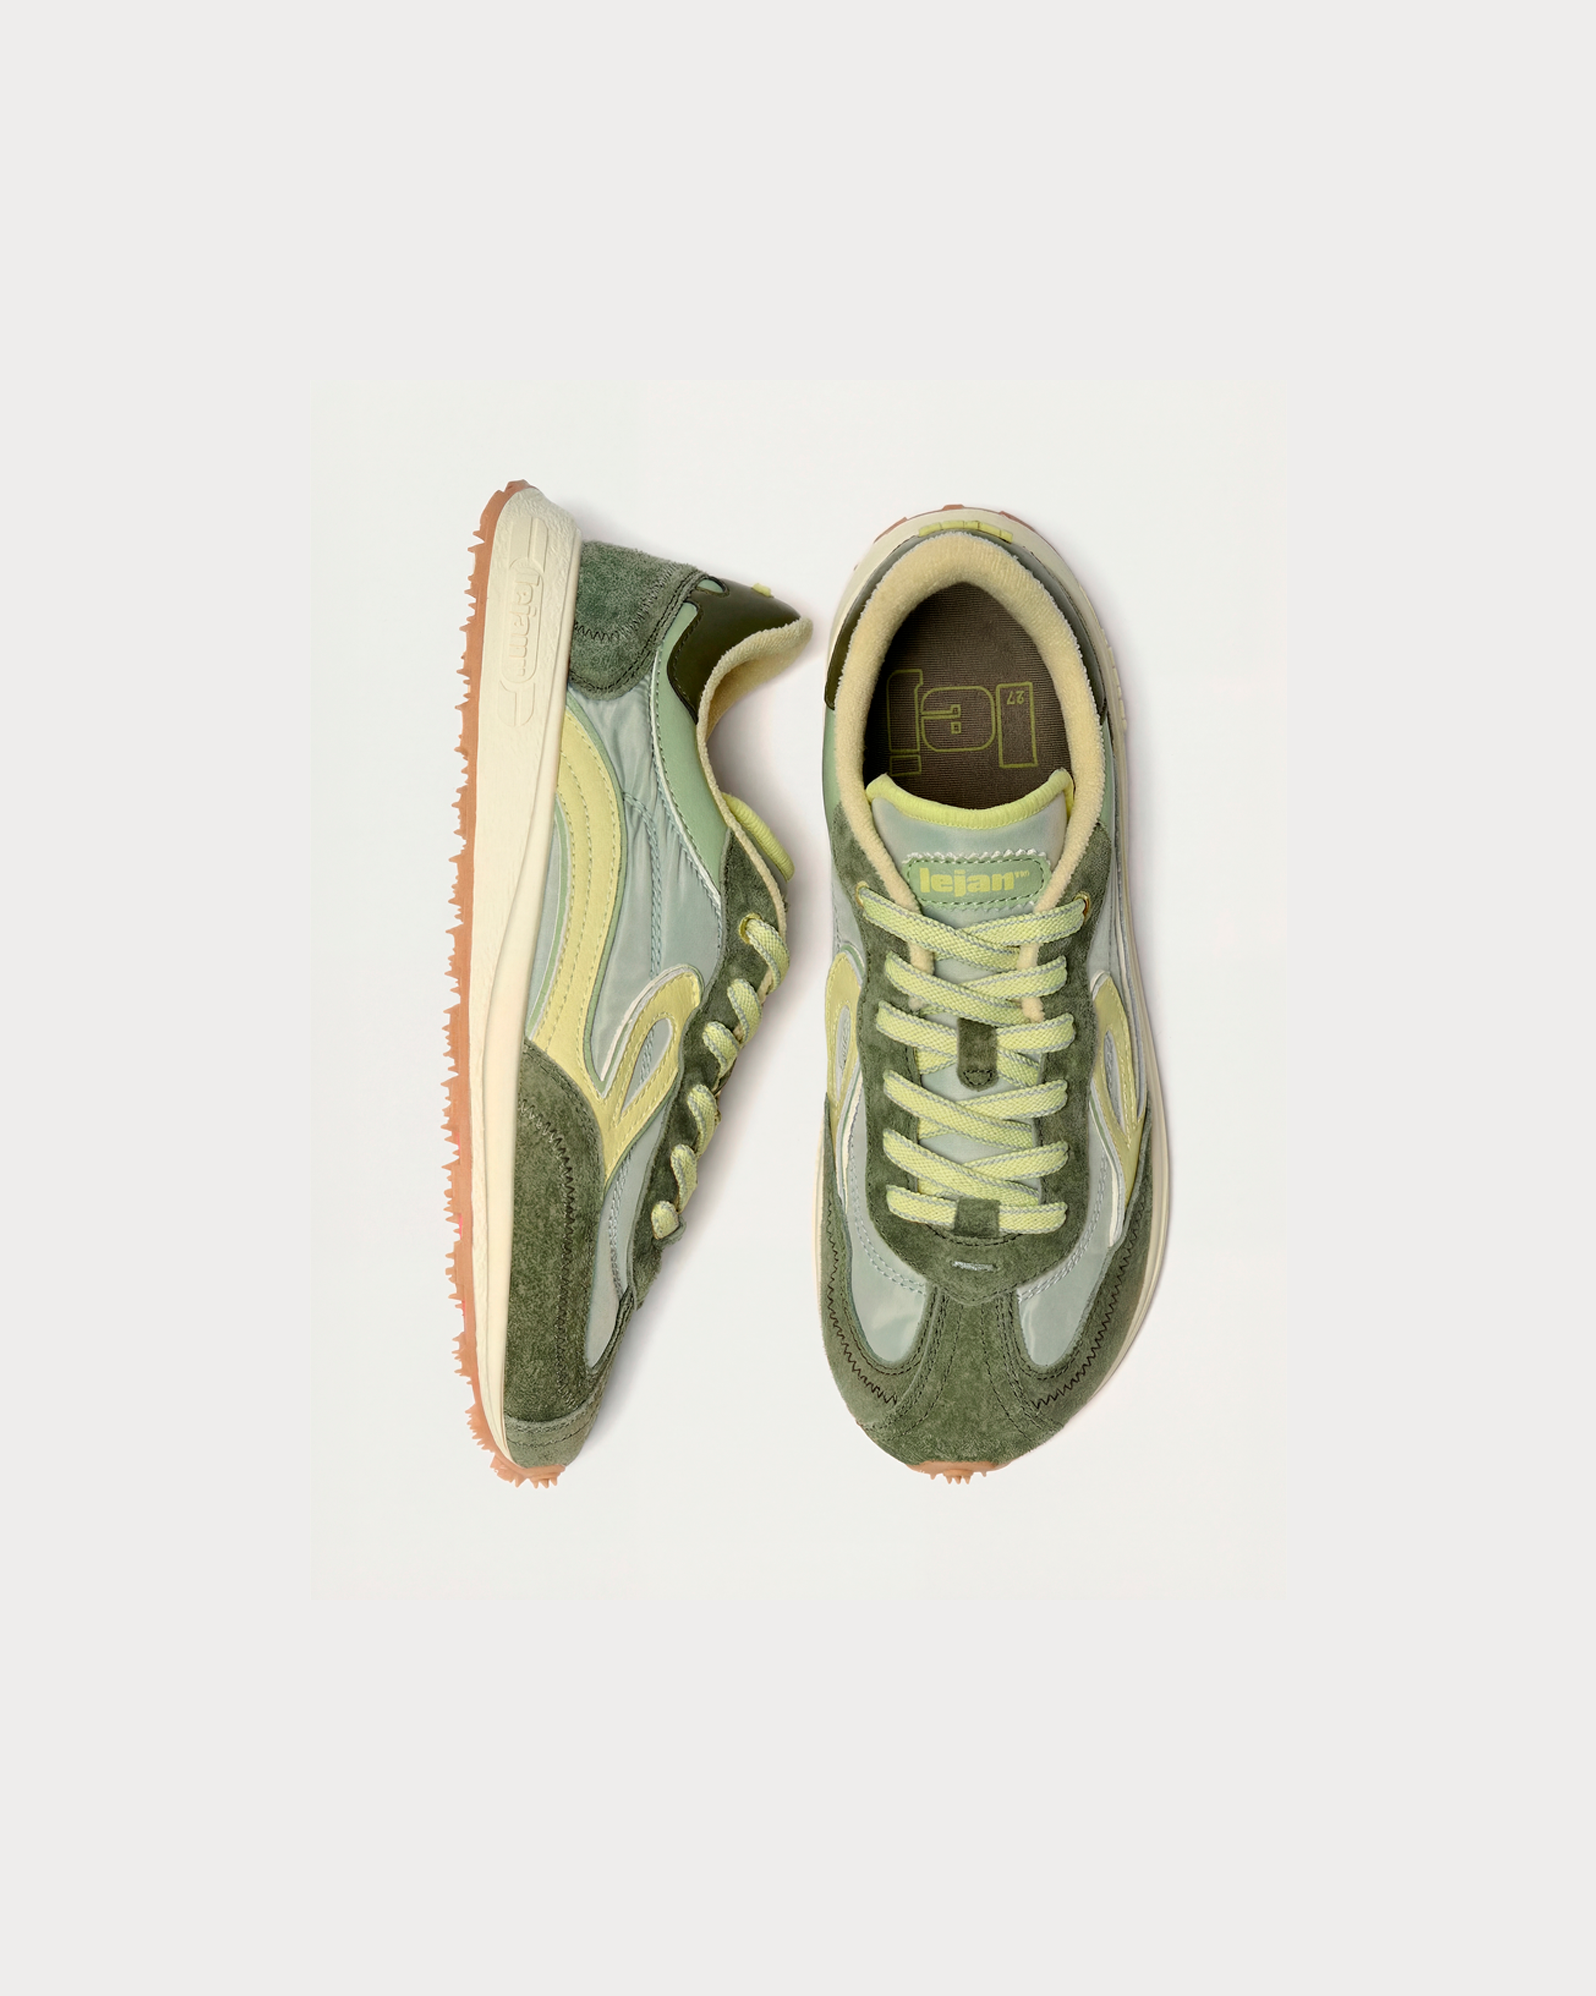
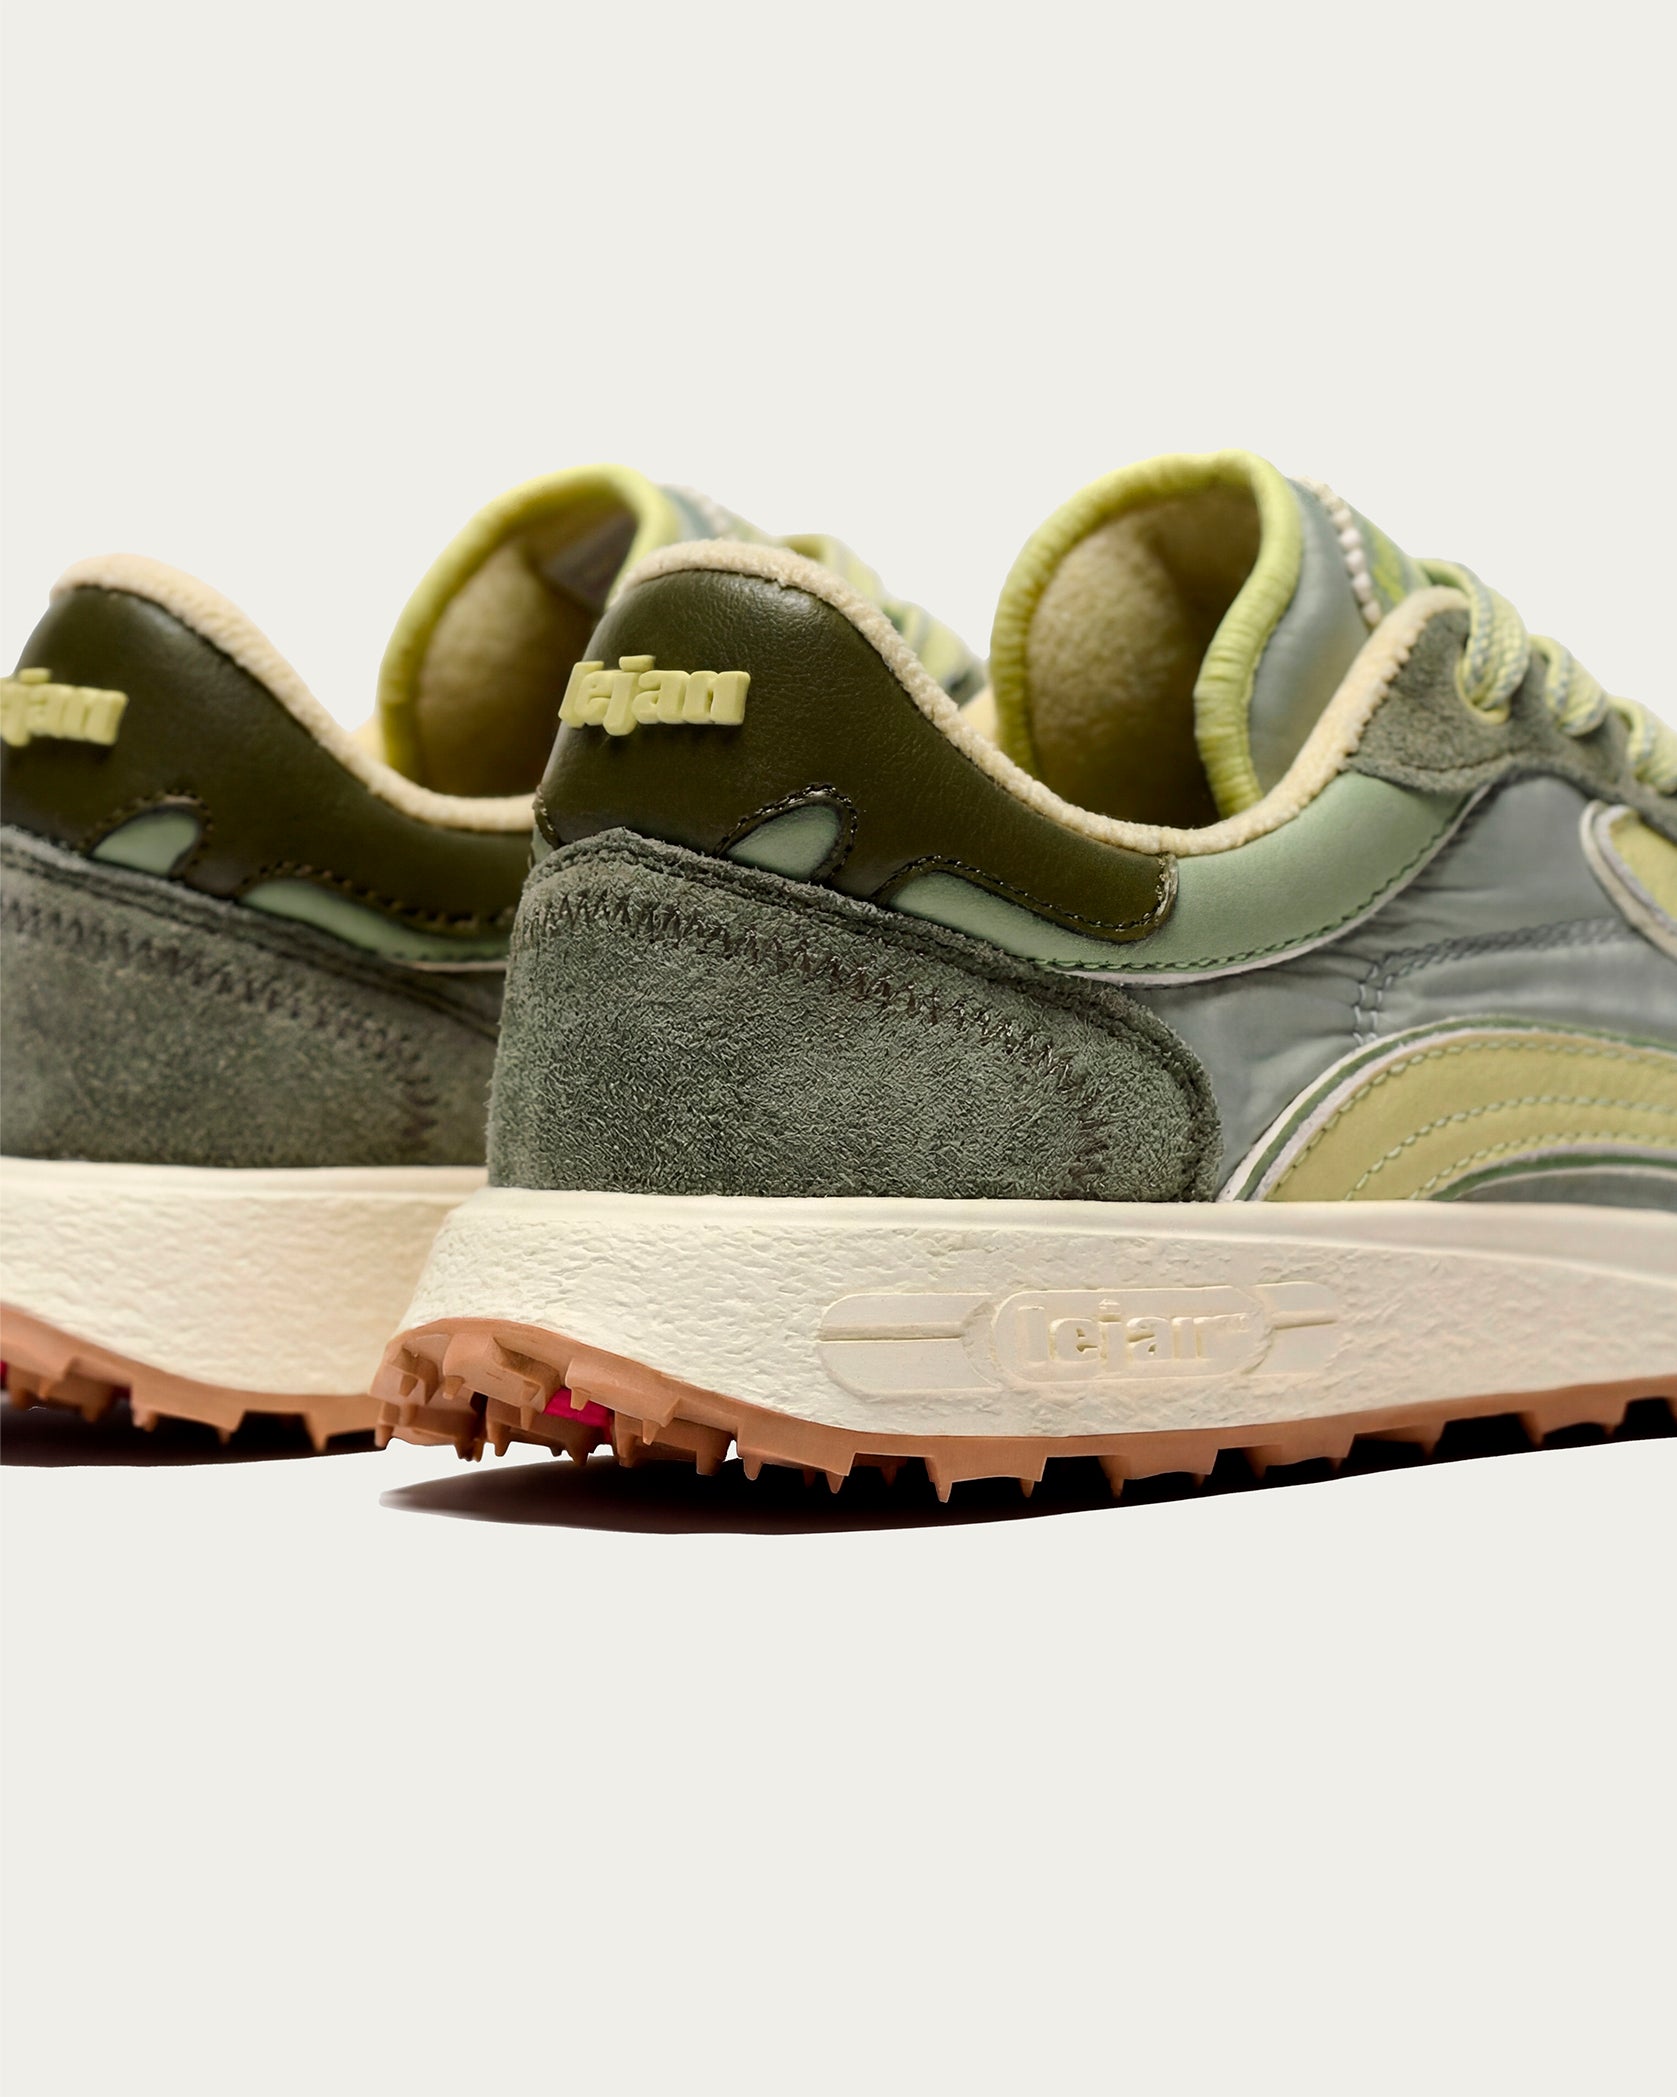
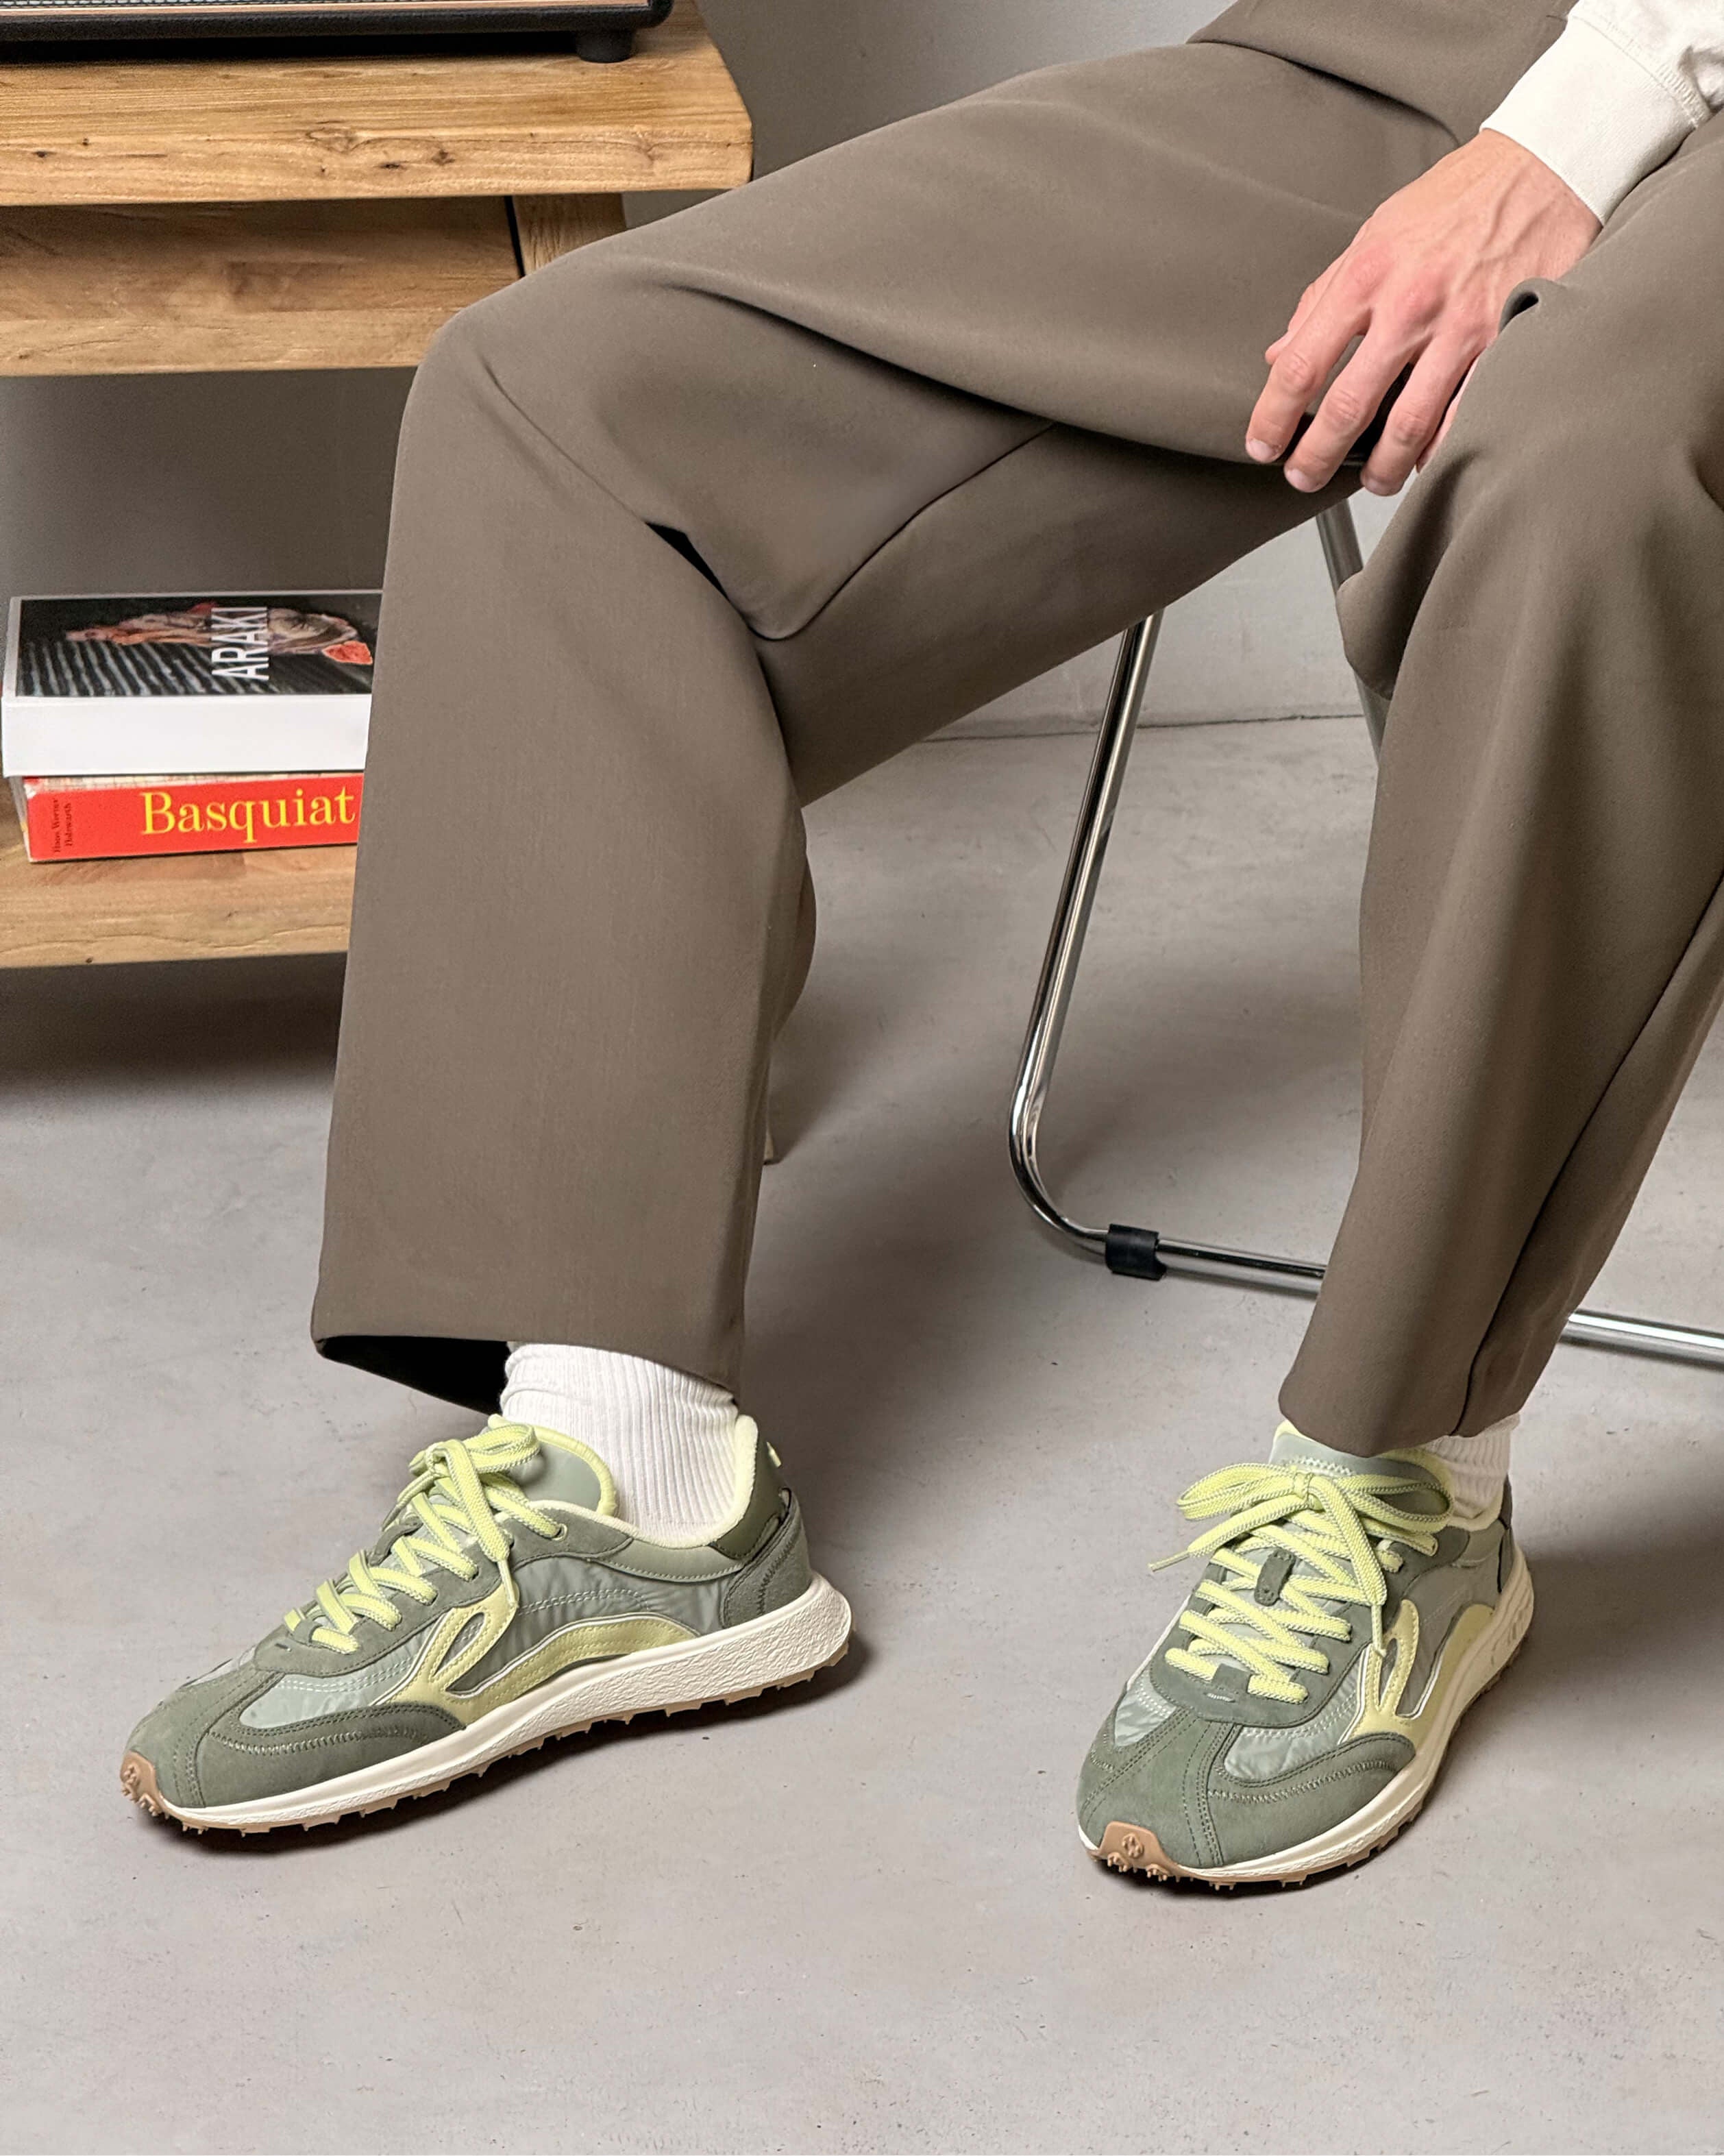
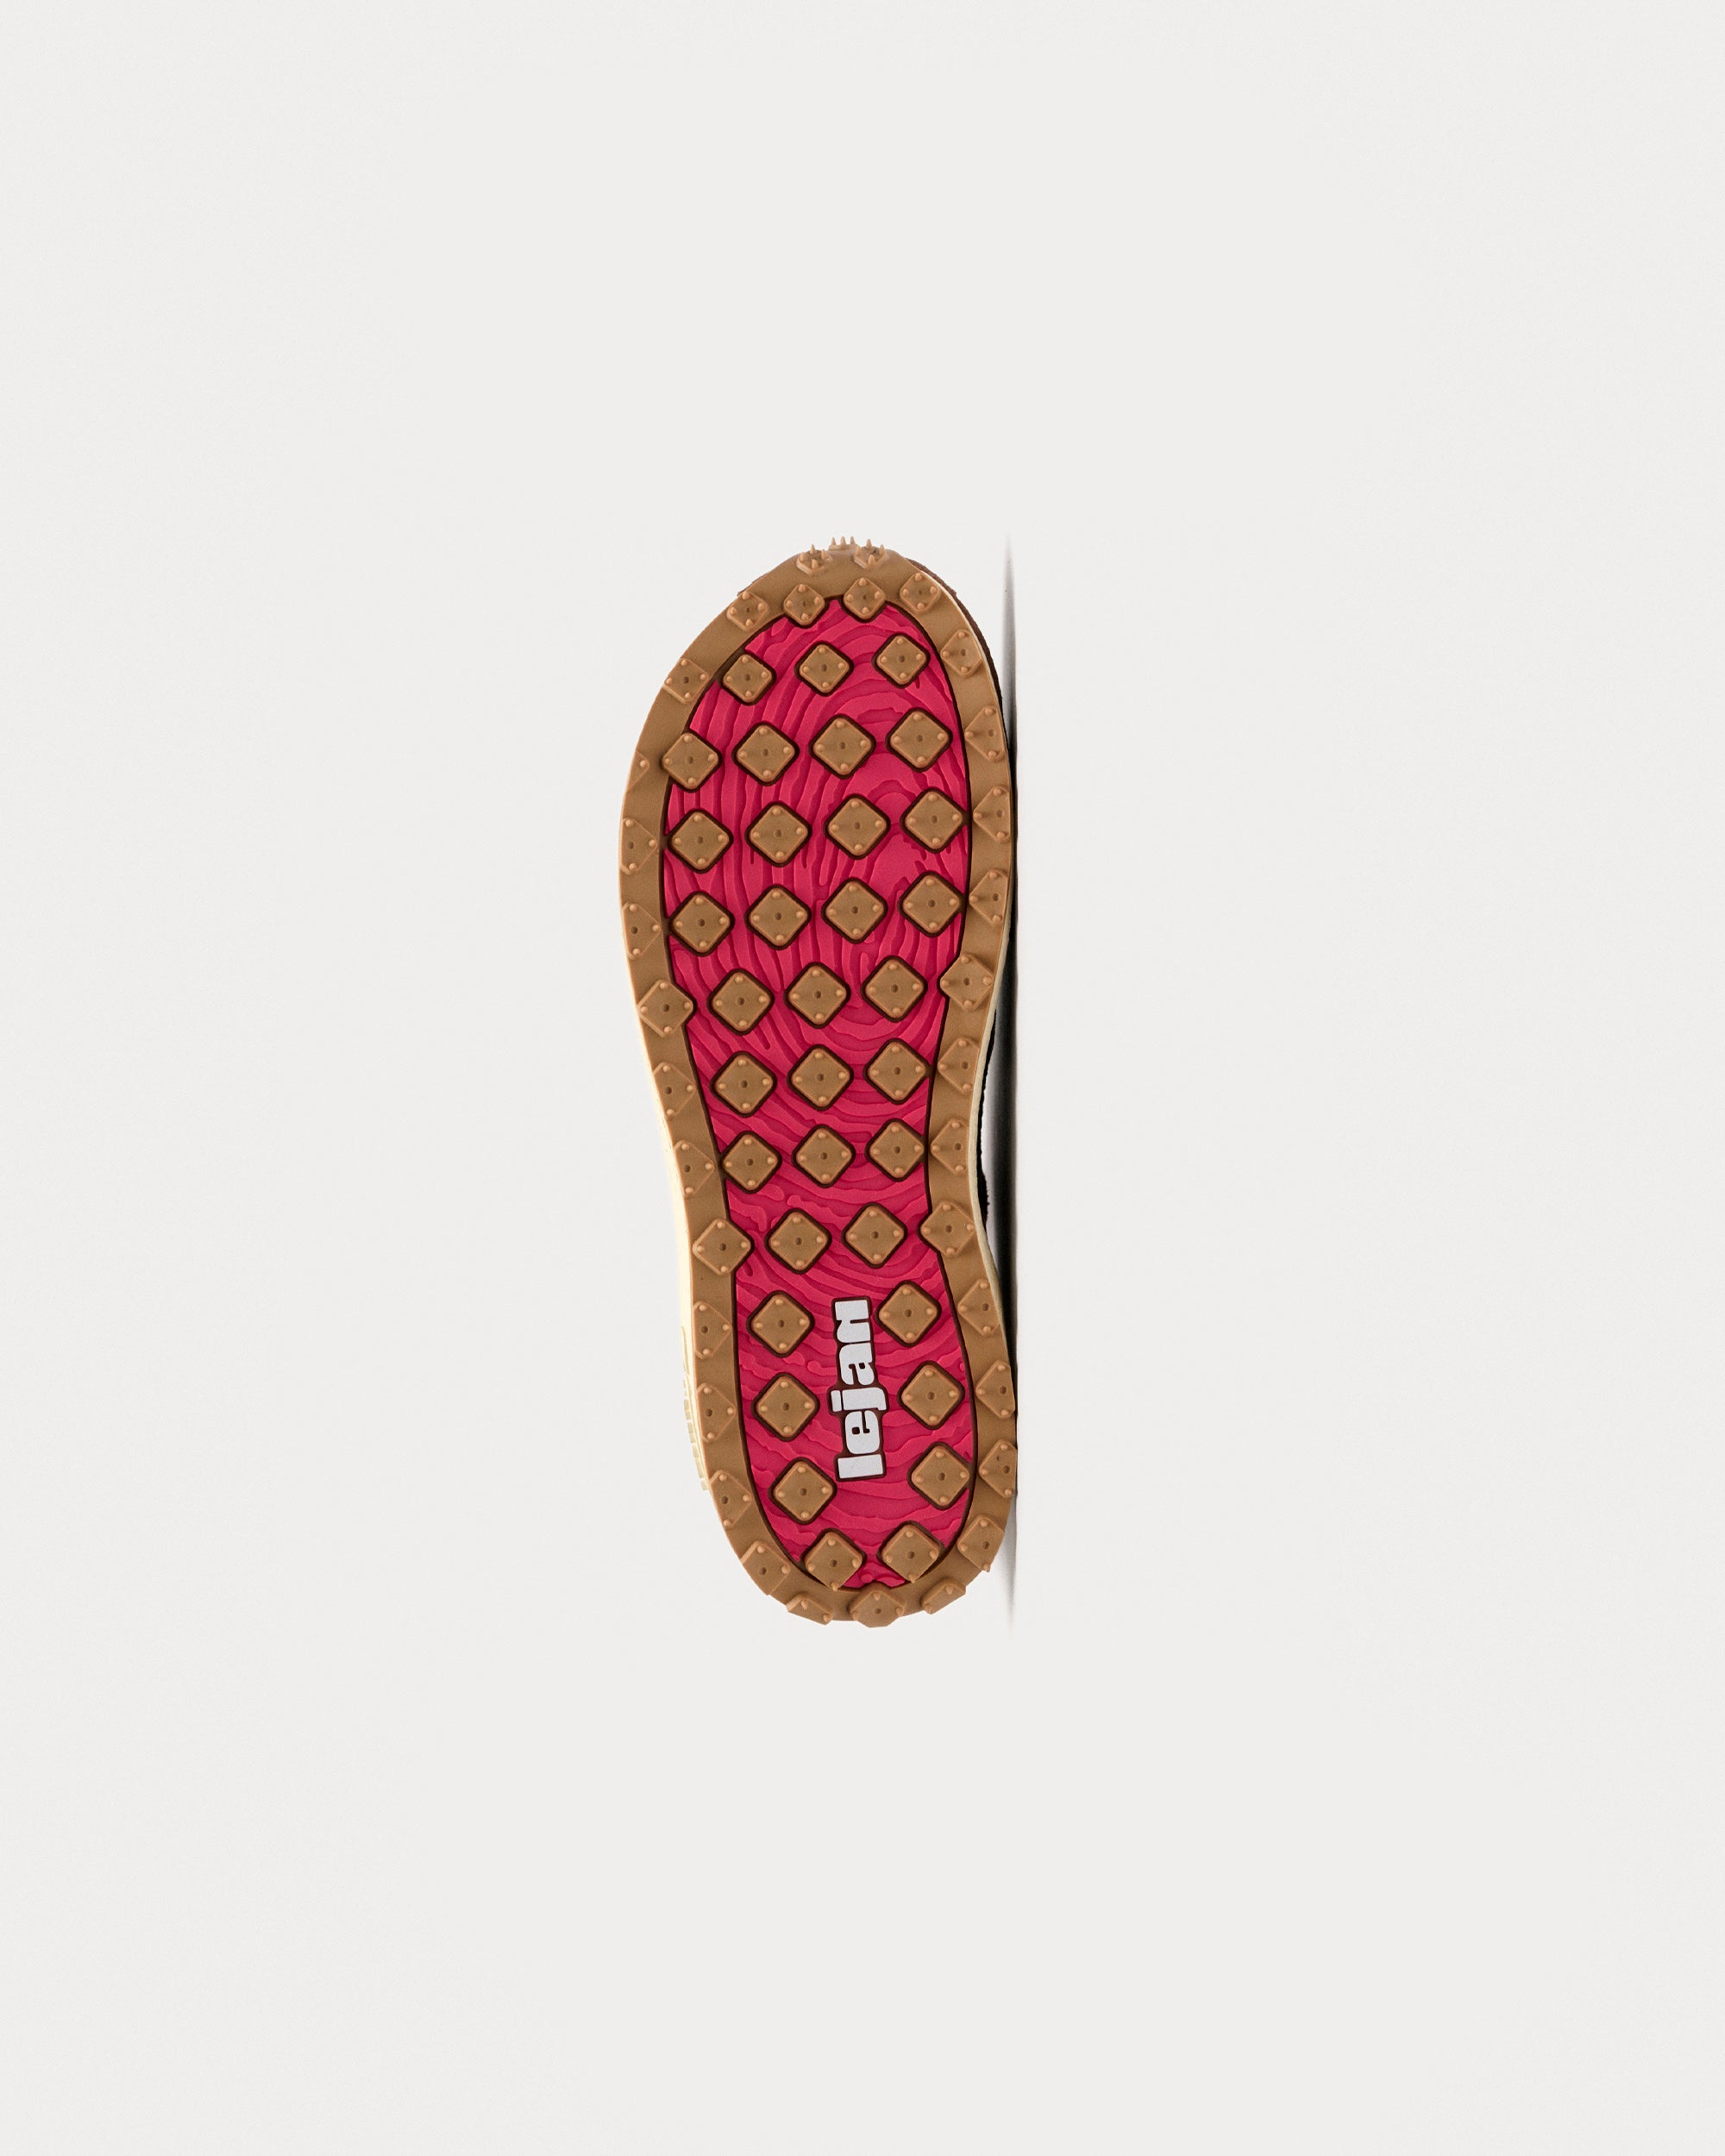
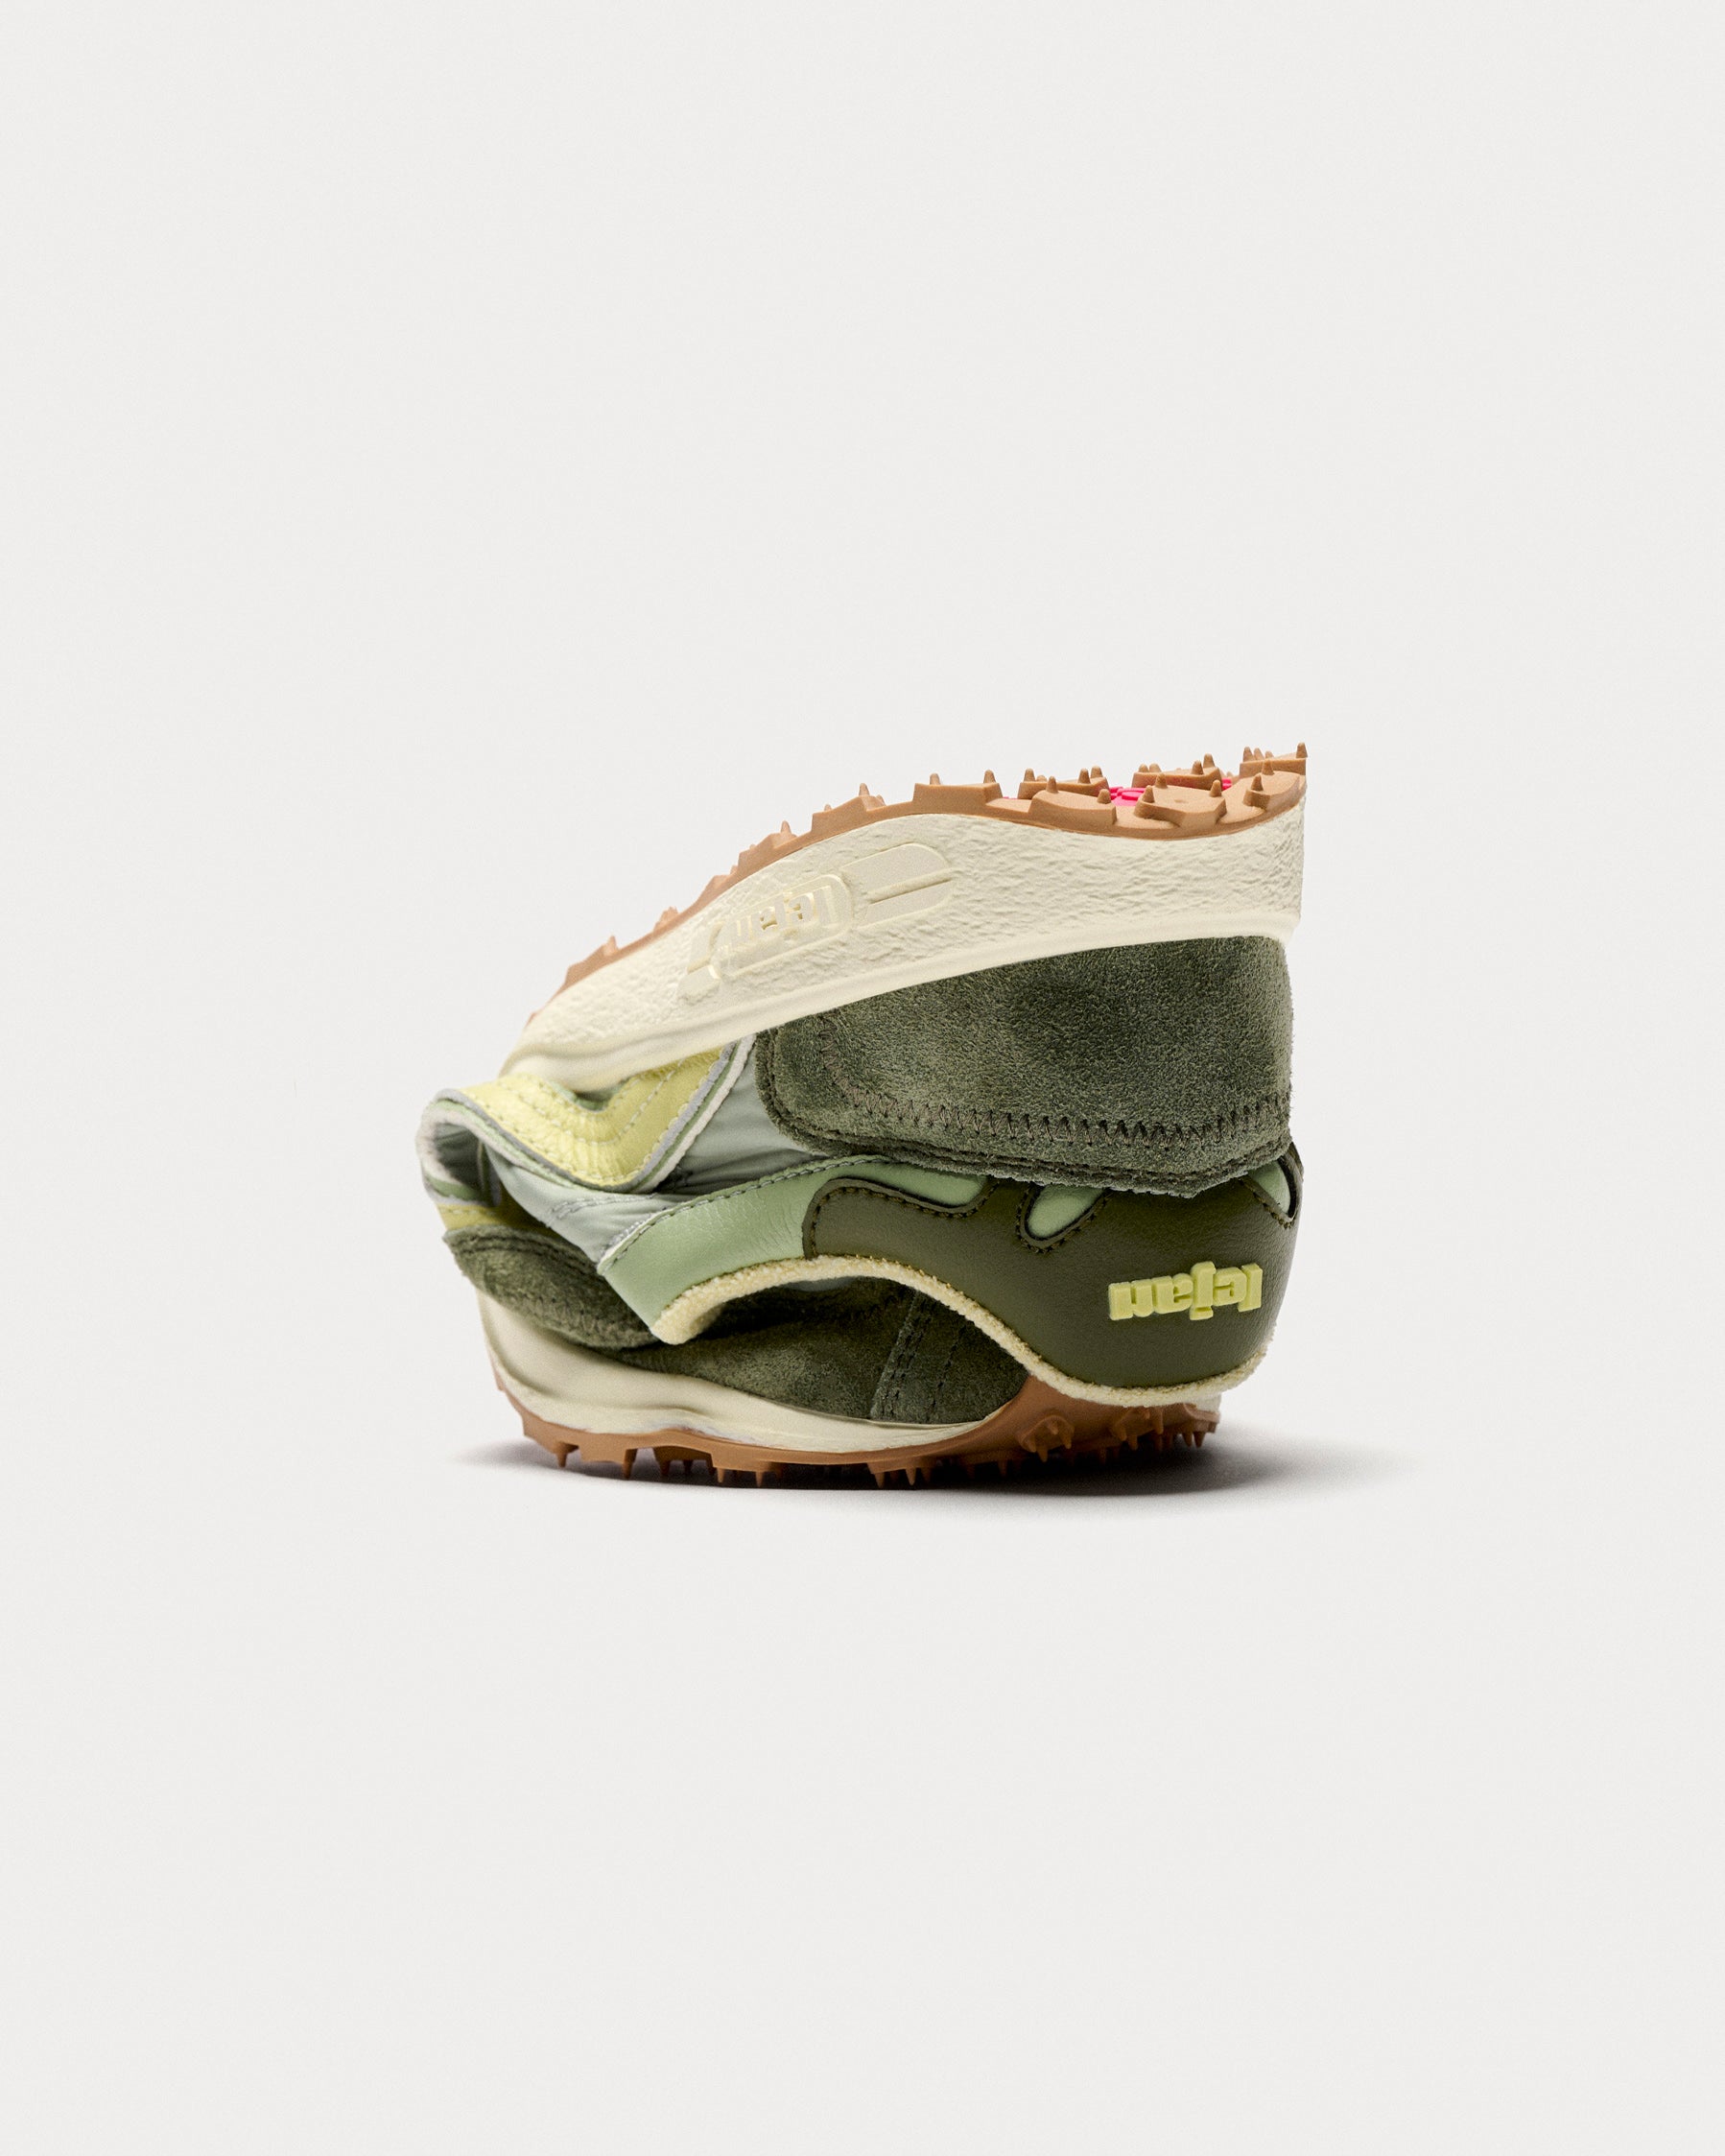
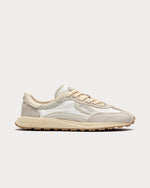
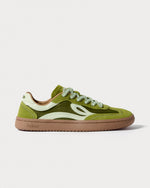
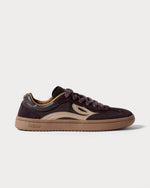
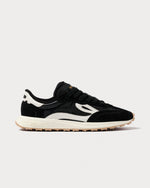
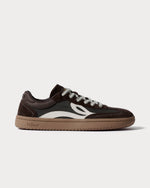
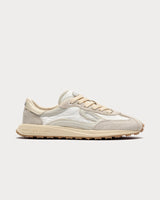
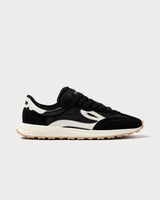
Models like Lejan One can work in some cases thanks to their wide toe box, breathable materials and lace fastening, as long as the foot doesn't have advanced neuropathy or need specific therapeutic footwear prescribed by a podiatrist.
Common mistakes when buying “roomy” footwear
Choosing a wider shoe can be a good idea, but there are common mistakes worth avoiding.
1. Confusing loose with roomy
A roomy shoe isn't a shoe that's too big. If there's too much length or the foot moves around inside, you can end up with rubbing, toes hitting the front and blisters.
The room should be where the foot needs it: at the toes, forefoot and instep, without losing hold.
2. Choosing a sole that's too soft
An overly soft sole can feel comfortable at first, but it doesn't always protect well. With a diabetic foot, the sole should cushion and protect against uneven ground, without sinking or deforming too much.
The idea is to look for medium firmness: neither a rigid board nor a “chewing gum” sole.
3. Buying online without trying them on with your insole
If you use custom insoles, the shoe should be tried on with them inside. An insole can change the internal volume and make a shoe that seemed fine squeeze the instep or toes.
It's always worth checking the whole set-up: foot, sock, insole and shoe.
4. Looking only at the size and forgetting the width
Two shoes in the same size can feel completely different. The size tells you the length, but it doesn't always guarantee the right shape.
With a diabetic foot, the width, depth and inside of the shoe are just as important as the size.
What the inside of the shoe should be like
The inside of the shoe is one of the most important parts and one of the least checked.
1. No pronounced seams
Run your hand around the inside before putting them on. If you feel a hard seam, a stiff edge or a rough patch, your foot can feel that pressure too.
Even if it doesn't hurt, it can leave a mark.
2. Smooth, pleasant lining
The inner lining should be soft, breathable and shouldn't harden with use. Some materials go stiff with sweat, heat or over time.
If you notice the shoe has changed inside, check it.
3. Removable insole
A removable insole lets you air the shoe, check the inside more easily and fit a custom orthotic if you need one.
It also makes it easier to check for moisture, creases, uneven wear or small objects inside the shoe.
4. Check before putting them on
Before you put your shoes on, check the inside. It might seem over the top, but with a diabetic foot it's a very useful routine.
Make sure there are no small stones, folds, badly positioned insoles or worn areas that could rub.
Sole, heel and stability: what matters
The sole also needs choosing carefully. It's not just about being comfortable, but about protecting, stabilising and reducing risk.
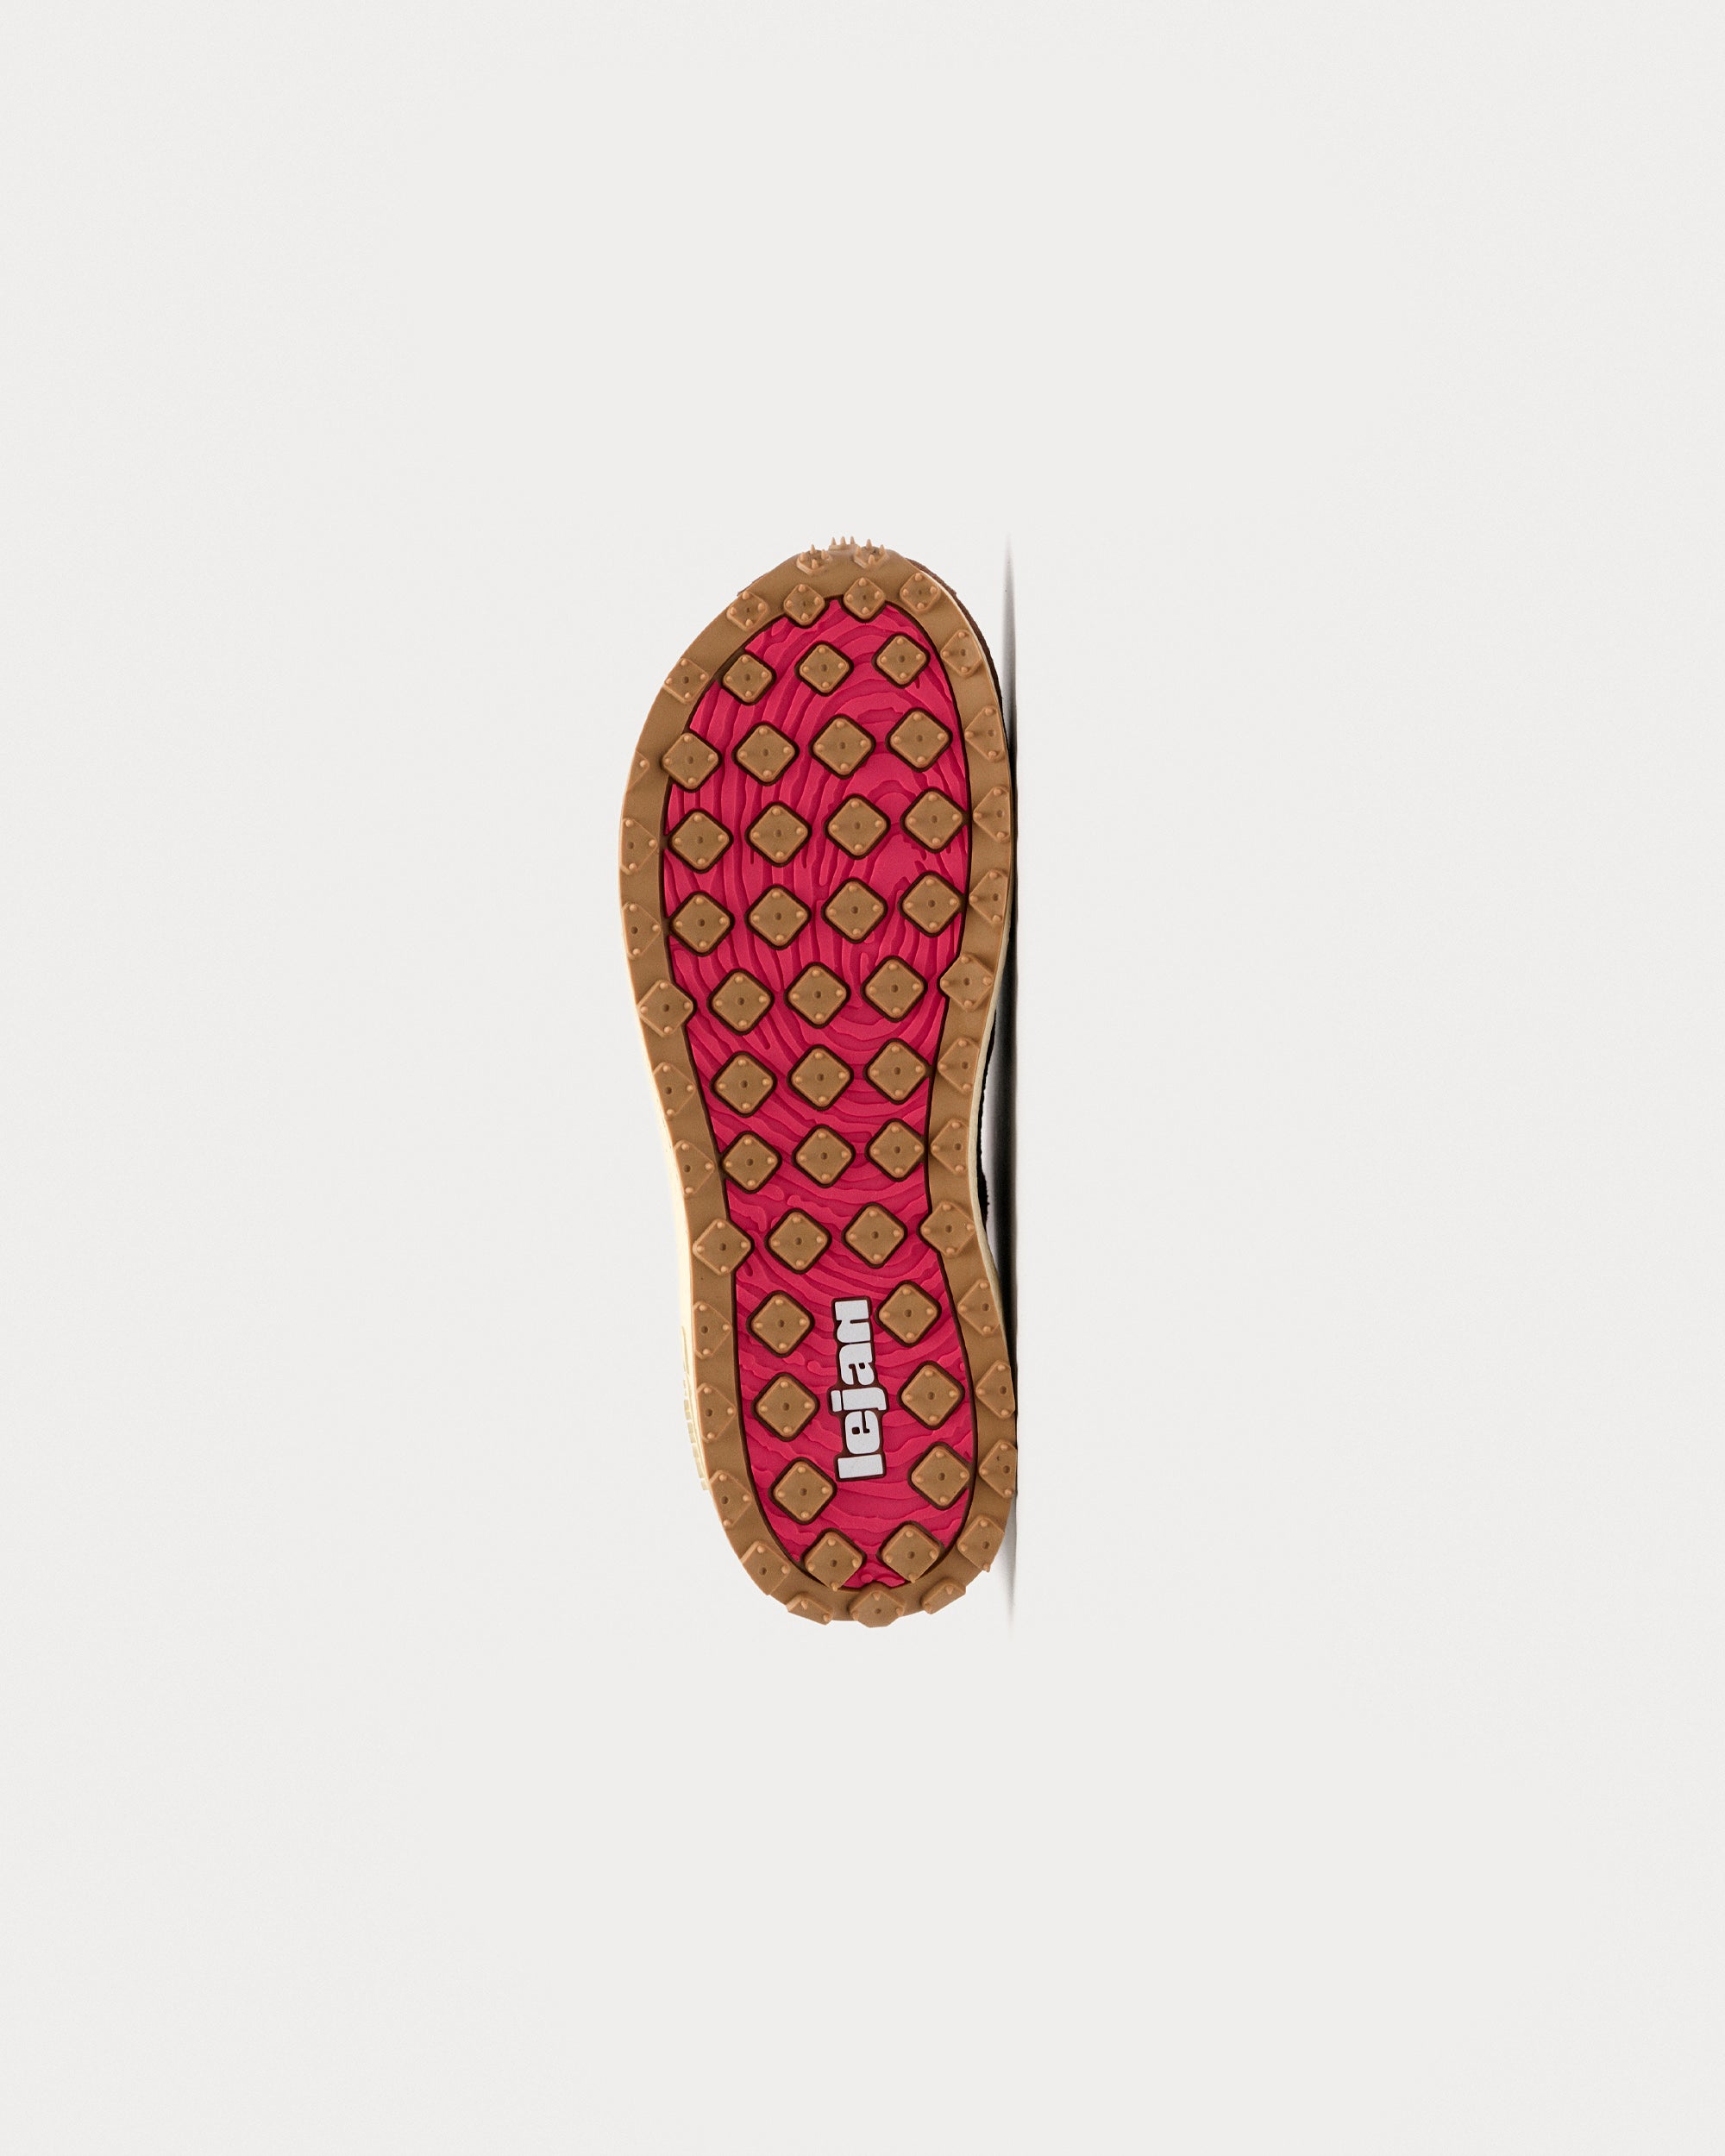
1. Non-slip sole with medium firmness
A good sole should grip the ground well and prevent slips. This matters at home, out on the street and on wet surfaces.
Medium firmness helps protect the foot without completely blocking movement.
2. Low heel or slight lift, depending on the case
For some people with diabetes, a slight heel lift can be useful, especially if there's tightness in the posterior chain or certain gait issues.
That's why zero drop shouldn't be recommended across the board. It depends on each person's biomechanics, sensation, mobility and whether they use insoles.
3. Rocker profile for feet with deformities
For feet with deformities, high-pressure areas or limited joint movement, footwear with a rocker sole may be needed. This type of sole helps make each step easier without demanding as much movement from certain joints.
In these cases, the right thing is to follow your podiatrist's advice.
4. Controlled flexibility
A stiff shoe can limit foot movement, but one that's too flexible and thin may not protect enough.
With a diabetic foot, flexibility should be controlled. The aim is for the shoe to move with the foot without leaving it exposed.
Barefoot footwear and diabetic foot: when it works and when it doesn't
Barefoot shoes can bring some interesting things to the table, like a wide toe box, a shape that respects the natural form of the foot and more freedom for the toes. But with a diabetic foot you need to be especially careful.
Not all diabetic feet are the same, and not all of them need the same footwear.
1. Real benefits of a wide toe box
A wide toe box can reduce compression of the toes and stop the big toe and little toe from being pressed against the sides of the shoe.
This can be useful for people with diabetes who still have good sensation, have no active wounds and no significant deformities.
2. The risk of a sole that's too thin with advanced neuropathy
This is where we need to be very clear: a pure barefoot shoe, with a very thin sole, isn't always a good option for a diabetic foot.
If there's advanced neuropathy, loss of sensation or a history of ulcers, a sole that's too thin may not protect against stones, uneven ground or small objects. In those cases, therapeutic or orthopaedic footwear, or footwear with more protection, may be more suitable.
3. How to combine barefoot shoes with insoles
Some people can benefit from a roomy shape and a custom insole. For that, the shoe needs enough internal volume and a removable insole.
If, once the insole is in, the instep feels tight or the toes lose space, that shoe isn't right.
4. When a barefoot shoe isn't a good option
It's best to avoid a pure barefoot shoe if you have:
advanced neuropathy;
previous ulcers or active wounds;
significant deformities;
Charcot foot;
uncontrolled pressure areas;
a need for prescribed therapeutic footwear.
In these cases, the priority isn't the feeling of freedom, but protecting the foot.
A safe transition from conventional shoes
Changing footwear also needs to be done carefully. With a diabetic foot, wearing a brand-new shoe all day from the very start isn't a good idea.
1. Start with 1-2 hours
Wear the new shoes for a short time at first. Then take them off and check your foot.
Look for marks, redness, blisters, or pressure on the toes, heel or instep.
2. Check your foot after every wear
For the first few days, check your foot every time you wear the new shoe. If there's a mark that doesn't fade quickly, something is pressing.
Don't wait for it to hurt.
3. Change one pair at a time
Don't swap your whole shoe collection at once. Bring in one new model, watch how your foot responds and, if it's going well, increase the wear time.
The transition should be gradual and monitored.
4. When to go back
If a blister, wound, persistent redness, new pain, localised heat or swelling appears, stop wearing that footwear and see a professional.
With a diabetic foot, even a small sign deserves attention.
Sandals, trainers and orthopaedic footwear: when to choose each one
There's no single shoe that works for everyone with diabetes. It depends on the level of risk, the condition of the skin, sensation and gait.
1. Sandals: only with wide straps and a good hold
Sandals can be comfortable in summer, but not all of them are suitable. Avoid styles with thin straps, a toe post or little support.
If the foot moves too much, there's more rubbing.
2. Trainers: a comfortable option for everyday
A trainer with good width, breathable materials, a smooth inside and a stable sole can be a good option for many people.
That said: it needs to let you check the inside, wear the right sock and, if needed, fit an insole.
3. Orthopaedic footwear: essential for high-risk feet
When there are deformities, previous ulcers, advanced neuropathy or significant pressure areas, orthopaedic or therapeutic footwear may be necessary.
It shouldn't be seen as a failure, but as a tool for protection.
4. Alternating two pairs helps the skin
Always wearing the same shoe can keep moisture, pressure and wear in the same spots. Alternating two pairs lets the shoes air out and means the foot doesn't get exactly the same stimulus every day.
Socks, insoles and daily checks
Footwear matters, but it doesn't work alone. Socks, insoles and a daily routine are also part of the care.
1. Seamless socks with no compression
Socks should be soft, breathable and free of raised seams. It's also best to avoid elastic that squeezes the ankle or leaves deep marks.
A good sock reduces friction and helps control moisture.
2. Custom insoles if there are pressure areas
If there are recurring calluses, localised pain, deformities or a history of wounds, a custom insole can help redistribute pressure.
It should be checked regularly, because the foot and the wear change over time.
3. A 2-minute daily check
Every night, check:
the sole of the foot;
heels;
between the toes;
nails;
areas with calluses;
redness or marks from the shoe.
If you can't see the sole of your foot properly, use a mirror or ask for help.
4. What to do if a wound or blister appears
Don't pick at it or leave it covered for days without proper care. Clean the area carefully, avoid the footwear that caused it and see a podiatrist or healthcare professional.
For someone with diabetes, a small wound should never be ignored.
When to see a podiatrist without waiting
There are signs worth getting checked early, even if they seem minor.
1. A wound that doesn't improve within 24-48 hours
If a rub, crack or blister doesn't improve quickly, it needs assessing.
2. Redness, heat or localised swelling
These signs can point to inflammation or infection. Don't wait for it to get worse.
3. A change of colour in a toe or area of the foot
A toe that's paler, purple, bright red or cold should be checked.
4. New calluses or pressure areas appearing
A callus isn't just hard skin. With a diabetic foot it can be a sign of too much pressure. If a new one appears, you need to ask what's causing it.
Frequently asked questions about diabetic foot and footwear
Is barefoot footwear suitable for someone with diabetes?
It depends. It can work for people with low risk, good sensation, no wounds and no significant deformities. It's not usually recommended with advanced neuropathy, a history of ulcers or a need for therapeutic footwear.
How often should footwear be replaced?
There's no exact date. It's time to replace them when the sole loses stability, the inside gets misshapen, hard areas appear or the foot starts showing new marks.
Can I wear sandals in summer if I have a diabetic foot?
Yes, in some cases, but they need to hold the foot well, have no thin straps that rub and protect the foot enough. If there's neuropathy, previous wounds or high risk, it's better to check first.
What do I do if I find a wound when checking my foot?
Stop wearing the footwear that may have caused it, clean the area carefully and see a professional. Don't wait several days if you have diabetes.
Do seamless socks make a difference?
Yes, they can help reduce rubbing and pressure points. They're especially useful if sensation is impaired, the skin is fragile or closed shoes are worn for long periods.
Do I need to wear orthopaedic shoes from the moment I'm diagnosed with diabetes?
Not always. It depends on the condition of the foot, sensation, circulation, any deformities and any history of wounds. Many people can wear roomy, stable, well-chosen footwear, but a podiatrist should assess higher-risk cases.
Test your knowledge
Answer the questions to check how much you know about this topic.
1. ¿Qué característica es especialmente importante en el calzado de una persona con diabetes?
2. ¿Por qué es importante revisar el interior del calzado antes de ponérselo?
3. ¿Qué se debe hacer si un zapato provoca una rozadura o una zona de presión?
4. ¿Cuál de estas prácticas ayuda a proteger el pie diabético?

Share